Tracing Pictures – The 6 Best Methods of How to Trace a Drawing
This post may contain affiliate links. We may earn a small commission from purchases made through them, at no additional cost to you.
Tracing pictures is a popular technique that helps you to achieve your exact vision through a template. We will show you the 6 best ways of how to trace a drawing and discuss the advantages and disadvantages of each technique. You will also get tips and tricks if you want to transfer your drawings the best way possible.
Table of Contents
Why Do Trace Drawing?
Tracing is a helpful technique to bring your templates, sketches, or pictures exactly as you want them onto paper. This can be helpful if you want to start drawing or painting from scratch but are struggling to get the perfect result.
By learning how to trace a drawing, you follow and understand the contours and develop a feeling for shapes and proportions. This can also help you to improve your drawing skills. This is especially useful if you need to draw something quickly and already have a suitable design that you want to use.
Tracing also plays a role in which surface you want to transfer your drawing. Tracing onto canvas particularly requires certain methods because the fabric is not transparent. Below is a quick roundup of the benefits of tracing drawings:
- Tracing saves you a lot of frustration for getting things perfect
- You can get very difficult and complex designs on paper
- You can copy your own sketches perfectly copied
- You get fast results and can start right away
Method 1: Thin Paper and Light
This is probably the most used technique because it is very simple and can be done without specialized materials. You put your drawing paper on top of your picture and draw over the lines. For this to work, the template must be dark enough and the paper must be relatively thin so that you can see the design and follow it.
If you have problems recognizing the lines of the traced drawings, you can fix the template and the paper with adhesive tape. Then position yourself in front of a window in daylight and stick the whole thing onto the window pane. Now you have much more light, which shines through the two sheets. You will be able to easily recognize the design and draw it well.
This method for tracing pictures is not very comfortable in the long run. This is because you work vertically, which makes the work a bit more difficult.
Pros
- No additional equipment necessary
- A cost-effective technique
- Quick to implement
Cons
- Requires daylight
- Uncomfortable for long periods and a difficult angle if done over the window
- Not suitable for tracing on canvas
Method 2: Tracing Paper
Using tracing paper or carbon paper is a very efficient way to transfer your drawing. You will be able to get detailed and fine lines. Not sure how to use tracing paper? The application is very simple and easy: put a sheet of tracing paper between your design and a blank sheet of paper or canvas. Then follow all the lines. This will transfer the drawing onto the canvas.
The difficulty when learning how to use tracing paper is that you have to remember which lines you have already traced. If you forget any lines, it can be difficult to find the right place to start painting afterward.
Graphite paper or carbon paper for traced drawings is relatively cheap to buy and is also available in larger formats like A3. But this is where it ends. For even bigger designs, you have to be inventive and glue carbon paper together or use another method.
When buying tracing paper, make sure that the traced lines can be removed with an eraser. The choice of good quality definitely pays off here. We recommend the high quality tracing paper from Saral, whose transfer can be erased.
Pros
- Carbon paper is cheap to buy
- Each sheet can be used several times
- Very well suited for detailed designs
- Lines can be erased afterward with good quality
- The tracing is also possible on screens
- Comfortable to do on the table
Cons
- The size of the design must not exceed A3 format
- Unwanted streaks can occur with poor quality tracing paper
Method 3: Transparent Paper or Baking Paper

Tracing paper or baking paper is transparent enough for a clear view of the image. This is an easy way to trace your design. Simply place it on your picture and you can easily copy it over. To prevent the two sheets of paper from slipping, you can fix them with an adhesive strip. Then draw the individual lines carefully until the complete design is on the transparent paper.
Now you have transferred your draw2ing onto the transparent paper. But how do you get it onto a white sheet of paper?
- Turn your transparent paper onto the back
- Hatch the back of your transparent paper with a pencil. Hatch cross-hatch horizontally and vertically until your design is covered with graphite.


- Turn your tracing paper over again
- Place a blank, white sheet of paper under your tracing paper
- Draw your design again


- Through the graphite on the back, you can now see your copied drawing on the white sheet
Pros
- Transparent or baking paper is often easily available
- A cost-efficient method
- Also suitable for a screen (although slightly restricted)ns also suitable for the screen
Cons
- Relatively cumbersome and time-consuming
- The result is visible, but with tracing paper you get clearer lines
Method 4: Print and Transfer Template

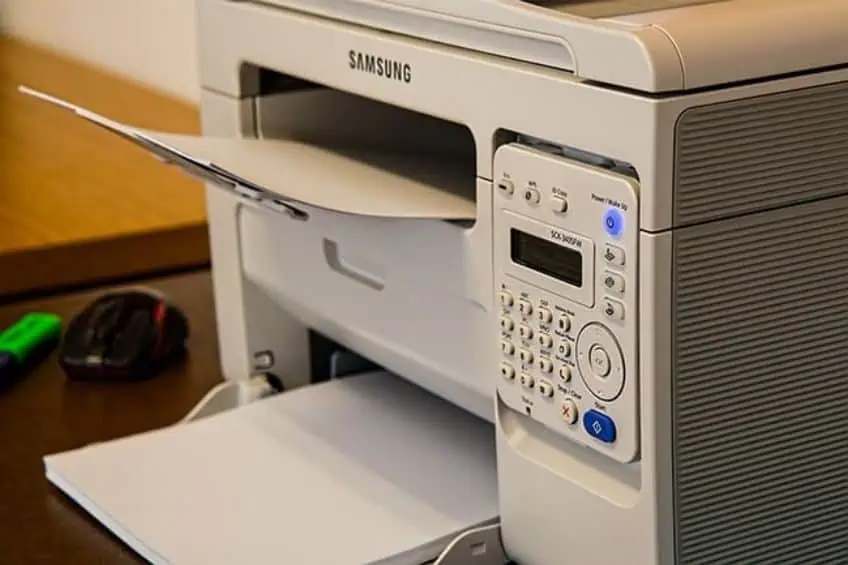
You can use an even easier method for traced drawings if you print out the template. Either you already have the image on your PC, or you can scan the template. You can also take a picture of the whole thing and then print it out. This saves you the intermediate step with the transparent paper. here are some steps on how to trace an image with this technique:
- If you have an original on paper, scan it in and then print it out.
- Hatch the back of your printout with a soft pencil. Hold the pencil at an angle and draw narrow lines horizontally and then vertically over the back of your design
- Turn your template around again so that you have the printed design in front of you again
- Place a new white sheet of paper under your template
- Trace the lines of your design
- Due to the graphite on the back, you have now copied the outline of your image – congratulations.
Pros
- Printers are often available
- A cost-efficient approach
- With restrictions, also suitable for the screen
Cons
- A printer must be available
- Digitizing a subject can be time-consuming
- Time-consuming implementation due to the additional work step with hatching on the back
Method 5: Lightboard or Lightbox
If you want to trace more often, the purchase of a lightboard, drawing board, or lightbox can be worthwhile. Simply put, this is a box with a transparent lid. Under it is a light source. So it’s similar to tracing over a window, but this time it will work well regardless of the time of day. In addition, it is possible to work on the table, which is much more ergonomic. This is a good tool for learning how to trace an image.
Lightboxes are available in different formats up to A2. So you are much more flexible here than with most other methods for tracing. You can also adjust the brightness, so you can adapt perfectly to different paper thicknesses. There are even models with batteries for tracing images on the move.
This method is of course a bit more expensive than the other solutions presented here. But you have a few advantages too when learning how to trace a picture. Recommended entry-level models are about 20 USD.
Pros
- Also suitable for larger formats
- Brightness adjustable
- Independent of time of day
- Very ergonomic
Cons
- Relatively high purchase price
- Pauses on the screen not possible
Method 6: Projector
With a projector, you have another option for transferring drawings. This is a great way to learn how to trace a picture. Here the added value lies mainly in the size of the formats. You can copy up to A0 without problems. You project the image onto a wall and place your screen there.
With the distance of the projector to the wall, you control the size of the picture. You are therefore very flexible and can choose the size exactly according to your painting surface.
The disadvantage is the positioning. Similar to transferring in front of a window, you work in a vertical position, which can be somewhat uncomfortable over time. Furthermore, you are likely to stand in front of the projection, which can lead to shadows.
The costs involved are of course also comparatively higher. A standard beamer/projector can also also be used for other purposes though, such as home cinema.
Pros
- Also suitable for very large formats
- Can also be used for wall painting
- Independent of time of day
Cons
- Relatively high purchase price
- Also possible for use on the screen
- The room must be darkened
- Shadows can be disturbing
So you see, there are different possibilities and methods of how to trace a picture. You should now know enough about the techniques to choose the one that suits you best. We hope you enjoy the art of tracing!