Acrylic Paint Pouring – Full Guide for Acrylic Pouring
This post may contain affiliate links. We may earn a small commission from purchases made through them, at no additional cost to you.
Acrylic Pouring is a fascinating fluid painting and casting technique. Acrylic paint serves as the basis, which is brought into a liquid, pourable consistency with the addition of pouring medium and other additives as required. Depending on the technique, this liquid paint is then poured into one another or tilted onto the canvas and distributed by tilting the painting ground. Depending on the choice of color, medium and additives, different effects are created. In this detailed article, we show you how acrylic pouring works, which techniques are available and which material you need.
Table of Contents
- 1 Why Choose Acrylic Pour Painting?
- 2 How Does Acrylic Pouring Work?
- 3 The Casting Medium is an Important Factor
- 4 The Secret to Many Large Cells in Your Paint Pour
- 5 The Best Painting Surfaces For Acrylic Pouring
- 6 Preparing Surfaces For Acrylic Pouring
- 7 Required Acrylic Pouring Materials
- 8 Further Acrylic Pouring Materials
- 9 Acrylic Pouring Techniques – How to Acrylic Pour
Why Choose Acrylic Pour Painting?
The relatively new art form, which has its origin in the USA and is also gaining more and more followers in the rest of the world, is simply ingenious. And these are the reasons:
- Acrylic pour painting for beginners: For the acrylic flow technique you need no previous knowledge of drawing or painting. From young to old, everyone can indulge in this hobby.
- Little material needed: You need only little material to start with the acrylic casting.
- Great for busy people: You don’t have to invest half a day for an acrylic casting technique picture, but can cast a complete picture in half an hour.
- Limitless fun: What speaks above all for Acrylic Pouring: The high fun factor! It’s just incredibly fun to mix the different acrylic colors and create a small work of art without much effort.


How Does Acrylic Pouring Work?
The main components for the acrylic casting are the acrylic paint, a pouring medium and a painting surface. Depending on your needs, other additives such as silicone oil for cell formation and a few auxiliaries and tools are added.
The acrylic paint is mixed with the pouring medium, and other additives like silicone oil are added. The consistency must be such that it flows well but is not too thin. Then this paint mixture is poured onto the painting surface, tilted or emptied. This depends on the technique and your own taste. The result is then an individual work of art that can hardly be reproduced in this way. There are many possibilities, starting with the color combinations, different acrylic colors from different manufacturers, as well as various additives and of course the techniques.


The Casting Medium is an Important Factor
In acrylic painting, you use water to dilute your acrylic paints. This works well but is not recommended for acrylic pouring. Water changes not only the consistency but also the pigment density and the adhesion of the paint on the painting surface. This means that the colors become lighter and are not as bright. In addition, the drying of this diluted mixture is problematic, as the rapid evaporation of the water can cause cracks in the paint surface.
In order to avoid these negative consequences of dilution with water, there are special acrylic casting media, known as pouring media in the technical jargon. These products offer you some advantages:
- Adhesion to the painting surface is maintained
- Despite dilution, the colors remain bright
- The flow behavior of the ink mixture is positively influenced
- Cracks can hardly occur during drying
Therefore we strongly recommend that you use a professional or alternative casting medium, as this will make all the difference to the end result.


What Mixing Ratio to Use for Pours?
Finding the perfect balance between medium and acrylic paint takes some practice. It is also not possible to make a general statement about the mixing ratio, because it depends on the consistency of the acrylic paint as well as on the consistency of the casting medium.
However, we can give you a rule of thumb that always works: Put one part acrylic paint and one part pouring medium into a cup. Mix both for half a minute and then look at the consistency: It should end up similar to liquid honey.
If the consistency is still too thick, you can either add some more medium or some water. Here the limit is about 30% water on the total volume. Otherwise, you will have negative effects and we want to avoid this. Continue until you get the desired consistency.
The viscosity is the key to successful pouring. If it is too thin, your beautiful patterns and cells will run on the canvas. If it is too thick, no cells will form and you will have difficulty spreading the paint. But once you have found the right consistency, it will be relatively easy to get consistent results in the future. By the way, you can also combine different casting media with each other to create your own individual recipe.
The choice of a suitable casting medium is the key factor in beautiful cells. Only if the consistency of your pouring mixture is right will cells be created. If you are new to acrylic casting, you can also use an acrylic pouring set, which consists of acrylic paint and a suitable medium. Here the silicone oil is already integrated, which means that you mix the acrylic paint and the medium and then apply it to the canvas. And tadaaa – you have already created a successful work of art.
Acrylic Pouring Recipe
When you start to pour, it can be a challenge to get the right consistency. We have therefore developed some basic acrylic pour recipes for you to use as a starting point:
- 1 Part acrylic paint
- 1.5 Parts casting medium
- 1 Part purified water
Floetrol
- 1 Part acrylic paint
- 1.5 Parts casting medium
- 0.5 Part purified water
Liquitex Pouring Medium
- 1 Part acrylic paint
- 1.5 Parts casting medium
- 0.5 Part purified water
In these recipes, you should always first mix the acrylic paint with the medium and only then add water and silicone oil.
The Secret to Many Large Cells in Your Paint Pour
Creating cells in your pouring images is one of the main goals of most techniques. But how do you get these cells into your pourings? By adding silicone, the desired cells are created on the pictures created by the acrylic flow technique. But with which silicone-containing product allows you to get the most cells or the largest cells?


This is not about mixing in any kind of silicone oil, but rather that you know the properties and the connections of why one oil produces small cells and the other large cells – or in the worst case hardly any cells.


Low Viscosity Silicone Oil
- The lower the viscosity, the larger the cells
- The paint flows faster
- There are stronger color gradients

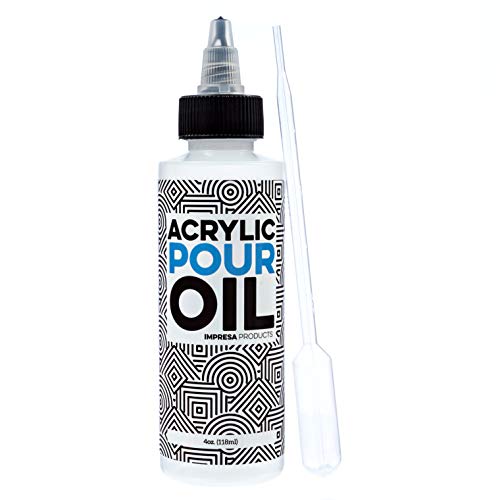
- Low viscosity – This silicone oil creates really big cells!
- 100% silicone, no extra additives or diluting agents
- With the included pipette you can work very precise
High Viscosity Silicone Oil
- High viscosity results in smaller, but many cells
- The paint flow is slower
- There are more clearly defined cells and more color separation

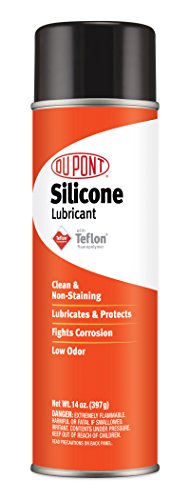
- A unique silicone aerosol spray can
- Offers a protective, lubricant, and low-friction coating
- Safe to use on many different surfaces without creating a mess
The Best Painting Surfaces For Acrylic Pouring
There are a variety of possibilities that you can pour on. If you apply a layer of acrylic binder to any surface and then a primer with gesso, you can pour on almost any surface.


Canvas / Stretched Stretcher Frame
The canvas is probably the most popular painting surface and is available in all dimensions. You should make sure that the sides of the canvas can also be painted over, i.e. that the clasp is on the back. For the beginning a cheap canvas set is enough, so you have different canvas sizes to choose from. There are also square or rectangular.
Boards
Painting boards are the cheap alternative to canvas and are especially useful for the first attempts or tests. These are painting boards, which are coated with canvas and are already primed.


- Canvas folded over sturdy panel boards
- Ideal for a wide range of painting mediums
- A bulk pack of 24, 12 x 12 inch panels
Gessoboard
Gessoboards are wooden boards, which are primed. These are a convenient choice for a number of different painting styles.


- Gessoboards ideal for acrylic, oil, and mixed media
- Works well with a wide range of painting techniques
- Consistently even bright white finish
Preparing Surfaces For Acrylic Pouring
Prepare the Workplace
- To protect your workplace, you should cover it with plastic sheeting
- Wearing rubber gloves is also recommended
- Required fluids such as silicone oil and distilled water can be filled into squeeze bottles for better handling and dosage
- For any paint stains, it is worthwhile to have kitchen paper ready
- Work in a well-ventilated room
Prepare the Painting Surface
If your painting surface is not yet primed, you should treat it with gesso. This adheres to the acrylic paint better and does not soak into the surface. Place the canvas on a higher level, so that the paint that flows down sticks to the underside. Suitable for this are e.g. used drinking glasses, cups, or pinboard pins, which you fix on the back. Before the actual pouring, make sure that the painting ground is aligned. Otherwise, your painting flows onto one side and can be ruined.
Provide a Material Checklist
Before you start, get all the necessary pouring materials and tools ready:
- Acrylic colors
- Pouring medium
- Cups or other containers
- Wood spatula
- Silicone oil
- (Distilled) Water
- Painting knife / scraper / spatula
- Blow torch
Required Acrylic Pouring Materials
We have put together the most important materials for acrylic pour painting for beginner. As a beginner, it is not so easy to distinguish what you need and what you don’t need. And with all the different products it is doubly difficult to keep track of what you need. That’s why we have put together an acrylic pouring set for you to get you started right away. Below you will find a detailed description of the materials needed.


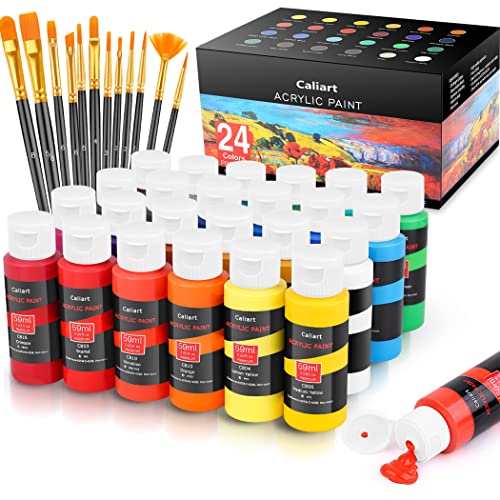
Starter Set
With a starter set, you will be well prepared for your first pouring pictures and can start right away. Sets will include everything you need to get started, such as ready to pour paints and silicone oil.


- A complete pouring set including 24 mixed colors
- Includes silicone oil and ready to pour paints
- Suitable for pouring on a wide range of surfaces
Acrylic Paints
You do not need expensive and high-quality acrylic paints to start casting acrylic. You need a lot of paint for this fluid painting technique, so you are better off with inexpensive acrylic paints.

- Premium paints glide on smoothly, dry quickly, and stay beautiful
- High-quality, vivid paints offer a creamy consistency and will not fade
- Water-based and non-toxic, so it dries quickly and is easy to clean
Effects Colors
With effects colors, you bring a new exciting dimension to your pouring art. There is a wide range of metallic colors, pearl colors, glitter colors, and other effect colors.


- A set of 8 vivid glow in the dark colors
- Completely safe to use and daylight effectively
- Long-lasting formula that works on most surfaces
Professional Pouring Medium
The choice of the casting medium is very important. You use it to dilute your acrylic paints and make them ready for casting without losing brilliance and intensity. Choose products that have been specially developed for use with the acrylic flow technique in order to offer the highest quality.

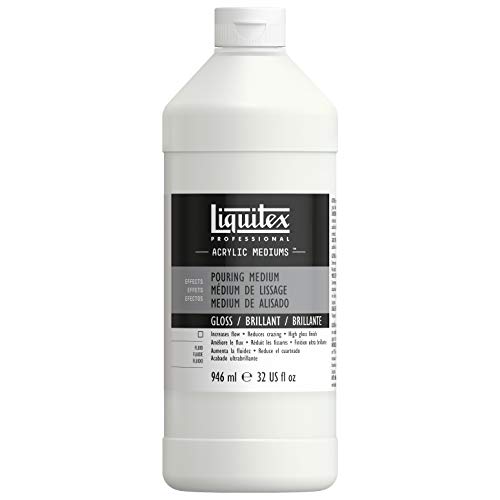
- Liquitex is known for its high-quality artist products
- Easy to process and dries to a silky gloss
- Very good cell formation without air bubbles
Pouring Medium
There are various available casting mediums available. This includes all kinds of alternative products which can be more cost-effective. Only in the durability of your pouring pictures they might have disadvantages compared to the professional products.

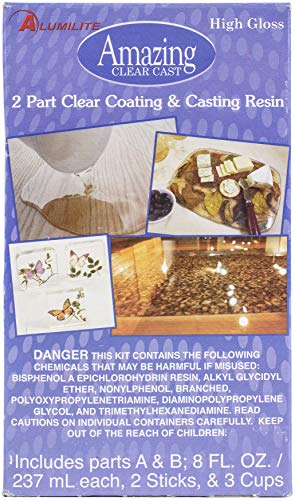
- 2 8-ounce bottles of clear coating and casting resin
- Easy to use and long-lasting coating
- Can be applied to various surfaces
Mixing and Pouring Vessel
You can use used yogurt cups or other plastic containers, or you can get plastic cups for mixing and pouring your acrylic paint.


- Everything you need for mixing and pouring paint
- Includes measuring cups, strainers, and wooden paint paddles
- Also comes with a free can opener
Stirring Rods
The mixing of medium and color is very important. For this purpose, wooden spatulas and even palette knives have proven to be very useful. These can be reused after drying.


- High-quality beechwood handles and stainless steel blades
- The blade tips have very good flexibility
- An 8 piece set suitable for a wide range of styles
Rubber Gloves
To protect your hands from paint, it is recommended to wear gloves. Disposable gloves are a simple and affordable solution to protect your hands.
Protection
To protect your work table and floor from paint, ideally use a cover sheet. Large plastic sheets are available and are a great thing to have around for anyone wanting to avoid messy paint spills on their floor or furniture.
Painting Surface
In addition to canvases, the use of painting boards or gesso boards is also recommended. It is best to start with smaller formats, as these are cheaper and easier to manage.
Final Varnish
After drying, pouring pictures appear a little paler. To give them more color intensity you should apply a final varnish after drying. This also helps to protect your works from fading due to UV radiation and to protect them from mechanical influences. The finishing varnish from a spray can is the simplest method here. For a noble finish, you can also use art resin.


- A matt finish general purpose artist's varnish
- Dries quickly to a smooth finish to protect against dust and moisture
- Can easily be removed with mineral spirits or turpentine
Further Acrylic Pouring Materials
You need these items for certain techniques and for certain effects. It is not absolutely necessary, but it makes it easier for you to creatively design in pouring.
Distilled Water
Distilled water is recommended if you want to prepare a larger amount of acrylic fluid with paint for later use. With distilled water, the prepared mixture does not start to mold and can be stored for a long time.
Silicone Oil
For beautiful cell formation, add a few drops of silicone to your pouring mixture. This ensures that the underlying color rises through the color above. The following products have proven themselves many times over and guarantee beautiful cell formation.


- Premium liquid silicone oil for fluid art
- 1000cSt viscosity, 4oz bottle
- Includes access to a free e-book on acrylic pouring techniques
Spatula and Painting Knife
If you want to set accents or for techniques like the swipe you need a painting knife or spatula. These come in different shapes and sizes and are often available in a set.


- A quality 5-piece palette knife set
- Stainless steel palette knives with wooden handles
- Can be used for a wide variety of painting applications
Hot Air Dryer or Blow Torch
A blow torch or a hot air gun are important utensils if you use silicone oil and want to preserve cells. The heat causes the silicone oil to rise and bring the paint to the surface.

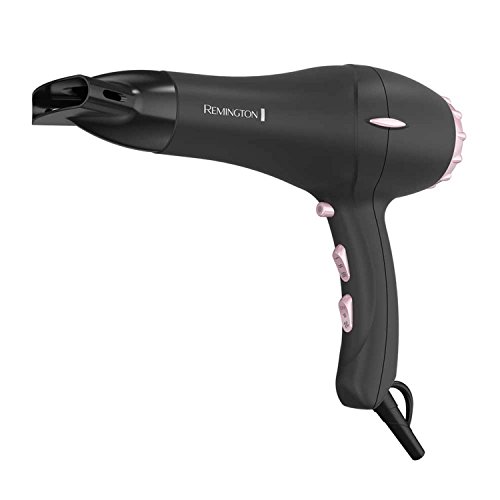
- A powerful hairdryer with 40% faster airflow
- 3 Heat settings, 2 speed settings, and cool shot
- Professional quality AC motos
Glitter and Glitter Powder
For glittering highlights and a real eye-catcher, many pouring artists use glitter powder. You can either sprinkle it directly on the still wet work or pour it together with an acrylic binder.

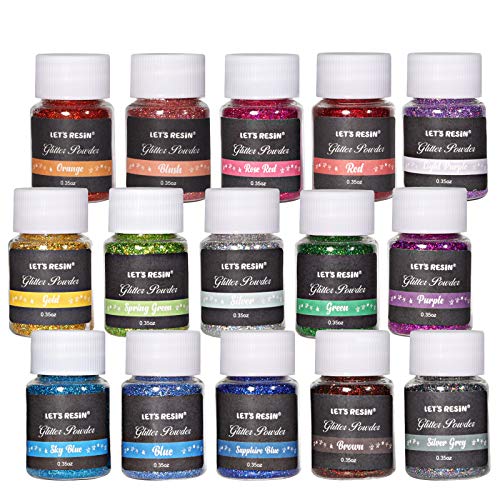
- 15 different colors of fine glitter for resin
- Ultra sparkle holographic glitter powder for many different uses
- High-intensity pigment and holographic shine
Squeeze Bottles For Mixed Colors and Liquids
In order to store your mixed colors and to be able to dose additives such as silicone oil or distilled water better, plastic squeeze bottles are recommended.


- 10 Pack of 8 oz plastic squeeze bottles
- 100% Safe and BPA free plastic
- Multipurpose and easy to control bottles
Acrylic Pouring Techniques – How to Acrylic Pour
To create acrylic pour art there are numerous techniques to obtain breathtaking pictures. We have summarized the most important of them briefly and concisely.
Puddle Pour
With Puddle Pour, each color is poured separately onto the painting surface. The individual colors are applied one into the other, when silicone is added, exciting cell effects are created.
Dirty Pour
For the Dirty Pour, all colors are layered in a cup and then carefully poured onto the painting ground.
Flip Cup
The Flip Cup is almost identical to the Dirty Pour, but the cup with the layered colors is not emptied onto the painting ground, but turned over and put on top of it with a swing. Afterward, you can lift the cup carefully and the paint will spread evenly. This has the advantage that the colors lie nicely on top of each other and with the addition of silicone, the most beautiful cells are created.
Bottle Bottom Pour
The bottle bottom pour is a pouring technique in which the paint is poured over a cut-off bottom of a plastic bottle one after the other like a dirty pour. This creates a flower-like pattern.
In the following video, you can see the full process of how a bottle bottom pour is carried out.
Tree Ring / Swirl
The Swirl Pour consists of layering all colors on top of each other in a cup. Then this cup is tilted in the middle of the canvas and with slightly circling movements you empty the paint in a constant stream. This creates a circular pattern, reminiscent of the annual rings of a cut tree trunk. In this video you see the creation of a swirl pour from start to finish.
Wing Pour
The wing pour is similar to the swirl pour, with the difference that it is designed to create two more or less symmetrical wing patterns. This is a technique for advanced pourers.
Swipe
With the swipe fluid painting technique, which is also known as the wiping technique, you will almost certainly always get good results. You draw an acrylic paint with the lowest possible density (e.g. white) over other acrylic paints that have already been applied. These colors mixed with silicone will rise through the top layer and thus super beautiful cell effects are created.
Air Swipe
The air swipe technique works in a similar way to the swipe technique, but the topcoat is not applied to the other colors with a cloth or spatula, but with a hairdryer. As you can see here, unique effects are created, which are not possible with any other technique.
String
The string technique describes the process of applying one or more strings or threads dipped in acrylic paint to the canvas and then removing them again with a special technique, which with a little practice leaves exciting patterns.
Combination of the Different Techniques
You can of course combine the techniques listed here at any time to create beautiful images and effects. It’s all about getting creative, and finding a method that captures your vision.
Acrylic pouring is a mesmerizing art technique that anyone can try out. Not only does acrylic pour painting produce beautiful results, but it is also loads of fun for all ages. Happy pouring!