Watercolor Painting Tips – All Tips and Tricks from the Pro’s
This post may contain affiliate links. We may earn a small commission from purchases made through them, at no additional cost to you.
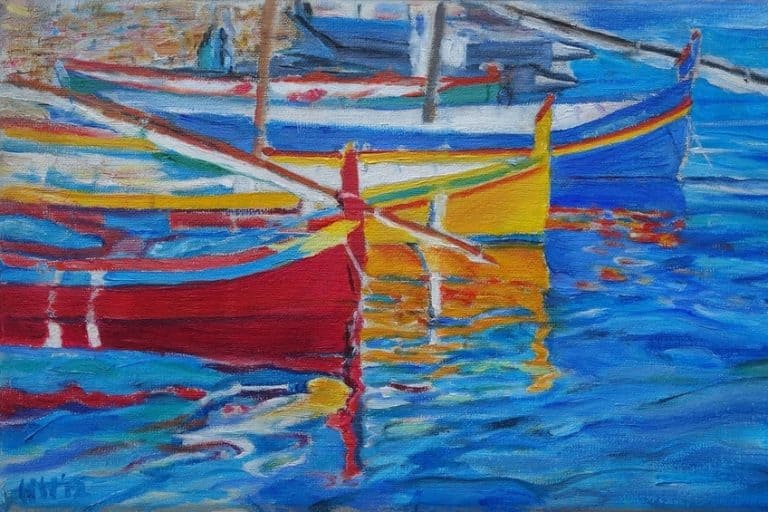
Art has been around for thousands of years, and the process of Watercolors has played a significant part in the art world since the late 1400s, and for obvious reasons. The gentle combination of paint and water offers delicate pieces of artwork. The technique creates the illusion of colors dancing across the paper. As a newcomer to watercolor painting, it can all seem quite overwhelming. You may be wondering how to paint with watercolor for beginners, so we have put some tips and tricks together for you. These watercolor tips we have put together will assist you in creating magnificent watercolor pieces of art.
Table of Contents
What You Will Need to Get Started
Many people are apprehensive to work with watercolors, as they are scared that it is too difficult to do. The beginning is often the hardest part, so we are here to help boost your confidence and tell you that starting with watercolor paints is easy! You will just need a few inexpensive tools, which are a paintbrush, a palette, some water, and of course the watercolor paints. We have put together a more detailed guideline about the supplies required, followed by watercolor techniques for beginners.


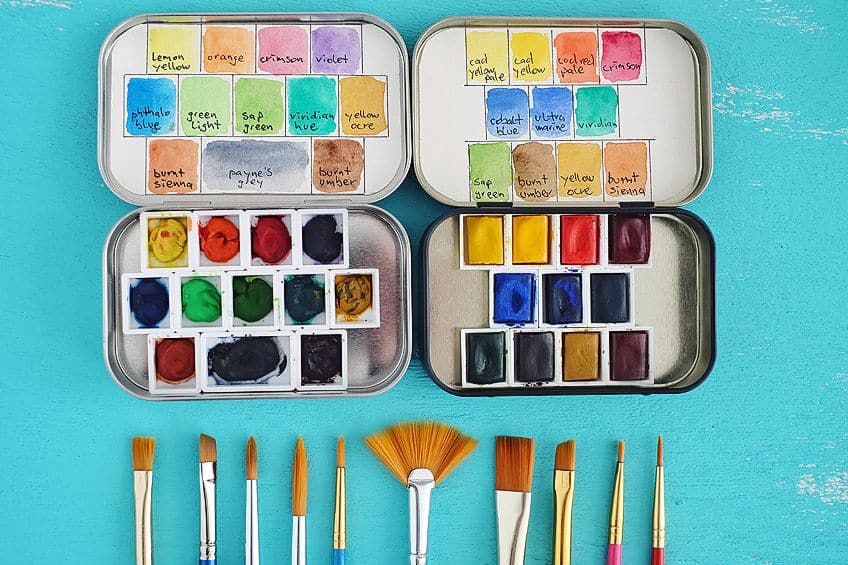
Watercolor Paints
You can purchase watercolor paints in pans (small blocks of color), tubes, or in a liquid form. You can use any of these versions to work with watercolor paints. The most popular option is the pans. Pans are portable, readily available in an assortment of colors, and compact. In just one set, you will have all the colors you will ever require. So, it is not necessary to buy loads of individual jars or tubes of colors.
To begin with, we recommend you have the following eight colors. With just these eight colors, you can create a variety of shades and hues.
| Color | HEX Code | Shade |
| Pyrrol Scarlet | #DA2829 | |
| Quinacridone Rose | #C32474 | |
| New Gamboge | #E49B0F | |
| Hansa Yellow Light | #E9D66B | |
| French Ultramarine | #2522CA | |
| Phthalo Blue | #000F89 | |
| Titanium White | #FFFFFF | |
| Lunar Black | #080808 |
Watercolor Brushes
Normally, brushes that are used for watercolor are made of long, soft hairs that are perfect for dealing with water. The ideal brushes are made from natural hairs, such as sable or squirrel, but can be extremely pricey. Luckily, these days synthetic brushes of top quality are available on the market and are significantly cheaper than natural hair brushes.


There are a variety of sizes and shapes of brushes on the market, but you will require a few larger brushes to apply the wash (this means a layer of paint laid down with water). You will also require some round brushes of different sizes to use on your more detailed work.
The size of the brush is linked to the number, the smaller the number, the smaller the brush. We suggest you start by investing in the following three sizes of round brushes, a #12, a #10, and a #6. You should also purchase some flat one-inch brushes that you can use to lay down the color. The round brushes will be perfect for detailed work.
You will need to take good care of your brushes, to ensure they keep their softness and their shape. When you have finished working with them, use some warm water and gentle soap to wash them. Ensure that you rinse them thoroughly so that all the paint has been washed out. Once you are happy that no paint remains you can then carefully mold the brush back into shape and allow them to dry standing upright.
Watercolor Paper
Which paper you choose to use can significantly impact your art piece. You want paper with a surface that can absorb water, while also being thick enough to withstand multiple washes of color. Watercolor paper is heavy and thick, and the perfect weight should have a minimum of 140lbs (300gms). A process of “sizing” is used when the paper is manufactured. This process entails additives such as synthetic sizing or gelatin being added to the paper, aiding it in absorbing water.
Another benefit to the additives is that they cause the paper to remain flat when you are painting.
An Artist’s Palette
You will be able to find an artist’s palette at any craft or art store. Certain palettes come with special indentations that you can combine your colors in, while other palette surfaces are completely flat. As watercolors mix well on china, another option is to use a dinner plate as a palette (it is really easy to wash the paint off the plate when you are finished).

Paper Towels
When you are working with watercolor paints, you must have some paper towels on hand, as the process can get quite messy. You can use paper towels as you go. They can be used to clean around the more detailed areas of your painting or clean up any water which may have spread over your paper, which you do not want.
Painter’s Tape
You may have wondered how artists create stunning, perfect, paint-free borders around their paintings? The answer is simple: painter’s tape! If you prefer, you can always use masking tape instead of painter’s tape. The borders can be blocked off using the tape around the page’s edges.
To stop any paint from seeping under the tape, you will need to ensure it is stuck down properly.


How to Mix Watercolor Paints
You might be fortunate in that the color you want is already available amongst the eight colors that you have purchased, but more than likely, you will need to mix colors to create the color you require. As we mentioned, with the eight colors listed earlier, you will be able to mix almost any color you need. We have put together four simple steps you can follow.
Step 1
You will need to first decide what color you are looking to create. Think back to kindergarten where we first were exposed to mixing colors. Such as red and blue to create purple, and green made from combining yellow and blue. You can apply the same principles when combing watercolors.
For instance, if you wanted to create a deep shade of purple, here is how to follow the remaining three steps.
Step 2
Take your brush, dip it into some water, and then dip your brush onto the red (pyrrol scarlet), and then onto your palette. You might have to add more paint, as it all depends on the size of the area you are wishing to paint.
While we suggested you begin with the red color, you could have just as easily begun with the blue color (French ultramarine).


Step 3
Swirl your brush in the water to clean it and then repeat the process but this time with the blue color, and dab it on the palette next to the red color. You will be able to see that you have equal portions of both colors. When combined, the c olors will form a gorgeous shade of purple.
Step 4
Again, you will need to clean your brush in water until you are certain that there is no color left on the brush. Then you can begin to carefully combine the red and blue paints. As the purple shade begins to appear, you can determine if it is the shade you require, or if you wish to have a darker or lighter hue. If you wish for the color to be darker, you can add a little more of either the red or the blue.


Another option is to add a little of the lunar black. Be careful when you do this, as black is significantly more dominant than the other two colors. If you use too much, your color can become blacker, as opposed to purple. Conversely, if you are looking to create a lighter shade of purple, you can add a dab of titanium white, or just add a little more water.
Follow the same four steps to mix any other color, such as green. You would require yellow (new gamboge) and blue (phthalo blue) to create a green that is warm in color.
Additional Watercolor Painting Tips
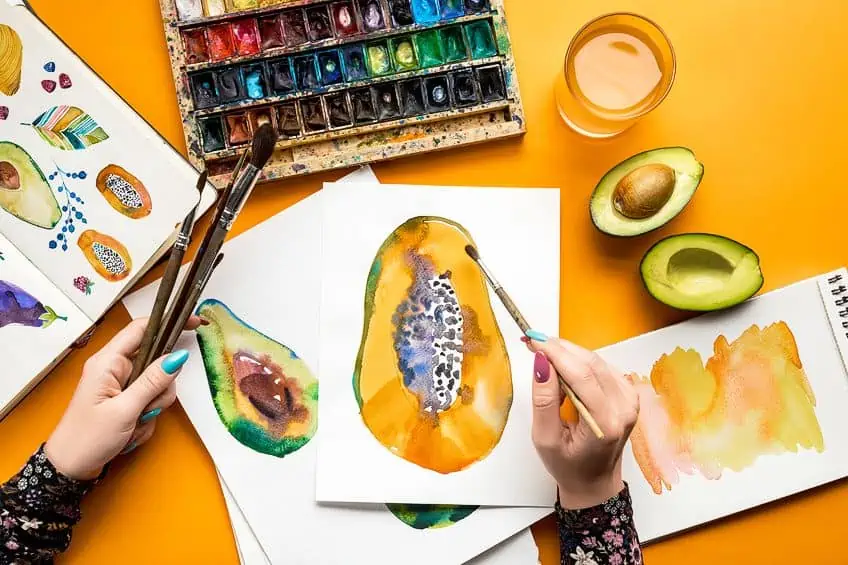
Now that you have gotten your brushes and paper together, and have combined the additional colors you require, you can begin painting with watercolors. The impact of the fresh white, reflective paper, and the luminous, delicate colors combined will create an enchanting piece of art. We have put together a few additional tricks and tips to aid you when working with watercolor paints.


Draw Your Picture First
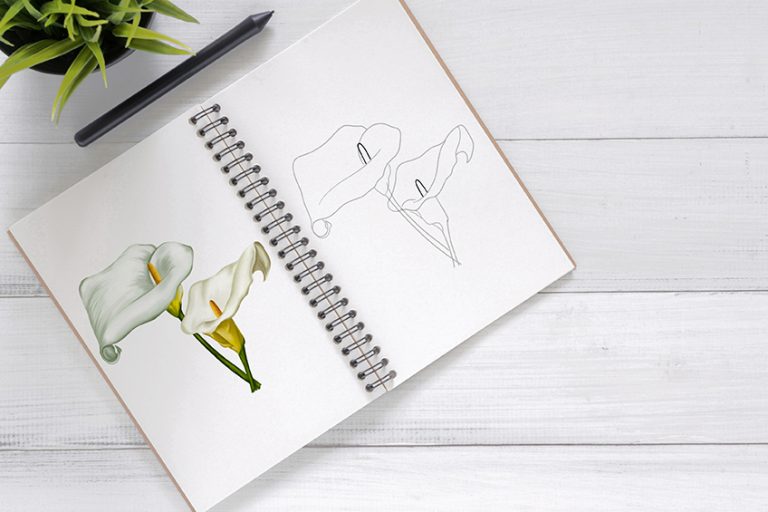
Before you can start painting a picture in watercolors, you need to have a picture to paint. The first step is therefore to softly draw your picture using a light pencil (like a 2H or a 3H). As long as you are using a proper artist’s pencil (which is water-resistant), the drawing will not spread over the paper when you apply the water.
When the paint has dried, you will not be able to remove or erase any of the pencil lines beneath the paint. Due to this, be careful to not apply too much pressure when you are drawing your picture.


Put the Borders in Place
You will require clear borders around your painting to ensure it is finished properly. To create the border around the page, you can use either painter’s tape or masking tape. You want to ensure that the tape has been stuck down firmly so that no water or paint seeps underneath the tape.
Paint from Light to Dark
If you were painting with a different medium which is not watercolors, such as acrylics or oils, you would paint the darker colors first and then add the lighter colors. However, when you are working with watercolor paints, the process is the opposite as you work from light to dark. This is because all the luminosity (the light) emanates from the white paper, not from the paint itself.
So, if you were to paint from dark to light, none of the light colors will be visible as the dark colors will have completely absorbed them.


Working with Negative Space
This technique is unique to watercolor painting. It works in conjunction with the aspect of painting from light to dark. The technique ensures that the areas of the painting closest to the person viewing it are lighter, and the darker parts are further away.
To form negative spaces, you will highlight the area of the painting that you would like to stand out.
So, should you wish to create negative space with an object (such as a flower or a tree), you would gradually fade the paint around the object and thus surround it with a dark color. The level of darkness used (the darker the color) around the picture, the lighter it will look to the viewer.
Wet and Dry Painting Techniques
As you are aware, watercolors are a water-based medium. You will be able to change the color’s darkness and its saturation (the brightness of the color) by using water.
If you are looking to give the subject you are painting a crisp and defined edge, you would apply wet paint to either dry paint or dry paper. In this way, the paint will be placed where the brush has been applied.
On the other hand, if you are looking to create a more undefined, fluid effect, you can apply clean water to the paper and then add your paint to that. This is a method where you will have less control but it does provide an interesting and abstract look.


Fixing Your Mistakes
It is completely understandable for you to make mistakes, even professionals make mistakes! While you are unable to erase your mistake (like you can erase pencil marks), there is a way to lift the color off of the paper. Allow the paint time to dry, and then take a clean and watery brush, and paint over the area or shape you are looking to lift or erase. Allow time for the “painted” area to set, and then using a paper towel, gently wipe it away. The color will begin to lift from the area you just painted. Before you paint the area over again, allow time for it to dry.
These tips for watercolor painting will help a beginner tackle the challenges of watercolor painting and hopefully make it all seem less overwhelming. They will help answer the question of how to paint with watercolors for beginners. These watercolor tips will provide you with the skills you require to handle a watercolor painting project on your own. Remember that you might make mistakes along the way. But that is not something you should worry about, as you will learn so much along the way.
Frequently Asked Questions
How Can I Make a Part of My Picture Stand Out from the Rest of the Painting?
To achieve this, you would use the technique called painting with negative spaces. To do this, you will begin by outlining the area you would like to stand out, and gradually fade the paint away from it. In doing so, you will make the picture stand out by surrounding it with darker colors. You are effectively placing the light on dark, and using this technique will cause the lighter areas to pop. You may need to practice this technique a few times to master it, but it is a very useful option as one of the watercolor techniques for beginners, and one of the best watercolor painting tips as a whole.
If I Make a Mistake, Will I Have to Throw My Painting Away?
No, as it is quite a simple process to correct your mistake, through lifting the color. All you need to do is paint over the area where you made the mistake with some water. Then just wait for the paint to begin to lift off the paper into the water. Dry the area using a paper towel.
As a Watercolor Paint Beginner, Do I Need to Buy a Lot of Colors?
No, that is not necessary at all! You can choose to either buy tubes of blue, red, and yellow paint or buy a pan set of paints. You ideally want some cool colors and some warm colors. The different tones will provide you with different results. With only eight colors, you will be able to create an assortment of shades and hues.