
How to Draw a Magnolia Flower – A Step-by-Step Flower Art Tutorial
This post may contain affiliate links. We may earn a small commission from purchases made through them, at no additional cost to you.
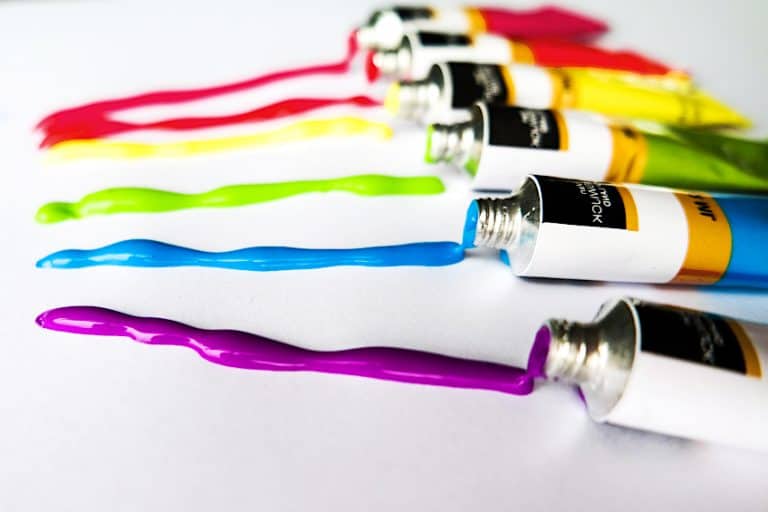
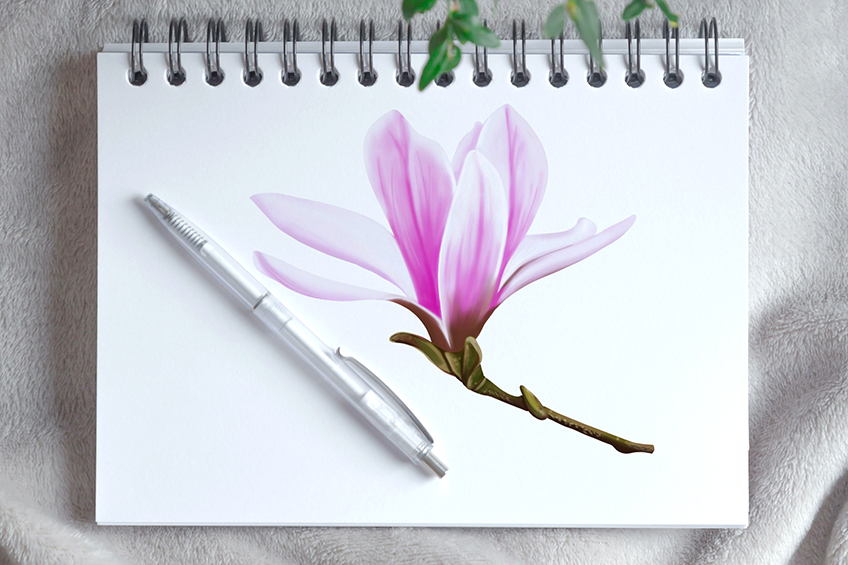
Our fascination with the marvelous Magnolia dates back to the early days of human civilization. Its roots are connected to ancient Asia and South America, yet, its common name derives from that of Pierre Magnol, the French botanist who scientifically catalogued it. The flowers are found on trees and shrubs and grow in vibrant colors. This how-to-draw-a-magnolia-tutorial has been divided into 14 easy-to-follow steps and will make an artist out of you yet! So, grab your drawing tools, and let us begin the fun as we learn all about drawing a magnolia flower!
Table of Contents
- 1 A Step-by-Step Guide on How to Draw a Magnolia Flower
- 1.1 Step 1: Constructing the Petals of Your Magnolia Illustration
- 1.2 Step 2: Adding More Petals to Your Magnolia Outline
- 1.3 Step 3: Drawing the Tepals of Your Magnolia Outline
- 1.4 Step 4: Continuing the Final Tepals of the Magnolia Illustration
- 1.5 Step 5: Drawing the Stem of Your Magnolia Outline
- 1.6 Step 6: Adding the First Coat of Color to Your Magnolia Flower Drawing
- 1.7 Step 7: Adding Color to the Stem of Your Magnolia Flower Sketch
- 1.8 Step 8: Applying Another Color Coat to Your Magnolia Flower Drawing
- 1.9 Step 9: Applying More Color to Your Magnolia Flower Drawing
- 1.10 Step 10: Adding Texture to Your Magnolia Flower Drawing
- 1.11 Step 11: Blending the Colors of Your Magnolia Flower Drawing
- 1.12 Step 12: Detailing the Stem of Your Magnolia Flower Drawing
- 1.13 Step 13: Applying Texture to the Stem of Your Magnolia Flower Drawing
- 1.14 Step 14: Completing Your Magnolia Flower Drawing
- 2 Frequently Asked Questions
A Step-by-Step Guide on How to Draw a Magnolia Flower
By using our simple art tutorial, you will soon see how easy it is to create a beautiful magnolia flower drawing! This step-by-step guide is easy enough to help any beginner feel confident enough to create a beautiful and realistic magnolia flower drawing. We will go through the basics of drawing the foundation lines, applying color, and creating shading.
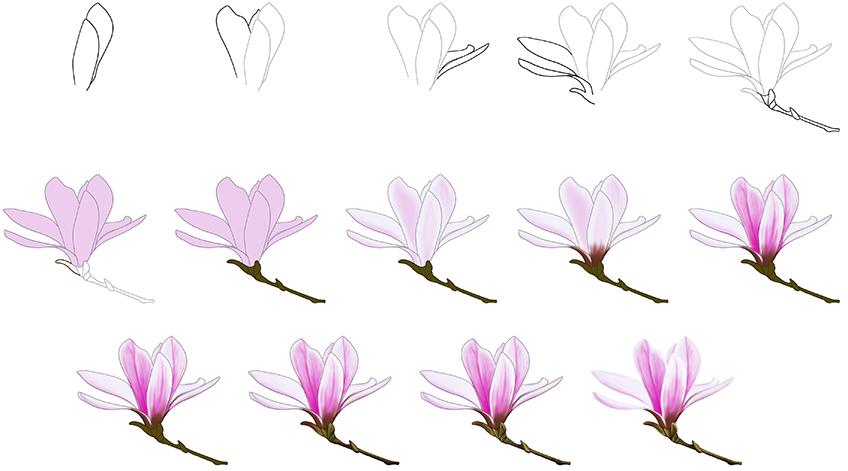

This diagram shows the 14 steps that we will explore to create your realistic magnolia flower drawing. Familiarize yourself with these steps and choose your desired medium. This tutorial is designed for a painting medium, but, as usual, you are welcome to adapt it to your chosen physical or digital medium. If you want to use a digital design tablet, remember to make the foundation lines a separate layer to remove later on.
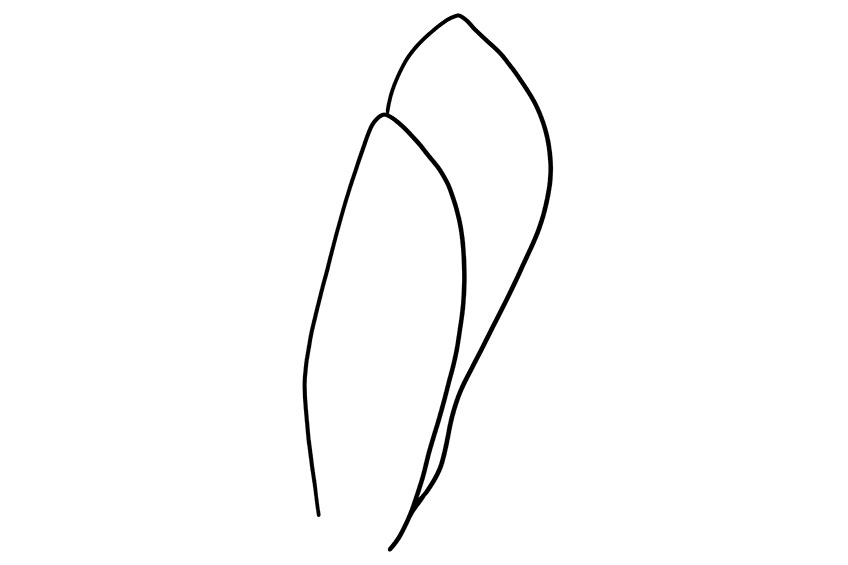
Step 1: Constructing the Petals of Your Magnolia Illustration
As with most drawings, the beginning steps of our how-to-draw-a-magnolia-flower tutorial are to draw the foundation lines. Draw the first petal facing upwards and the second gently overlapping the first.

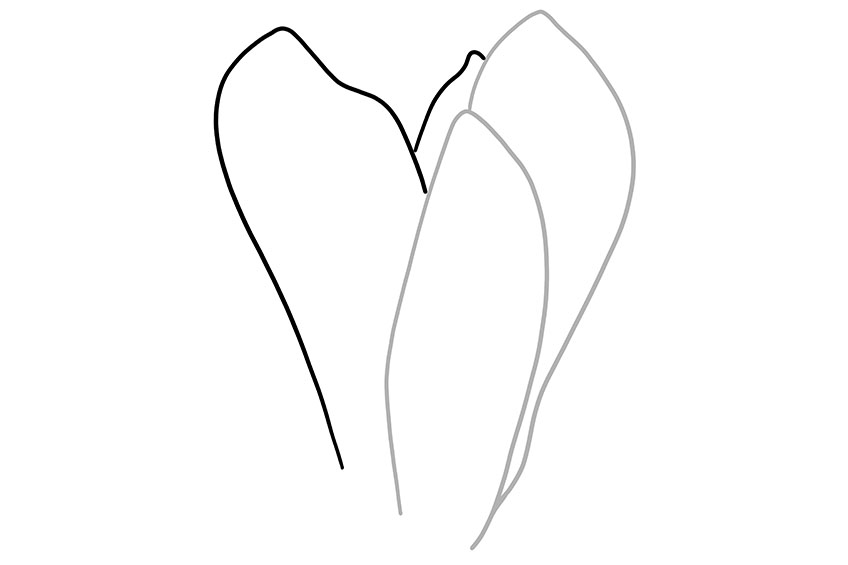
Step 2: Adding More Petals to Your Magnolia Outline
You will now be adding the second layer of petals to your magnolia flower sketch. Draw the petals on the left-hand side, with one petal in view and the additional petals peaking around the sides. Make sure the petals begin at the base of your flower.

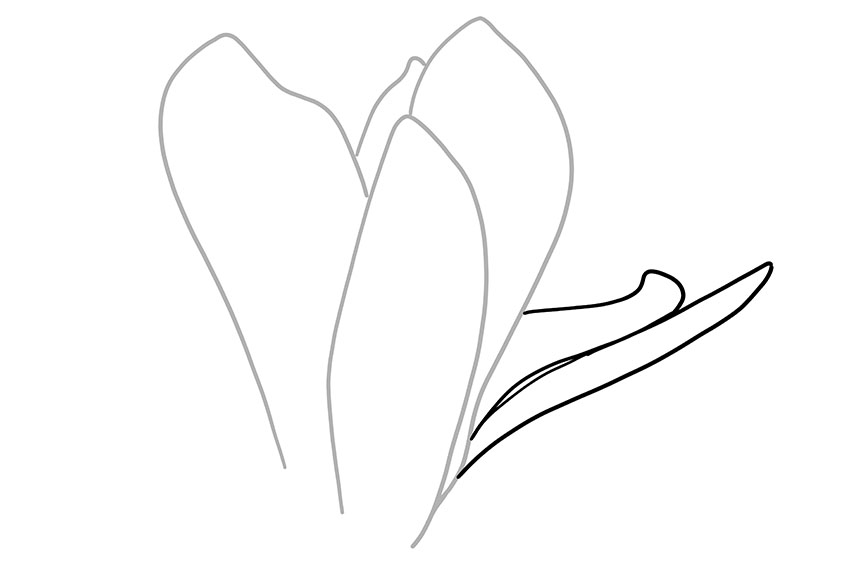
Step 3: Drawing the Tepals of Your Magnolia Outline
The tepal of a magnolia flower can be described as the outer petal. However, it is not necessarily a petal or a sepal, so it was named the tepal! Outline these tepals sideways from the main flower petals.
Have a look at our example.

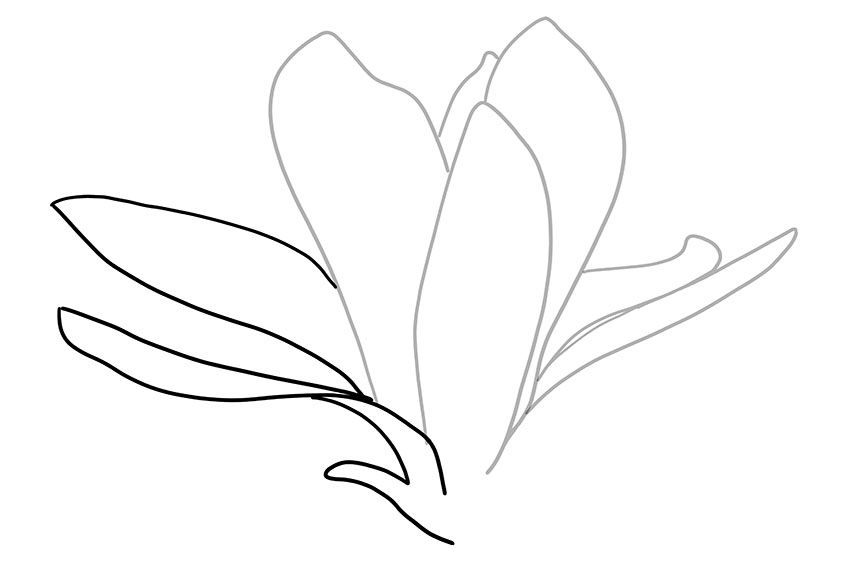
Step 4: Continuing the Final Tepals of the Magnolia Illustration
Continue to draw the magnolia flower tepals on the left-hand side. Do the same as you did in the last step. Try and create a wrap-type overlaying of your visible petals.

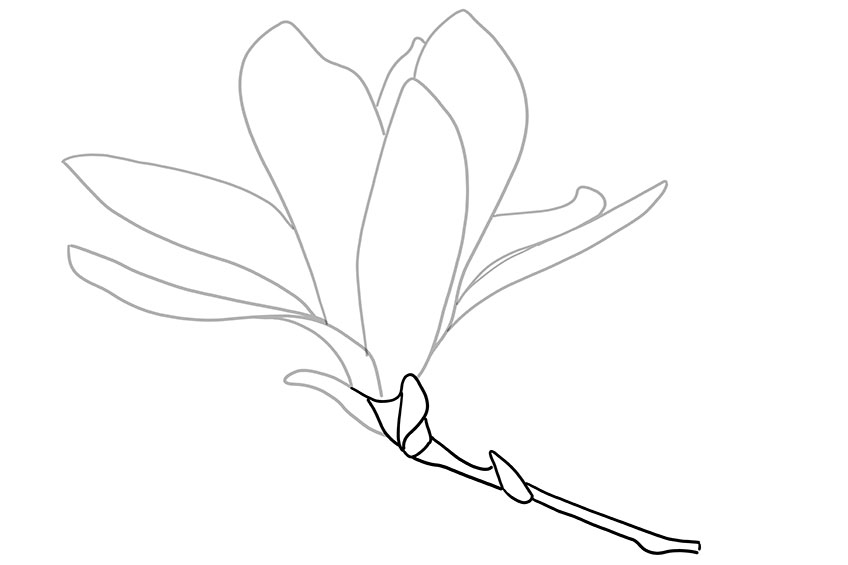
Step 5: Drawing the Stem of Your Magnolia Outline
By this step of your drawing, you should have completed the foundation lines of the petals of your magnolia illustration. Next, you will draw the stem and a closed flower bud on the branch. Begin by drawing two short stem lines and add a small flower bud protruding from the branch.
Lastly, finish it with two lines facing downwards.

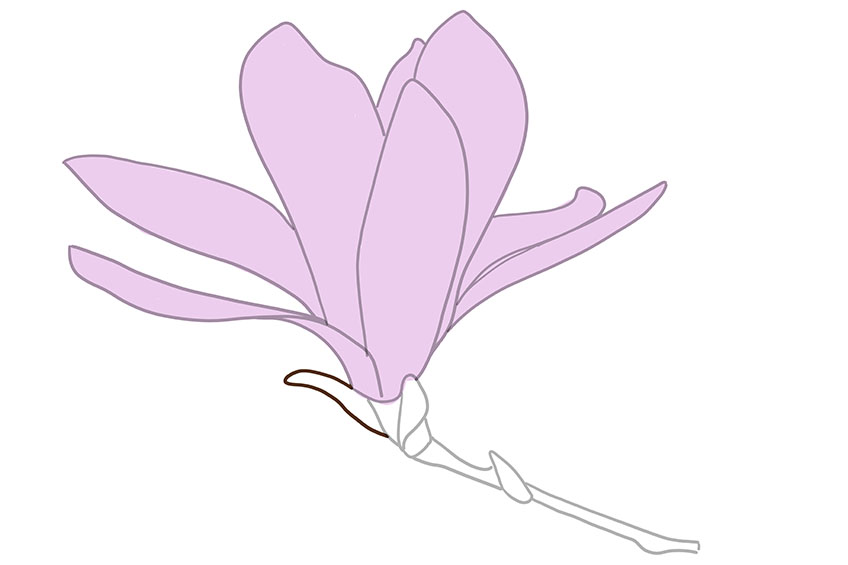
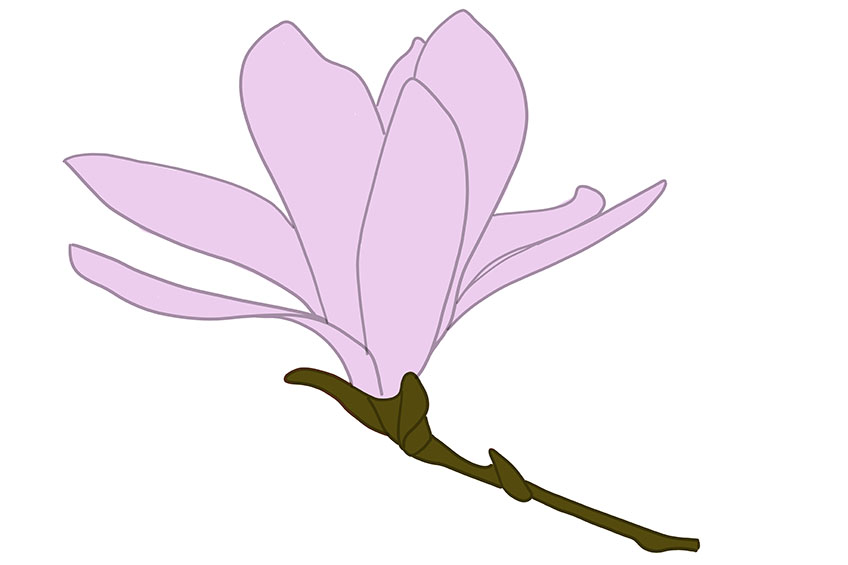
Step 6: Adding the First Coat of Color to Your Magnolia Flower Drawing
The outlines are now complete, and you are ready to begin adding the first coat of color to your magnolia flower drawing! Take a regular-sized paintbrush with some lilac paint and coat the whole magnolia flower and tepals. Do not paint the stem yet!

Step 7: Adding Color to the Stem of Your Magnolia Flower Sketch
Again, use a regular paintbrush, but, this time, choose dark olive-green paint. Gently apply a coat of paint to the magnolia flower stem.

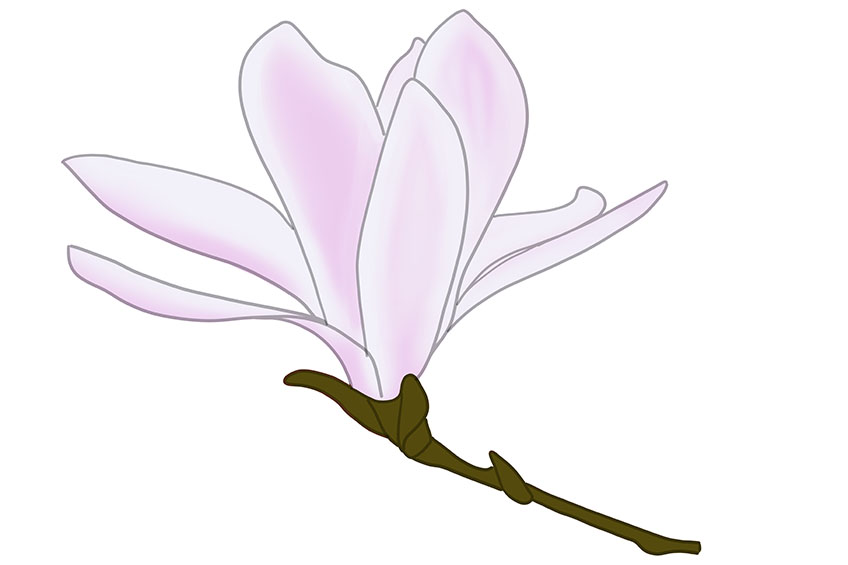
Step 8: Applying Another Color Coat to Your Magnolia Flower Drawing
In this next step, you will add a second coat of paint to your magnolia flower drawing. Using white paint and a soft paintbrush, gently apply the color to the edges of the flower petals and tepals.
After you have finished this step, you can gently smooth and shade the lilac into white.

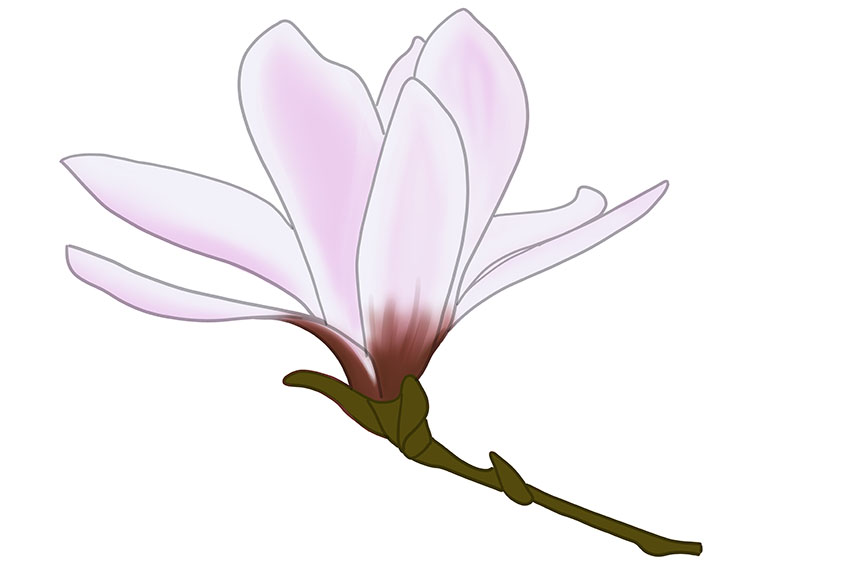
Step 9: Applying More Color to Your Magnolia Flower Drawing
To make your drawing of a magnolia flower even more realistic, you must add a dark shade of brown to the base of your flower. Create gentle and short brush strokes from the base of the magnolia flower and the stem, moving in an upward direction. Use a small paintbrush for this.
The idea is to create a beautiful fade of dark to light.

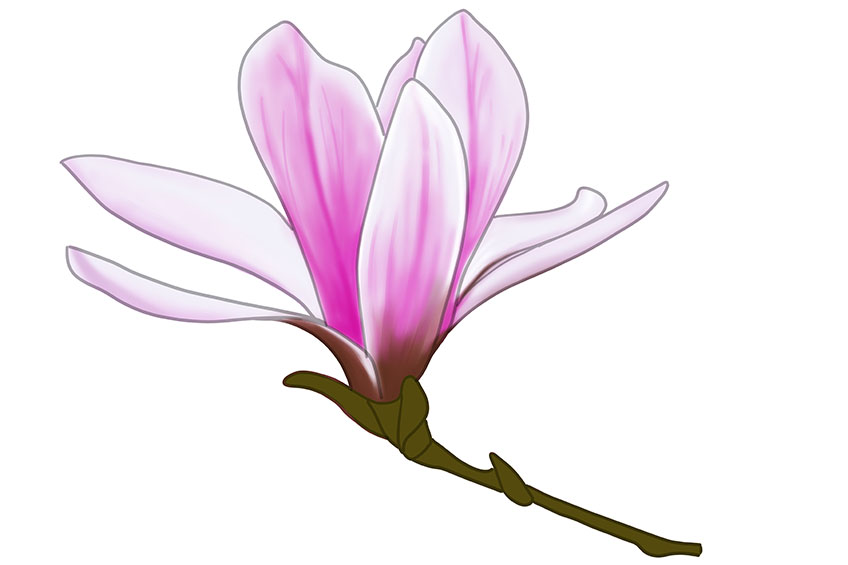
Step 10: Adding Texture to Your Magnolia Flower Drawing
You are more than halfway through our how-to-draw-a-magnolia-flower tutorial, and now it is time to add texture to your sketch! Take a sharp paintbrush and bright purple paint and use fine brushstrokes from the base to the tips of the petals.


Step 11: Blending the Colors of Your Magnolia Flower Drawing
All you need to do for the 11th step is blend the colors and texture lines from the previous step. Take a soft blending paintbrush to create a smoother finish. Pay close attention to the lines between the petals and the tepals on your drawing of a magnolia flower.

Step 12: Detailing the Stem of Your Magnolia Flower Drawing
Detailing the stem of your magnolia flower drawing is simple: take a soft paintbrush and brown paint and apply it along the edges of the stem while following the curves and lines to make them appear separate.
Now, take a touch of bright olive-green paint and a soft paintbrush and add some highlights to the stem.


Step 13: Applying Texture to the Stem of Your Magnolia Flower Drawing
To make the stem of your magnolia flower sketch look natural, you will need to add texture by adding some brown paint and using a small paintbrush. Gently apply a few fine textured lines along the edges of the magnolia’s stem. You can switch to white or even bright green paint and repeat.
Finally, you can take a fine-tipped paintbrush and white paint and begin to add a few dots along the edge of the stem.


Step 14: Completing Your Magnolia Flower Drawing
This is the final stage of our how-to-draw-a-magnolia-flower tutorial! All you need to do now to complete the drawing process is erase any pencil lines that may be sticking out. Next, using a sharp paintbrush and the corresponding shades for the petals, stem, and tepals, gently trace over the edges, giving the final painting a completed and seamless effect.
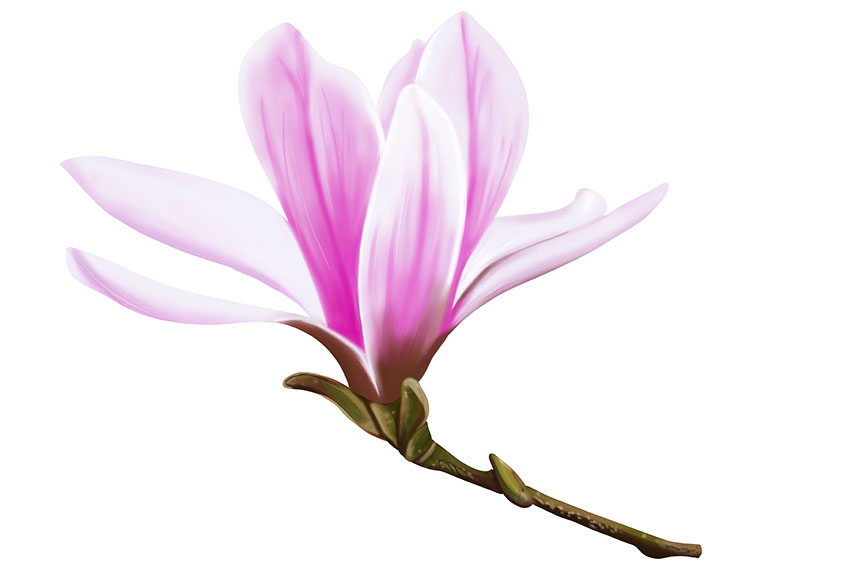

Well done! You have completed our fun and simple guide on how-to-draw-a-magnolia-flower! We hope that you had loads of fun and that you will choose another one of our easy-to-follow tutorials for your next art project! Happy sketching!
Frequently Asked Questions
Is Sketching a Magnolia Flower Drawing Easy?
Drawing a magnolia flower is easier than you would expect. In this how-to-draw-a-magnolia-flower tutorial, we explain the 14 basic steps that should be used to create a life-like magnolia flower artwork. This lesson focuses on creating foundation lines and how to use color and texture for a realistic effect. Not to mention their leathery type petals, which contain exquisite shades of pink and lilac, both are exciting colors to work with!
What Colors Are Suitable for a Magnolia Flower Drawing?
In reality, the magnolia flowers are traditionally white, light pink, yellow, and lilac. With this tutorial, you will be using light pink, lilac, and a touch of white. Remember, in the world of art, it’s always advised to have fun and experiment rather than stick to any rules!