How to Draw a Chicken – An Easy Illustration Tutorial
This post may contain affiliate links. We may earn a small commission from purchases made through them, at no additional cost to you.
Let us say your children have friends coming over for an art and craft session and you want to start them off with an epic farmyard theme. What better way than to start with a chicken! This tutorial will teach you how to draw a big brooding hen. Or maybe you teach an art class and the subject for the day is a chicken sketch. We shall make this chicken drawing, or hen drawing, a piece of cake! So, get into something comfortable, and before you know it, you will be able to complete any hen drawing, in any setting you choose.
Table of Contents
- 1 An Easy Chicken Drawing Tutorial
- 1.1 Step 1: Constructing the Chicken’s Body
- 1.2 Step 2: Drawing the Chicken’s Head
- 1.3 Step 3: Your Chicken’s Beak
- 1.4 Step 4: The Wattle and Comb
- 1.5 Step 5: Drawing the Neckline
- 1.6 Step 6: Drawing the Chicken’s Tail
- 1.7 Step 7: Constructing the Legs and Feet
- 1.8 Step 8: Outlining Your Chicken
- 1.9 Step 9: Detail and Texture
- 1.10 Step 10: The First Layer of Color
- 1.11 Step 11: The Next Coat
- 1.12 Step 12: Shading
- 1.13 Step 13: Adding Highlights
- 1.14 Step 14: Coloring the Wattle and Comb
- 1.15 Step 15: Last Details
- 2 Frequently Asked Questions
An Easy Chicken Drawing Tutorial
If you want to learn how to draw a chicken, then you have stumbled across the right page. This chicken drawing tutorial is laid out as a series of simple and easy-to-follow steps. During this tutorial, we will have you draw a series of shapes and lines that may seem confusing at first. These are known as construction lines, and the are what keeps your chicken in the correct proportions, which is the secret to creating a drawing that looks professional.
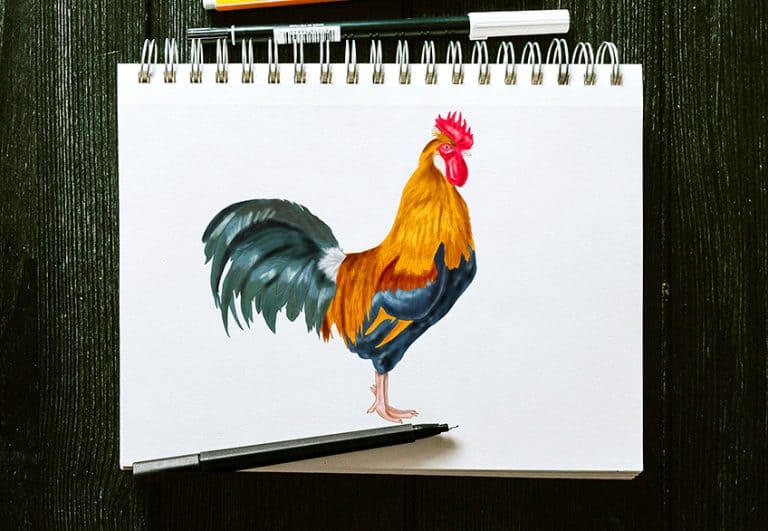
We have broken your chicken drawing down into 15 steps, so it will be easy to follow. Keep reading and get out all your drawing equipment for this “how to draw a chicken” tutorial. This chicken drawing is easy as pie! Take a look at our drawing of a chicken before you start so that you get an idea of what you are aiming for with your chicken drawing.
If you look below, we have provided an example of each step, so that you can get a clear idea of the steps that are to follow. As you can see, the first few steps of your chicken sketch tutorial are comprised of shapes and lines, and these are the construction shapes.


Step 1: Constructing the Chicken’s Body
This first step in your chicken drawing is where you lay down the foundation. This main construction shape will take the form of a large oval that sits right in the middle of your page. Make sure to leave room around the oval because there are additional shapes and lines that will need to go there. This is for the feet, wings, and head of a chicken.


The oval should also be slightly elongated, more than your typical oval shape. Your oval should also be tilted to the side slightly as well. The right-hand side of the oval must be further below and the left-hand side should be at the top.
Step 2: Drawing the Chicken’s Head
For the head you must draw a much smaller oval that is lying horizontally, a few centimeters above the big oval, remembering that chickens do have longer necks than the average bird. The left side of the oval should tilt downwards.


Step 3: Your Chicken’s Beak
The next step in your drawing of a chicken is yet another construction shape. This one will be a half triangle that comes out from the head’s oval, yes you guessed it, it is there to create the shape of your hen’s beak. This half triangle, or “V” shape, is situated on the left side of the head’s oval and it points to the left-hand edge of the canvas, or the paper you are drawing your chicken on. For an accurate drawing of a chicken, the beak should be slightly curved on the top of the beak, and straighter on the underside.


Step 4: The Wattle and Comb
This is definitely the funniest part of a chicken, the wattle that wobbles in an ever-so amusing manner. The construction lines for the wattle and the comb of your hen will be delineated with lines. The wattle is the part of the chicken that sits under their beak, and the lines for this should look like an uneven semi-circle that starts from right where the bottom of the beak connects with the head, around the right and reconnected with the head’s oval, in the middle at the bottom.


The comb of your chicken drawing will be a similar shape to the wattle’s construction line, but at the top of the chicken’s head. This shape will be more narrow closer to the beak, and it will loop over to the right and back under to connect with the head.
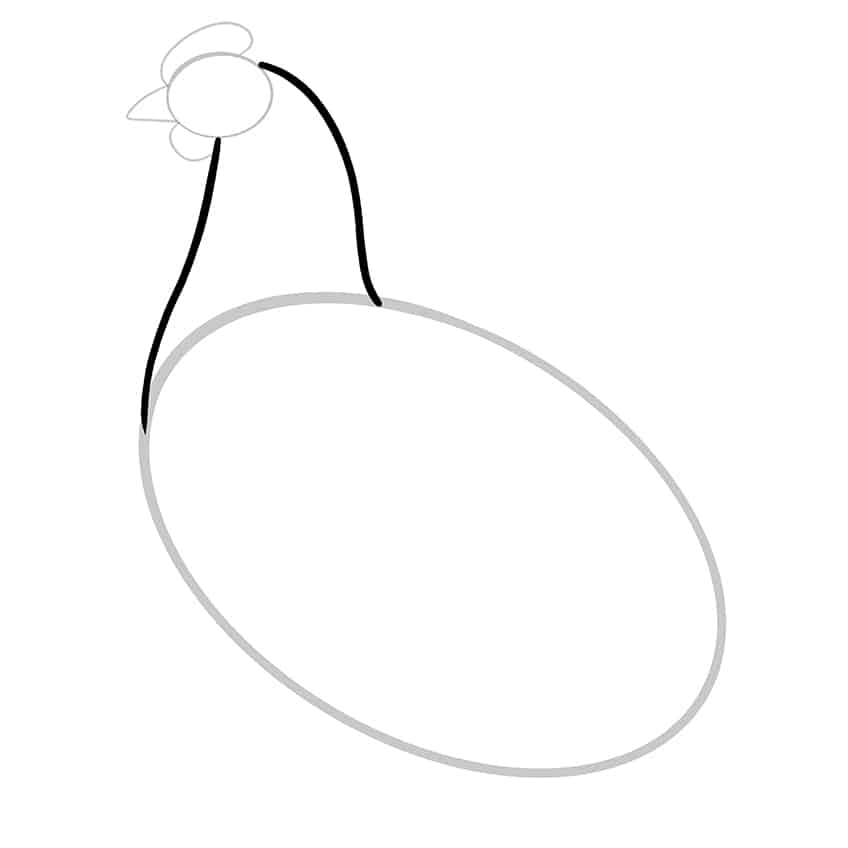
Step 5: Drawing the Neckline
Now we can connect the disembodied head to the body’s construction oval, by drawing lines for the chicken’s neck. On the left, the neck should curve out from right next to the comb of your chicken and then come back in to connect with the body of your chicken. The left-hand side of the neck will bend inwards, towards the right-hand line. Then curve back outwards to connect with the body’s oval.

Step 6: Drawing the Chicken’s Tail
The chicken’s tail (in construction form) looks very similar to the shape of a shark’s dorsal fin. This shape can be done free-hand. You can use a bit of artistic freedom to get the tail done as it can be a bit wonky, and the feathers are still to come. See our example below.


Step 7: Constructing the Legs and Feet
The seventh step in your chicken drawing tutorial is the part where we draw the construction lines and shapes for the feet of your chicken. These are pretty simple, yet they can be tricky at the same time. These are simple lines that fork out into three toes, which will get more detail added later on. Again, see our reference below as an example. The second leg and foot will be the foot that is closer to you and you can show this by making that leg (which is on the left-hand side of the first leg) a little bit longer and more curved.


Step 8: Outlining Your Chicken
In this step, we will be adding the outline of your chicken. This is where you will start to see the chicken amongst all the shapes and lines from the construction phase of the drawing. Using rough sketching lines to represent the feathers that cover the chicken’s body, you can follow the body’s oval construction shape, starting from under the tail and going to the left, and looping up with the neck.
Your line can become a bit smoother in front there, and you can trace the shape of your chicken’s wattle, make the sharp curve and point of the beak which connects with the comb on the top of your chicken’s head. Continue the feathery line for the rest of the neck, straightening out for the back, and then you can draw in the tail feathers. This can be done with straight lines that curve to the right to connect with the next feather you draw after that.
In the dip of the chicken’s back, you can start the wing. This is very similarly done to the tail feathers, and if you are confused, you can look at the example we have laid out for you below (yes, pun intended)


Step 9: Detail and Texture
The top of the head should be filled in with little spots and short lines, and around the split in the beak, you can add texture and a touch of shading up around the bottom of the comb.
Adding in some small spots and little lines will add to the top of the head of your chicken, and some shading to the centerline of the beak. As you draw the details around the head of the chicken, you can use these same little detailing lines and spots, and as you move down the neck you can make the lines longer than when you started.


The same details that you drew for the tail feathers can now be applied all over your chicken as the feathers that cover its body. As you move down the chicken’s back, these little curves should begin to get progressively broader and wider as you move towards its tail. The larger feathers will also need some detailing. You can do so by drawing the little lines that add the right texture to the feathers. This is because the larger the feather is, the more detail will be visible to the person viewing the drawing.
The ultimate method for feather drawing is by only doing one row at once, and then continuing until all the rows are finished. This will optimize your realistic drawing because the feathers will look like they grow just like a real chicken’s feathers grow – in layers.
Step 10: The First Layer of Color
Most painting tutorials will explain how a base coat is needed. This allows for a solid application of colors and is an essential step for a professional-looking painting.
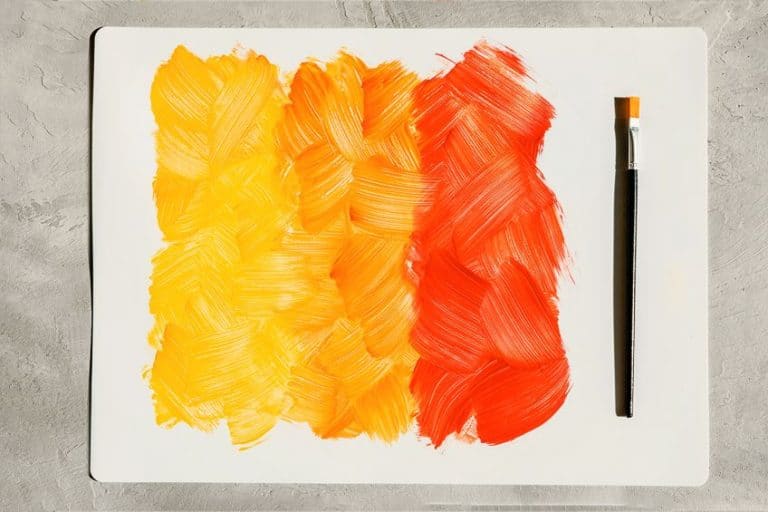
The chicken we are drawing will be brown, but with that, a large variety of brown shades. The first step in adding color to your chicken is painting a base coat. Make sure that you use a brown that is of a medium shade, and not top dark or too light. The brown we used in our example below is an orange-brown, so you can choose something similar, or you can go with a different color entirely.


Step 11: The Next Coat
The second coat gets a little more interesting because it is where you will be adding some highlights and shadows to represent the depth of your drawing. Using a darker brown first, add some shadow in and around the feathers, they will be ruffled, so the light would hit the feathers in a certain way. Once you have finished with the shadows, you can use a lighter brown than the base coat brown, and add the highlights to the feathers around the shadows. The highlights can also fall mostly on the outline of the wing, as well as the tail feathers because they stand out and would catch the light.


Step 12: Shading
This is the part where you will blend the colors together by adding some shading effects. You can also take an even darker brown and accentuate the shadows you added in the previous step. Add more of the darker brown shadow around the wing, the underbelly of the chicken, and its tail feathers. Do not forget to add some more shadows on the back of the chicken’s head and neck.


Step 13: Adding Highlights
We have added in some highlights in step 11, but this step is where the rest of them come in. Coloring your chicken, or anything, in a realistic way is all about coloring in layers. Use a very light brown, or beige-white for the top highlight, and focus on the chicken’s nether regions. These highlights in the chicken’s body do not have to be many, it is only a few spots.


Step 14: Coloring the Wattle and Comb
The wattle and the comb of your chicken are the last to get attention. They are both a pinkish-red color and you can color them by painting a base coat and then adding the shadows and highlights. This is the same principle as the way you have colored the whole chicken, so you can make use of the skills and instructions that we have explained above. Remember the highlights on the comb should be focused at the top because it stands out and would catch the light. The shadows on the wattle will be more in the middle, and the highlights around the outline, for the same reasoning as the comb.


Step 15: Last Details
Now for the finishing touches. For this section, you will need a yellow color, and you will then color the eye and the beak with this color. Make sure that you add a highlight to the eye, as it plays a big role in the realistic drawing. The highlights on the beak should be around the edge of the beak, and the shadows should be near the centerline of the beak.


Et voilà! Your chicken is done! Are you not proud of yourself for finishing this tutorial, and happy to see a shining realistic chicken almost hopping out from the page you drew it on? Now you can start to apply these styles of drawing to drawing any chicken you want – happy drawing!
Frequently Asked Questions
How Do You Draw a Realistic Chicken?
When creating a realistic chicken drawing there are many aspects to consider, including feather details and colors. In addition to nailing the depth, proportions, and the angle the light is coming from on your drawing of a hen, it is also very important that you get the proportions right. We will show you exactly how to do all that in our simple tutorial!
What is the Best Way to Draw a Chicken with Different Colors?
In terms of its basic form and details, there are many similarities between chickens. Individual chickens have different colored feathers, and you have a great deal of freedom when it comes to choosing colors for your sketch.