Resin Jewelry – Tutorial on How to Make Resin Jewelry
This post may contain affiliate links. We may earn a small commission from purchases made through them, at no additional cost to you.
The use of epoxy resin in making jewelry allows for an endless amount of imagination and creativity. The popularity of this DIY trend stems from the versatility of the resin itself, as you can use this crystal-clear coating to turn any small trinkets and decorative pieces into a beautiful and long-lasting piece of epoxy jewelry.
Table of Contents
- 1 What is Resin Jewelry?
- 2 What Kinds of Jewelry can You Make with Epoxy Resin?
- 3 The Best Resin for Jewelry Designs
- 4 Silicone Resin Jewelry Molds
- 5 How to Make Resin Jewelry: A Step-by-Step Guide
- 6 How to Make Resin Jewelry with Wood
- 7 Embedding Decorative Items in Your Jewelry Resin
- 8 Creating Colorful Designs and Effects in Resin Jewelry
- 9 Considerations when Making Resin-Based Jewelry
- 10 Frequently Asked Questions
What is Resin Jewelry?
Epoxy jewelry refers to any piece of jewelry that has been cast in or made with epoxy resin. This material is widely used within the field of DIY arts and crafts, where it can be used as a protective coating for furniture and art, made into a stylish countertop, or even used to create unique resin jewelry.
Epoxy resin can be made by mixing a resin and a suitable hardener together, both of which are sold as liquids. When combined, these two components will undergo a chemical reaction that will cause the liquid to turn into a solid. The best resin for jewelry will dry with a crystal-clear and durable finish that will protect your piece with great effect.


What Kinds of Jewelry can You Make with Epoxy Resin?
There is a seemingly infinite amount of options with regards to making jewelry resin. Once the epoxy resin solution has been mixed, you can add anything from various color pigments, precious stones, glitter, small plants, trinkets, and much more. You can make many kinds of jewelry, such as:
- Pendants for necklaces, bracelets, and chains
- Rings
- Earrings
- Keyrings
- Brooches and pins
- Cufflinks
- And many other accessories
There are endless creative options to create all kinds of resin jewelry you can put on your jewelry display.
The Best Resin for Jewelry Designs
For your jewel resin creations to be as beautiful and of the best quality as possible, it is important to choose the most appropriate resin for your specific project. There are four main resin varieties, each of which has a different composition that will have an effect on the final look of your piece. The composition of each type of resin will influence your processing technique, the curing time, and the final appearance of your piece of jewelry. Read through our list of the best resin for jewelry to help inform your decision:


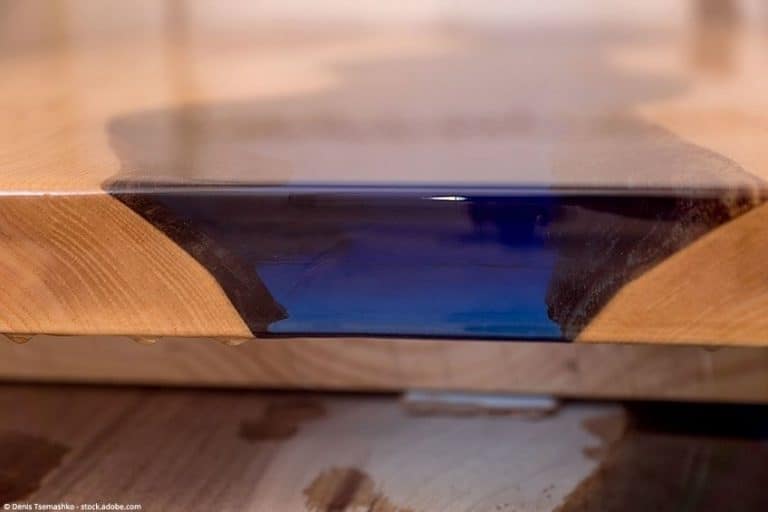
Casting Resin
Casting resin, as its name suggests, is ideal for filling resin jewelry molds due to its low viscosity. The viscosity of a resin refers to its pourability, or how fluid the liquid is. As casting resin has a more water-like consistency, it can be poured into fairly thick layers, although it also has a much longer curing time. Its low viscosity also makes it ideal for use on larger items such as furniture. Casting resin may cost a bit more than other resins, but it has no odor, dries completely clear, and is non-toxic once it has cured. We recommend using:
FGCI Superclear Liquid Glass Deep Pour Epoxy
This brand of resin can be described as “liquid glass” due to its transparent, crystal-like finish. It has a low viscosity to allow for easy pouring and has been formulated specifically so as to release bubbles automatically.

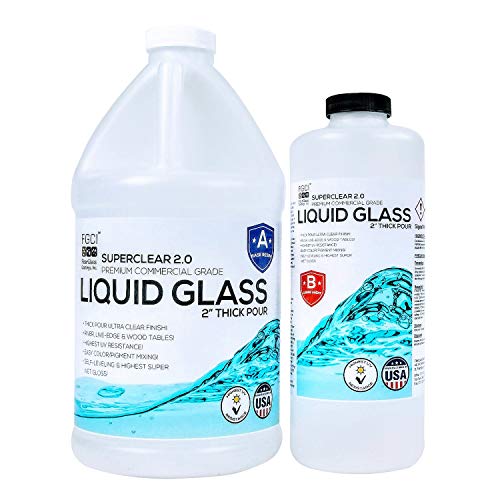
- High-quality, crystal clear Castin Resin from FGCI
- Pour 2 – 4 inches thick forms
- Perfect for Epoxy Tables and deep Resin molds
In small quantities, such as for making jewelry, this resin should be mixed to no less than one pint so as to ensure that the mixing ratio is correct.
Pros
- Top-quality resin with a crystal-clear, glass-like finish
- Deeper pour of up to 2 to 4 inches thick
- More durable and stable
- Heat- and UV-resistant
- Produces few to no bubbles
- Less likely to yellow over time
- Great color integration
Cons
- Expensive
- Long curing time
Laminating Resin
Also referred to as countertop resin, laminating resin can be viewed as the most classic choice for your jewel resin, as it is very popular within the art community. The key difference between laminating resin and casting resin can be found in its viscosity: where casting resin is watery, laminating resin possesses a consistency similar to that of honey. The medium to high viscosity of this resin makes it most suitable as a coating or sealant of surfaces in thin layers.
The fast curing time of this resin means that it can overheat and become cloudy and more fragile if the layers are poured too thickly. Thus, unless used with particularly small items, this resin needs to be poured in several thin layers, each of which must dry before adding the next.
Laminating resin is primarily used to add a protective coating to paintings and other art pieces, and offers limited use in terms of casting. It is, however, of the ideal viscosity for embedding objects into your jewelry, as the items are less likely to sink to the bottom. We recommend using:
ART RESIN Crystal Clear Epoxy Resin for Art
This brand of resin has been formulated specifically to be used for art projects. Your pieces will receive a protective coat that is crystal-clear, making your work of art appear to be that much more vibrant.

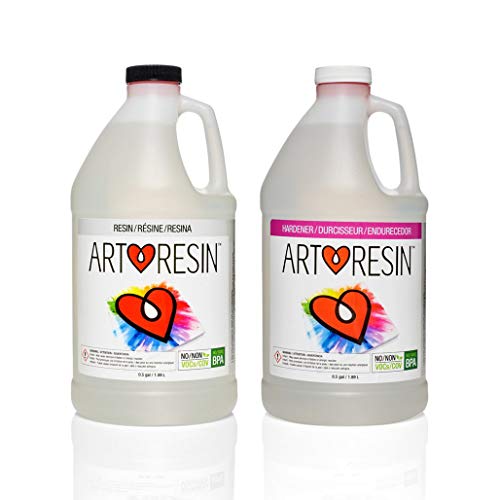
- Highest Quality Epoxy for Art purposes, Non-toxic
- Very easy to use with 1 : 1 mixing ratio
- UV stabilized for unparalleled non-yellowing protection
The resin is easy to use, durable, and provides a UV protected finish for all kinds of resin creations. This is the ideal resin for a glossy jewelry casting.
Pros
- Easy to use with a 1:1 mixing ratio
- Non-toxic, no VOCs, and no BPA
- Non-flammable
- UV- and HALZ-stabilized to prevent yellowing
- Safe to come into contact with food once cured
- Glossy finish
- Self-levelling
Cons
- Costly
- Non-toxic only once it has cured completely
Polyester Resin
Resin made out of polyester is a much cheaper alternative to other resins that is quick to harden and is quite durable. However, polyester resin emits a strong smell and does not dry with the crystal-clear finish of casting and laminating resins, but instead leaves behind a surface that is somewhat cloudy. Thus, this type of resin is mainly used for the molded aspects of your piece of jewelry. We recommend using:
FGCI Clear Casting Polyester Resin
This brand of polyester resin has a low viscosity and low exothermic rate, meaning that it is easy to pour and can be applied in thicker layers.

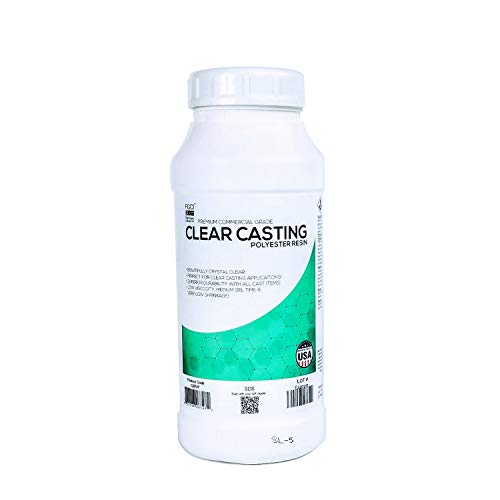
- Perfect for Resin Casting, crystal clear
- Superior durability with all cast items
- Low Viscosity, medium gel, very low shrinkage
This resin offers a cheaper alternative for casting your jewelry in resin that is easy to use, although you will need to buy a hardener separately.
Pros
- Cheaper than other resins
- Less sensitive to external temperatures
Cons
- Does not dry completely clear
- Is not sold with a relevant hardener
- Strong odor
UV Resin
If you do not want to wait for your items to cure, you may be interested in this fast-curing alternative to typical resin. UV resin can be placed directly under a UV lamp in order to cure within a matter of minutes, making it ideal for casting multiple layers of resin or for making several pieces of jewelry. This resin produces no odor and its cured surface is completely transparent.
The main disadvantage of UV resin is that it can only be applied in individual layers no thicker than 4mm. This should not pose too big of an issue when learning how to make resin jewelry, however, as these pieces tend to be quite small. This resin is also ideal for embedding tiny items into your jewelry. We recommend using:
LIMINO UV Resin
This ready-to-use mixture does not require you to mix together the two resin components, meaning that you will not have to worry about achieving the correct mixing ratio.

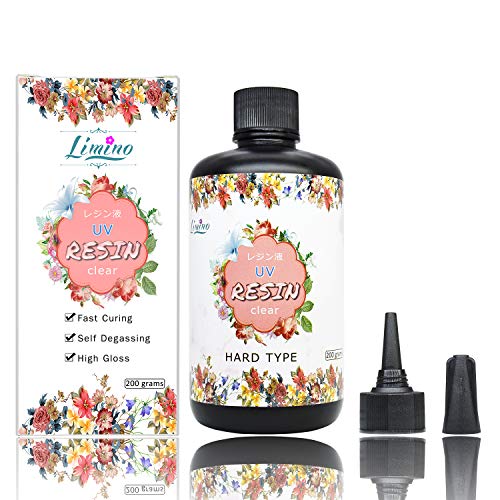
- Highest quality UV Resin from Japan
- Made with non-toxic materials
- Resistant to yellowing, very hard surface after curing
This container comes with a spout attachment for ease of use. The finished surface will be crystal-clear, glassy, and resistant to scratches and stains. When placed under a 36w UV light, this resin will harden within just a matter of minutes!
Pros
- Non-toxic ingredients
- Pre-mixed solution
- Will not yellow
- Durable surface
- Minutes-long curing time
- Self-levelling
- Degasses and removes bubbles automatically
Cons
- Produces an odor
- Not ideal for larger items
- Can be prone to shrinkage
- Surface can feel someone tacky after curing
Silicone Resin Jewelry Molds
When learning how to make resin, particularly to be used in jewelry, it is a good idea to stock up on a variety of silicone molds into which you can cast the epoxy. You will be able to go online or visit your nearest craft store to find a wide array of top-quality silicone molds for all types of resin-based jewelry! Using a mold will make it much easier to shape the epoxy into the form of a pendant, ring, brooch, or any other piece of jewelry.


How to Make Resin Jewelry: A Step-by-Step Guide
Now that you have a good understanding of the art of using resin to make jewelry, it is time for you to learn how to make resin for jewelry with this step-by-step resin jewelry tutorial.
Step 1: Preparatory Measures
- Decide on the piece of jewelry you want to make and gather together any items you may want to embed into the resin.
- Gather all necessary materials, colors, and tools that you will need. You will need an appropriate silicone mold, sandpaper of a fine grit, a sanding block, polishing paste or varnish, a bowl of water, and protective coverings for any nearby surfaces.
- You will need a UV lamp if using UV resin.
- Many jewelry pieces require you to drill a small hole for a piece of thread or a chain. For this, you will need a small drill, a stand for the drill, and a toothpick.
- Whenever you work with epoxy resin, you must ensure that you are wearing protective gear. You will need protective gloves, goggles, and a face mask with a filter.
Step 2: Making Your Jewelry Resin
- Here, you will need to know how to make resin for your jewelry. Mix approximately half of the amount of resin you will need by stirring the resin liquid and its hardener together in a container. You should carefully read through the resin manufacturer’s instructions so as to calculate the correct mixing ratio.
- Casting resin is significantly easier to mix due to a ratio of 1:1. Alternatively, UV resin does not require any mixing and can be used immediately.
- This is the step where you will add any desired color pigments to the resin mixture.
- Pour half of your resin mixture into your silicone jewelry mold. Here, you can add light materials that will not sink to the bottom, such as flowers and leaves, glitter, and feathers. Allow this layer to harden for approximately 24 hours.
- Once this initial layer has completely hardened, you can add heavier items to be embedded. These can include shells, pearls, beads, or stones. It can be helpful to use a small quantity of resin to fix these objects in place.
- Once this layer has hardened, you can use the remainder of your resin to fill up the mold. Any bubbles that have formed can be removed by lightly blowing hot air over the area.
- Leave your piece to harden entirely.
Step 3: Removing Your Pieces from Their Resin Jewelry Molds
- The curing times of resin can differ greatly, as where UV resin can cure in just a few minutes, other classic varieties can take as long as 72 hours or even several days. It is necessary to follow the manufacturer’s directions to ascertain the curing time of your resin.
- Only remove your resin piece from the silicone mold once it has completely hardened. Your piece will likely possess a few sharp edges or an uneven surface, and may appear to look quite lackluster. The next step will provide you with the crystal-clear surface characteristic of epoxy resin.
Step 4: Sanding and Polishing Your Epoxy Jewelry
- Begin by sanding down the sharp, uneven edges of your resin piece. You can do this easily by going over these areas lightly with a piece of fine-grit sandpaper.
- If you used an ordinary silicone mold as opposed to the polished variety, your resin piece will look washed out. This is easily fixed by going over your piece with polishing paste or a gloss varnish. You can skip this step by using a polished silicone mold, as these have a particularly smooth surface that will cause your resin casting to appear smooth and glossy.
- You may prefer to cover your piece with a final layer of resin instead of lacquer. To do this, you will need to sand down your jewelry piece completely so that the final resin layer is able to adhere properly without causing stains. You will need a piece of fine-grit sandpaper, water, and a sanding block. Place your jewelry on the sanding block and use an absorbent cloth as a protective base. You will then need to wet the sandpaper and go over your piece until no shine remains. After this, coat the piece in a thin layer of resin with a brush and allow it to harden.
Step 5: Drilling a Hole Into Your Jewel Resin
- Your resin-based jewelry is essentially finished! The final step is to drill a hole into your piece so that it can be attached to a chain, thread, or keyring. You must ensure that your piece has cured and hardened entirely before attempting this step.
- Start by making a small hole with a twist drill in an appropriately small size. It is best to begin with a small hole that can be made bigger as opposed to the converse. We suggest that you practice drilling a hole on a sample piece beforehand.
- A drill stand will be helpful in drilling a small, precise hole. This is because jewelry tends to be quite small, and will therefore require precision when drilling the hole.
- Use the drill art the lowest possible speed. Resin is very sensitive to temperature and may heat up along with the drill if the speed is too high, which can cause your jewelry piece to melt or become disfigured.
- We suggest putting a plank of wood at the back of your piece when drilling. This will protect any nearby surfaces. Any burrs that are left behind can be removed easily with your fingernail or another drill.
Tip: The hole into which you are drilling will likely become dull as a result. This space is very difficult to polish, however. To prevent the drill hole from mattifying, you can apply a small amount of resin into the hole with a toothpick.


How to Make Resin Jewelry with Wood
A slightly more complicated project for your resin is that of creating a piece of jewelry out of resin and wood. This piece may be more difficult to make, although if done correctly you will be left with a striking piece of jewelry! This wood and resin jewelry tutorial will help you to create jewelry made out of both wood and resin.
- Rectangular silicone molds are more suitable for this kind of piece.
- You will need to cut the wooden pieces into an approximation of your desired shape and then place each piece into an individual mold.
- Cover these pieces and fill the molds with your epoxy resin mixture.
- You can add color to your resin solution to create a beautiful and interesting effect.
- Once the resin has cured and hardened, you can take the items out of their molds.
- Sand, saw, and shape your pieces accordingly and then polish them to achieve a glossy finish.
Embedding Decorative Items in Your Jewelry Resin
You can insert almost any kind of item into your epoxy resin, from plants and glitter to stones and crystals. It is best to add a base layer before embedding heavier items, as this will prevent them from sinking to the bottom. The following are just a few examples of what you can add to your resin-based jewelry:
- Glitter and sprinkles
- Stones and pebbles
- Precious stones and crystals
- Decorative glass
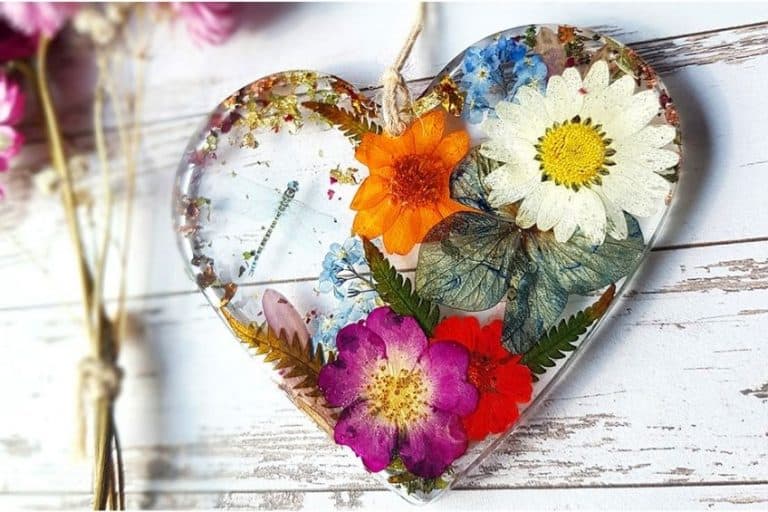
- Dried or fresh leaves, flowers, and plants
- Seashells, sea glass, and driftwood
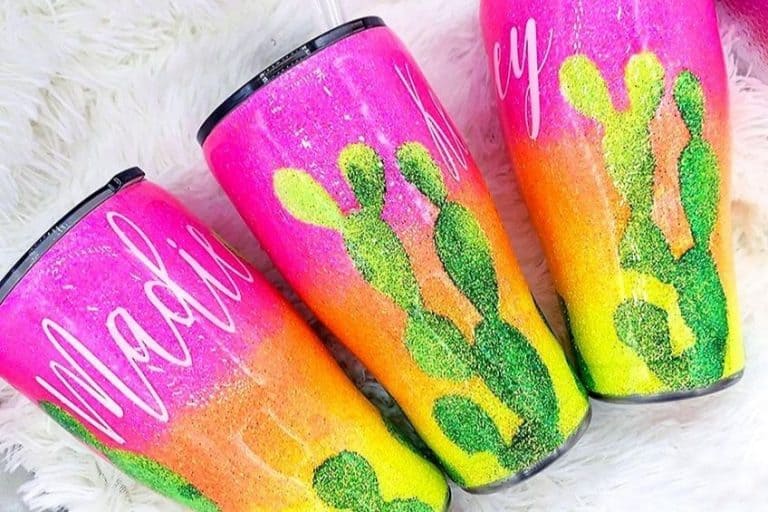
Creating Colorful Designs and Effects in Resin Jewelry
Epoxy resin is sold as a clear liquid, which means that you will need to add your own pigments and dyes in order to achieve colorful resin. It is best to dye the resin yourself with a top-quality pigment as opposed to purchasing pre-colored resin.
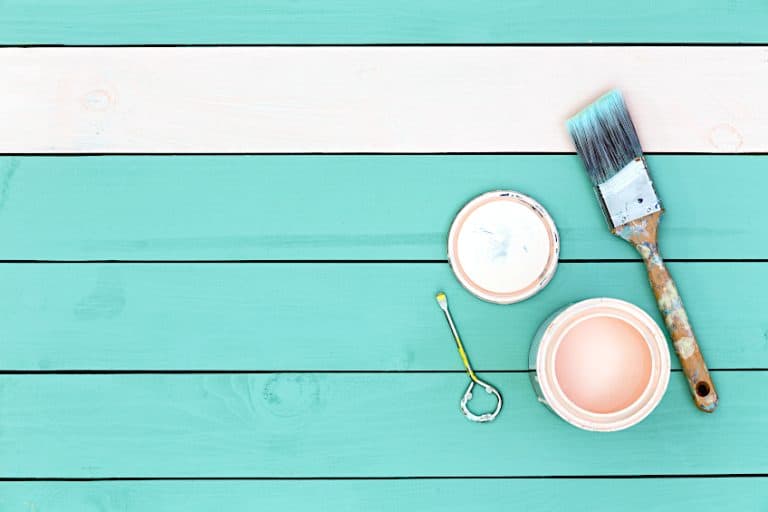
Adding Color
There are a number of ways in which you can add color to your resin. Each resin brand will have different requirements with regards to what pigments it can be mixed with, which means that you need to do your research so as to achieve a color that is long-lasting and vibrant. You can color your resin with pigments, pastes, special resin colorants, alcohol inks, and more.
Using resin-specific colors and pastes are great choices for creating an even color throughout your resin mixture. Pigments, on the other hand, are ideal for producing interesting effects and color gradients. It is worth keeping in mind that some resins may display the same color in different ways.
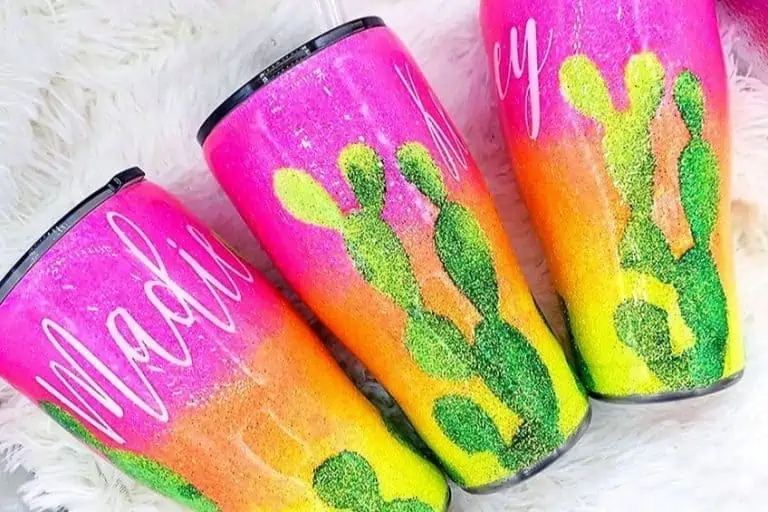
Creating Effects and Color Gradients
Effects and gradients are best achieved by adding a pigment to your resin mixture before casting. While these colorful effects can look amazing, they are very difficult to reproduce. You can achieve especially striking effects by using alcohol inks, although these colors are prone to discoloration and fading over time.
Casting Method
Your casting technique will depend on the viscosity of the resin, as this determines how easily the liquid can be poured. You can attempt many different methods to create different effects, from pouring the resin normally to dabbing or trickling.
You can either cast the resin as a single procedure, or you can create several resin layers.
- Single-casting technique – you pour the various colors into the mold together without waiting for individual layers to harden. This produces a smoother color gradient, but can cause the colors to fade.
- Multi-layer casting technique – you add each layer separately and allow it to dry before pouring in the next. This method keeps the vibrancy of the colors and displays clearer distinctions between each gradient.
Curing Period
When creating effects and gradients with color, you should take note of the following:
- The curing time is directly related to the vibrancy of the color gradients. The longer the resin takes the harden, the less vibrant the color gradient will be.
- Thus, quicker curing times will result in a more vibrant color with greater contrast between gradients.
Creating Patterns
There are many different techniques you can try to achieve a variety of interesting and beautiful patterns.
- Full-surface coloring: You will use just one opaque or transparent color to cover the surface in one action.
- Lines: Creating this pattern is a multi-layer procedure, where you will allow each layer to harden before pouring in the next one. We suggest arranging the lines in an attractive manner, and to work with a portrait orientation to make things easier.
- Marbling: This effect involves a minimum of two colors running together. We recommend using a resin that hardens quickly to create a strong effect. You can achieve this look by pouring the different colors into the mold directly after each other to create a thing stream. You can also pour the colors in a drop-like manner with the single-cast method.
- Clouds: For this effect, you will not perform any mixing. Instead, you pour a single resin layer in a single cast, on top of which you will drop the color.
- Camouflage: This design involves distinct lines and specific areas of color without any mixing. You will need to create this pattern over a two-layer process, where the first layer is poured in drops or stripes. This initial layer should be made with a viscous resin to allow for a clumped effect. Once this has hardened, you will apply the second layer of a contrasting color in the remaining spaces.
- Tortoiseshell: This is a complex effect that includes clear-cut lines filled in with color of a marbled effect. This effect is best achieved with multiple layers over a period of a few days. You will need to combine both the camouflage and marbling methods to apply your resin in a variety of ways. You will switch between pouring, dripping, and dabbing resins of various curing times and viscosities.
Considerations when Making Resin-Based Jewelry
Due to the complexity of the process of creating jewelry out of epoxy resin, there are a number of things to be considered before embarking on your DIY project.


Flowers Added to Resin May Wither, Yellow, and Fade Over Time
Flowers and plants tend to fade with time when used in epoxy projects. You can prevent this from happening either by spraying the flowers with ultraviolet lacquer or by painting over the plants to accentuate the color.
Bubbles are a Common Result of Mixing Resin
It is typical for bubbles to form when you mix your two epoxy resin components together. Professionals use degassers or pressure pots to remove all of these bubbles, although they can just as easily be reduced by using a source of hot air, like a torch or hairdryer.
Uncured Resin is Toxic
Any resin product that is not cured entirely is toxic. While in its liquid state, epoxy resin produces harmful chemicals that can be dangerous if inhaled. This is why it is so necessary to wear the appropriate protective gear when working with epoxy resin. You should also ensure that your resin is safe to be used with food once it has been cured.
Resin Can Develop a Yellowish Tinge Over Time
Depending on the quality of your epoxy resin, some types will become yellow with time. UV-protected resins of high quality are the best choice to prevent your item from yellowing.
Anyone Can Make Their Own Jewelry with Epoxy Resin at Home
Epoxy resin can be a daunting material to beginners. However, you should remember that with the proper tools and the right amount of practice, you will be able to successfully create any number of resin-based pieces of art!
Frequently Asked Questions
Is Epoxy Resin Safe for Children?
Epoxy is completely safe for use by all once it has cured and hardened completely. However, there is a slight chance that some people or even pets may experience an allergic reaction from coming into contact with this material.
Is Jewelry Made out of Resin Toxic?
Resin is only toxic in its liquid form and becomes completely safe and non-toxic once it has solidified in the curing process. You can opt for food-grade resin as well if you would like to be particularly careful.
Will My Resin-Based Jewelry Last?
This material is so popular due to its rigidity and durability. Thus, coating your jewelry in epoxy resin will make it last that much longer. However, you should avoid exposing your piece to hot temperatures, as resin is only resistant to heat up to a point.
Is Jewelry Made From Epoxy Waterproof?
Your jewelry made from resin will be completely resistant to water, although this does not mean that you should shower or swim with it. This is due to the fact that most metal jewelry clasps and attachments will rust when exposed to water.
We hope that you gain a lot of joy and satisfaction from creating your epoxy resin-based jewelry!