
How to Draw a Diamond – Easy 3D Gemstone Drawing Tutorial
This post may contain affiliate links. We may earn a small commission from purchases made through them, at no additional cost to you.
The diamond, the hardest material known to humankind and an emblem of affection and dedication, is a gleaming treasure from the earth’s deepest machinations. In today’s sketching guide, we’ll walk you through the methods of producing a realistic diamond drawing in a few simple stages. You will have a magnificent, gleaming diamond drawing in 3D once you have completed this tutorial, so collect your sketching equipment and let’s get started!
Table of Contents
- 1 How to Draw a Diamond Easily
- 1.1 Step 1: Creating the Diamond’s Base
- 1.2 Step 2: Dividing the Base
- 1.3 Step 3: Creating the Top of the Realistic Diamond Drawing
- 1.4 Step 4: Creating the Facets for the Top
- 1.5 Step 5: Creating the Inner Edge’s Outline
- 1.6 Step 6: Start Creating the Diamond Drawing in 3D Facets
- 1.7 Step 7: Additional Details to the Top
- 1.8 Step 8: Completing the Upper Details of the Diamond Drawing
- 1.9 Step 9: Complete the Mid-Cuts
- 1.10 Step 10: Completing the Lower Cuts of the Easy Diamond Drawing
- 1.11 Step 11: Creating the Point of the Diamond
- 1.12 Step 12: Now for the Coloring Part
- 1.13 Step 13: Adding Highlights to Our Diamond Drawing in 3D
- 1.14 Step 14: Additional Structural Contrasting
- 1.15 Step 15: Addition of the Second Layer of Color
- 1.16 Step 16: Deepen the Definition of the Diamond Drawing in 3D
- 1.17 Step 17: Last Step of This “How to Draw a Diamond” Tutorial
- 2 Frequently Asked Questions
How to Draw a Diamond Easily
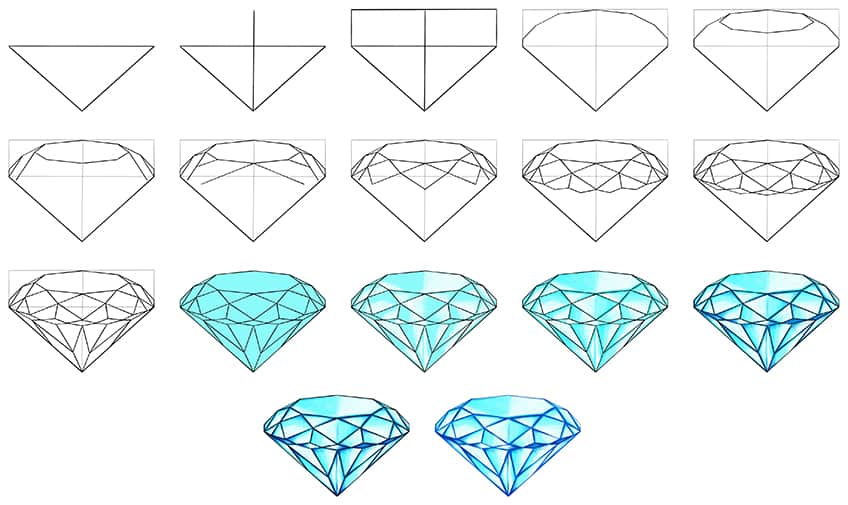
Diamonds that have been cut, such as the one we’re painting today, have a plethora of stunning facets in a variety of forms. Balance is also an important aspect of a diamond sketch such as this one. Even the most experienced painters may find it difficult to create a realistic diamond drawing as a result of this. This easy diamond drawing guide will help you grasp all of these factors by utilizing basic shapes and lines. Before we add any texture or colors to our easy diamond drawing, we can use building shapes to lay it out. The collage below shows an overview of the realistic diamond drawing in 3D technique.

Our guide is created for a painting medium; however, the coloring phases may be done with any medium. If you’re more at ease with colored pencils or a graphic drawing pad, go ahead and use them! Gather your stuff and let’s begin creating, with whichever media you choose to utilize.
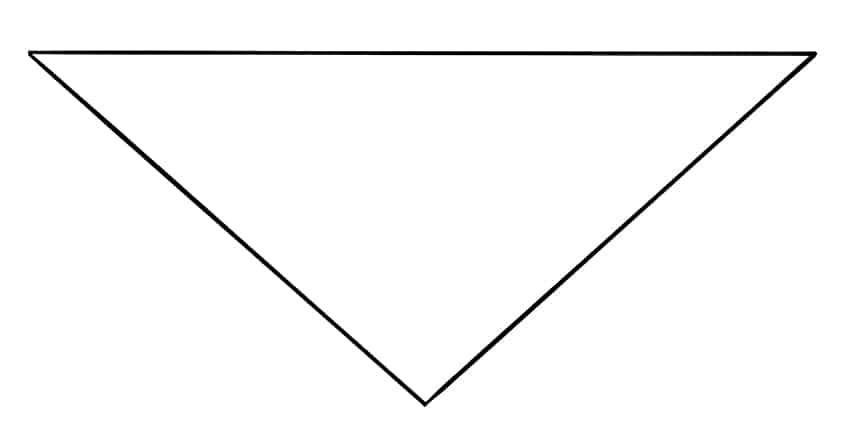
Step 1: Creating the Diamond’s Base
We start our easy diamond drawing with an isosceles triangle as the basic form. Create a big isosceles triangle in the very center of your canvas with the pointed side facing down. This is merely the fundamental form; we will be expanding on it on all sides, so allow plenty of room around the triangle.

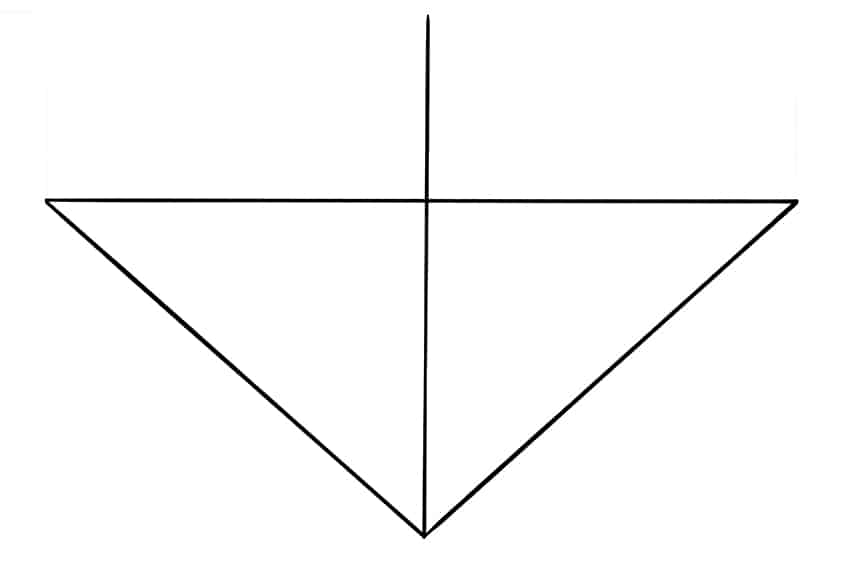
Step 2: Dividing the Base
The bottom tip of your diamond sketch will be represented by the triangle we made in the previous stage. We’re going to make a divider in the middle of this shape, which will be the start of the facets. Construct a vertical line across the middle of your triangle form. You want the line to continue slightly above the triangle.

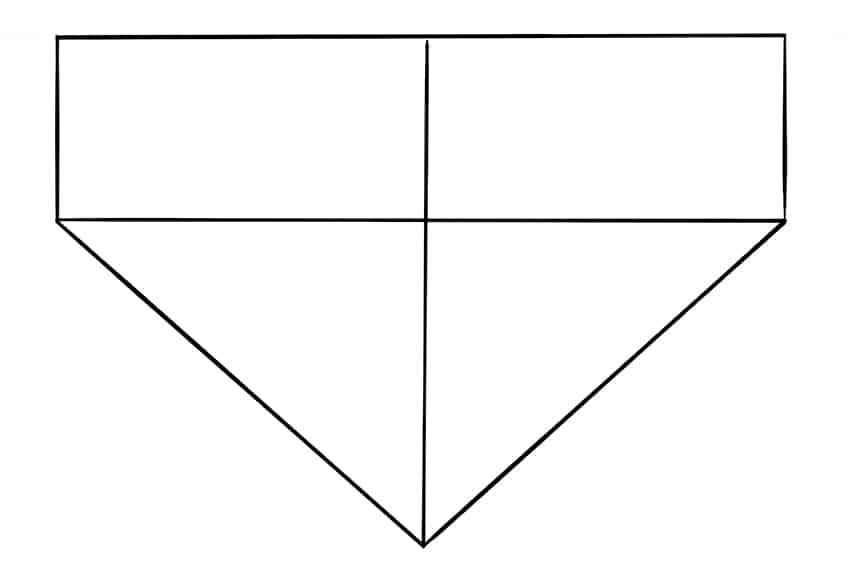
Step 3: Creating the Top of the Realistic Diamond Drawing
In this stage, we will build the top part of your diamond drawing. Start by drawing a vertical line from one end of the basic triangle to the other. These lines should stretch up to meet the middle dividing line drawn in the last phase. To complete this stage, create a horizontal line across each of these ends to form a rectangle top shape.

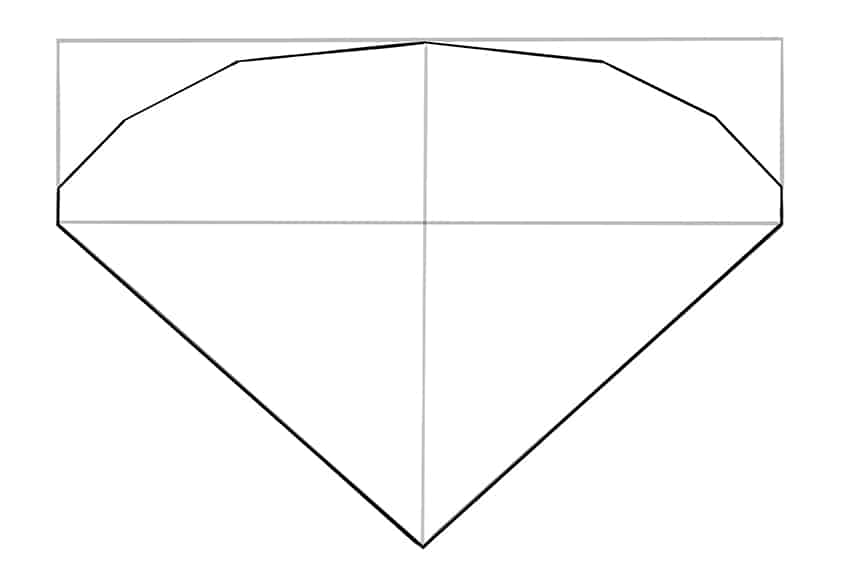
Step 4: Creating the Facets for the Top
You will now draw a succession of shorter lines to form the facets of your diamond’s top section situated within the top rectangle of the diamond shape. Start at the mid-division mark and work your way down using short lines that slant down towards the finish. Ensure to check that the lines along either side of the divide are duplicated for balance.

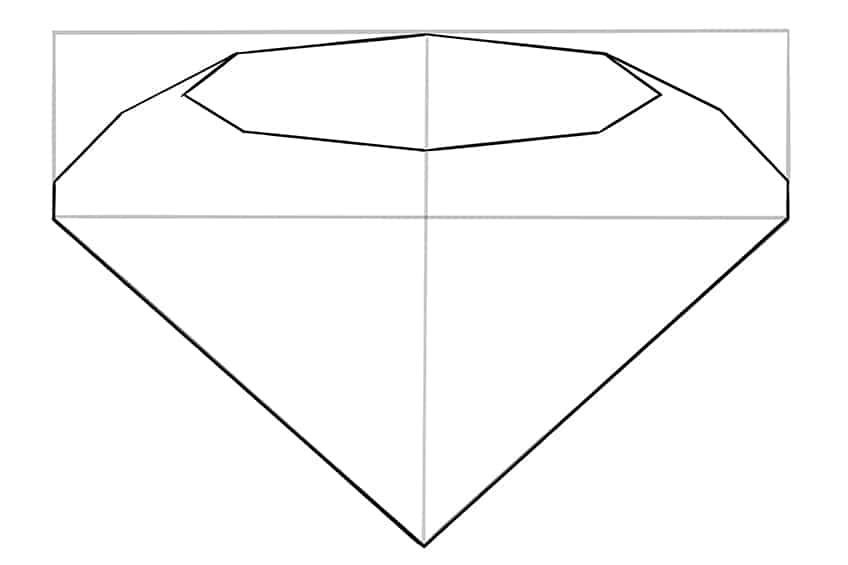
Step 5: Creating the Inner Edge’s Outline
You will now make your diamond design 3D by sketching the diamond’s top edge. Start by drawing edge lines that are duplicated around the center separating lines from the top edges you drew in the previous stage. This top form’s bottom should terminate slightly below the midway point in the rectangle building shape.

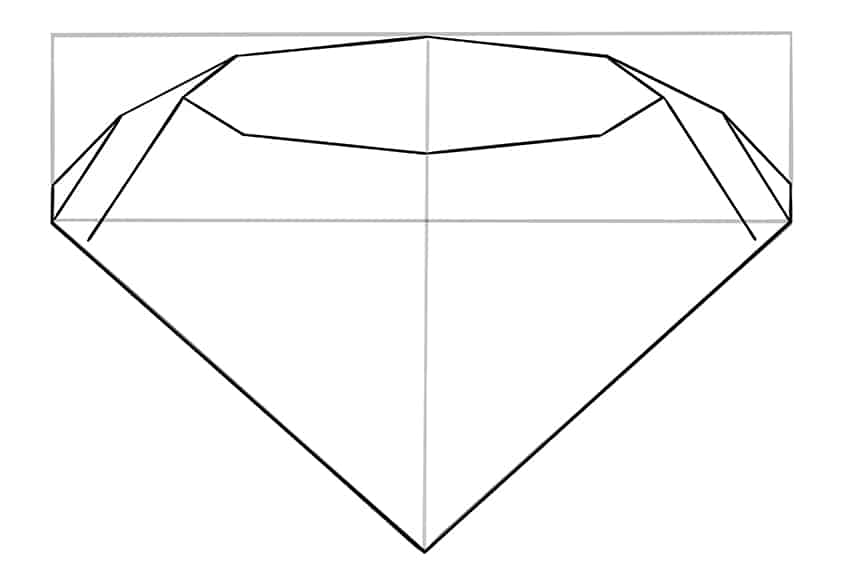
Step 6: Start Creating the Diamond Drawing in 3D Facets
In this phase, you will begin to design the facets that will run throughout the body of your diamond drawing. Start by drawing short straight lines to form geometrical shapes that stretch from the diamond’s top shape to the triangle’s sides. Take a look at our illustration below to understand where these shapes should go.

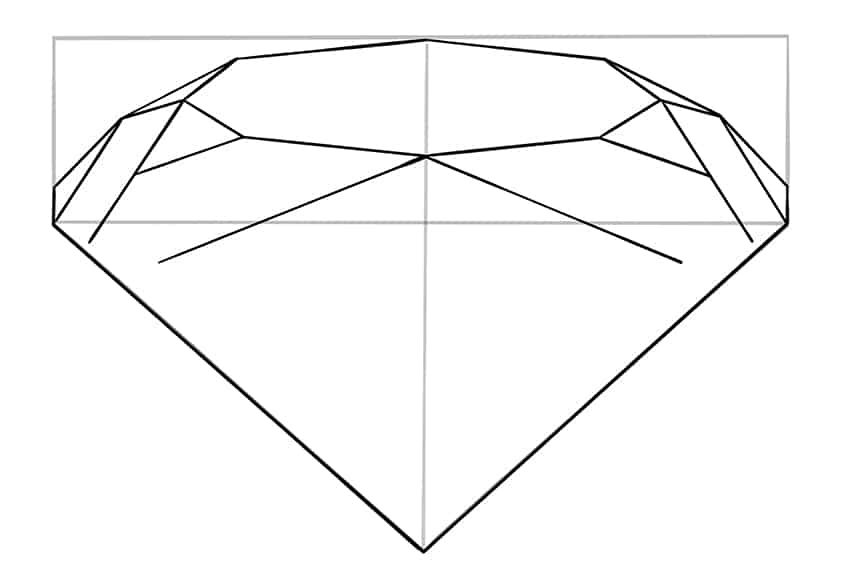
Step 7: Additional Details to the Top
You will now add some more slicing lines to complete the upper facets of your realistic diamond drawing. Create two lines that go down and then out from the middle of the upper diamond form to the edge of the triangle. These lines should finish just before the triangle’s border. To complete this step, draw a line on each side of the top form to connect the lines you made in the previous step. This should result in a couple of small triangles on the sides.

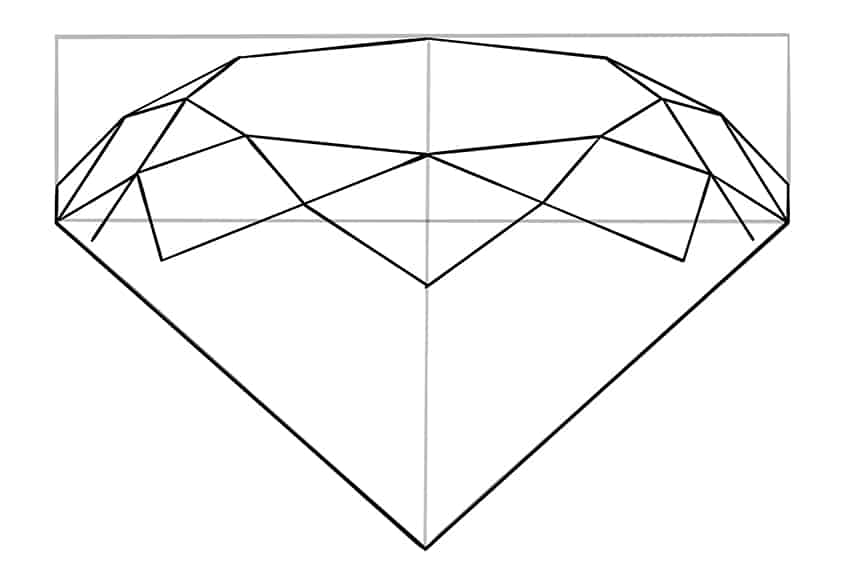
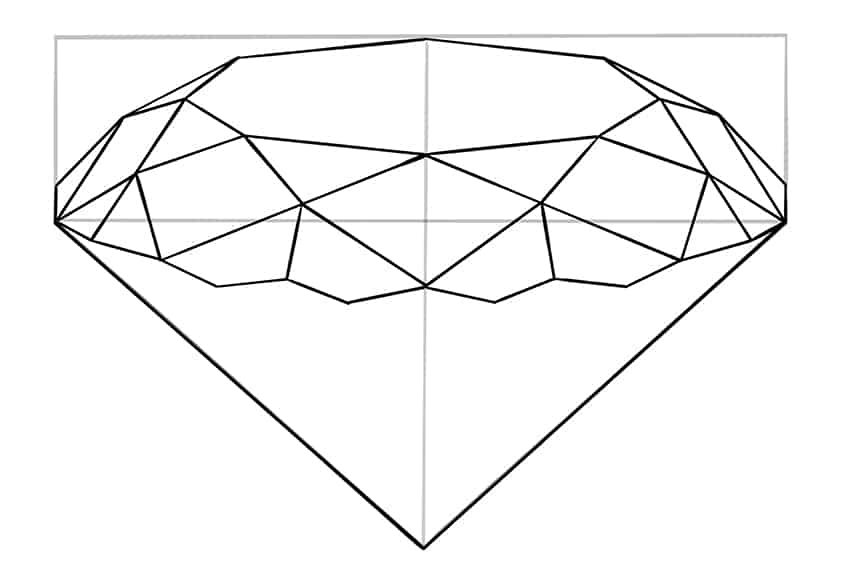
Step 8: Completing the Upper Details of the Diamond Drawing
You may now finalize the facet forms at the tip of your easy diamond drawing in this stage. Join each one of the lines to the preceding step’s edge cuts. Three diamond-shaped edges will now cross the base of the upper rectangle building form.

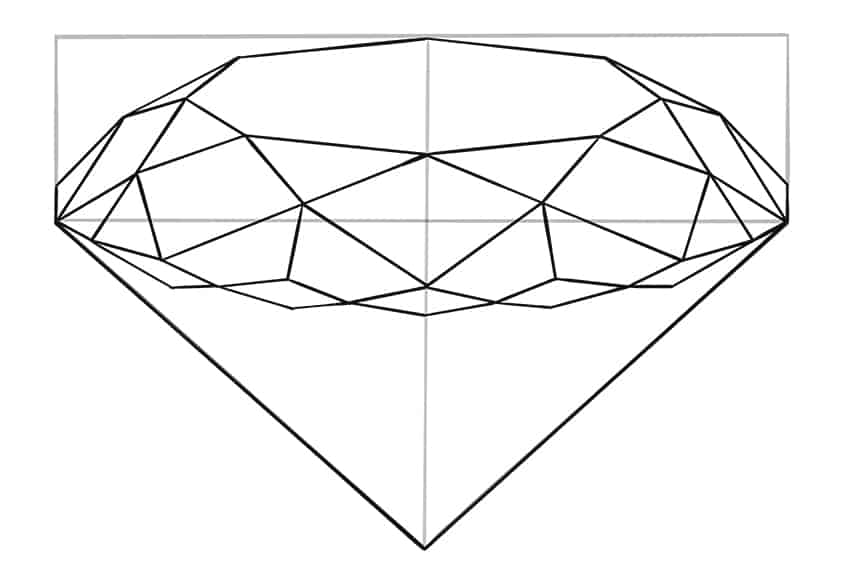
Step 9: Complete the Mid-Cuts
In this phase, you’ll need to create a few lines to link the bottoms of your diamond facets. Start by drawing a line down from the intersection point of your three primary diamond-shaped sides, and then connect them with two angled lines at the lower ends of the facets. By the conclusion of this phase, you should have completed the diamond sketch’s mid-cut line.

Step 10: Completing the Lower Cuts of the Easy Diamond Drawing
In this phase, you will complete the bottom of the previous portion by sketching five narrow rhombus shapes. Your diamond sketch should appear like the one below at the end of this stage.

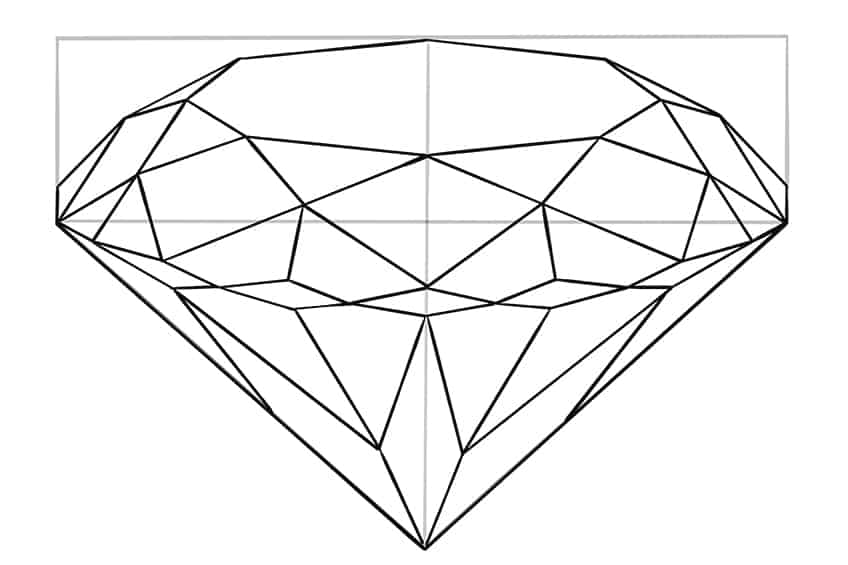
Step 11: Creating the Point of the Diamond
We’ll now complete the facets at the base of our diamond design. Start with two lines that continue down from two of the last step’s thin rhombus forms, ending at the lowest point of the diamond drawing. Then, using a sequence of angled lines, you may make multiple triangle forms.

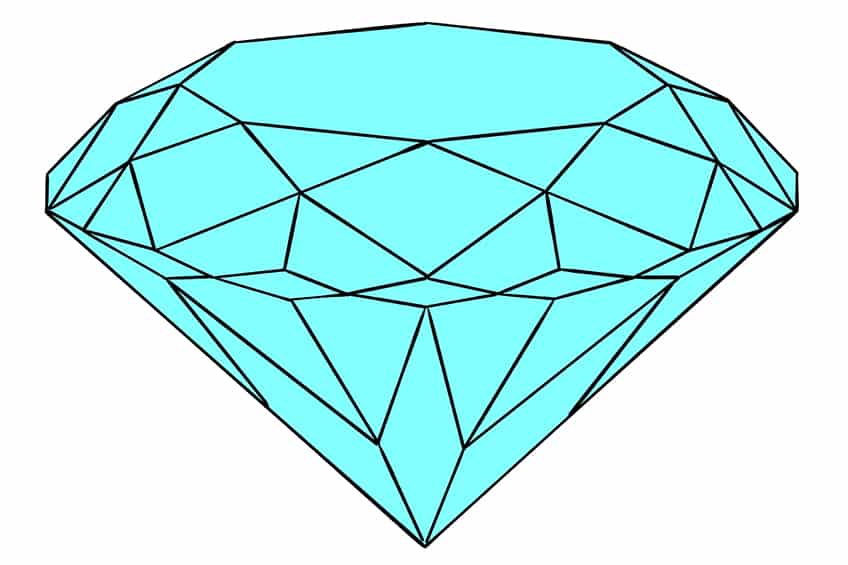
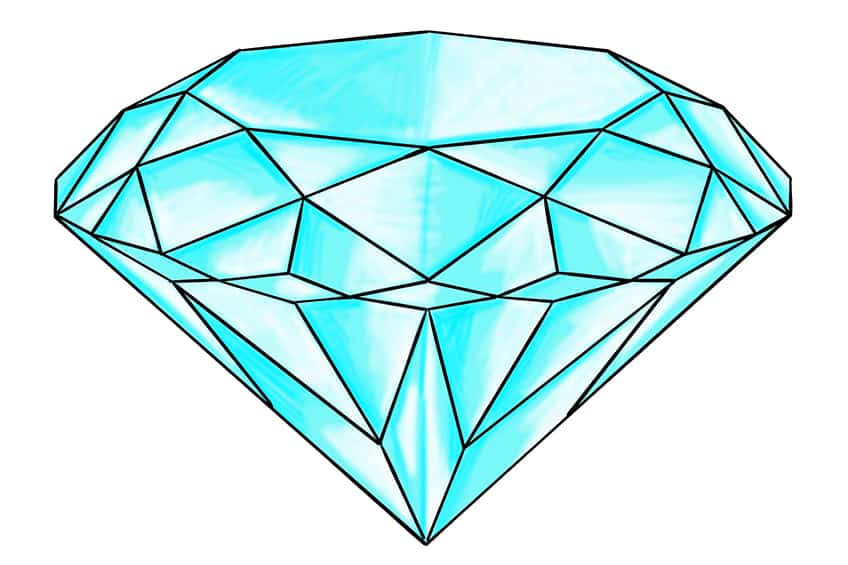
Step 12: Now for the Coloring Part
We begin by coloring with a vivid cyan blue color. Fill the full form of your diamond design with this color using a standard paintbrush. The blue may appear to be an unusual hue for a diamond, but in the next phases, we will add white to give the illusion of a magnificent glinting stone. Make sure the base coat is even and free of blemishes.

Step 13: Adding Highlights to Our Diamond Drawing in 3D
You’ll need a delicate mixing brush and some white paint for this phase. Highlight about half of each section of your diamond doodle with a substantial number of highlights. The highlighted regions should not be completely white; you still want some of the background color to show through.


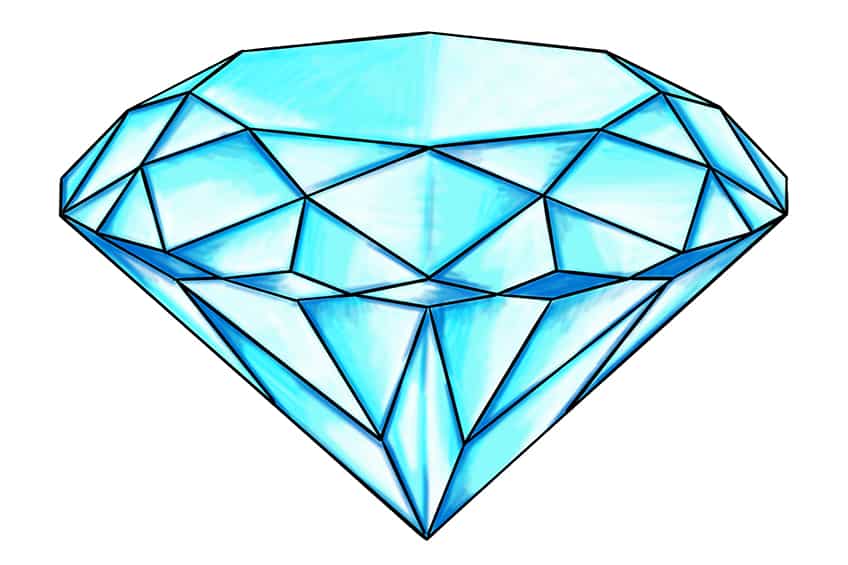
Step 14: Additional Structural Contrasting
Find a slightly deeper shade of blue paint and apply a shadow to the borders of each facet with a little blending brush. You want to add definition and structure to your diamond drawing’s cut shapes. You don’t want really hard lines, so try to soften the contrast out a little.

Step 15: Addition of the Second Layer of Color
This phase will necessitate the use of a deeper blue paint and a little delicate brush. As in the preceding step, use this color to meticulously trace the boundaries of each cut facet. Concentrate on the bottom of the diamond design with the deeper blue. Remember to let some of the preceding color layers shine through.

Step 16: Deepen the Definition of the Diamond Drawing in 3D
In a manner identical to the 14th step, you may now trace the contours of each facet using a small mixing paintbrush and your dark blue paint. This will strengthen the structure. You should also try to get a more natural color mix in the structural lines.


Step 17: Last Step of This “How to Draw a Diamond” Tutorial
You may now remove the outlines to complete your simple diamond drawing. You can easily delete the outline layer if you’re using a graphic digital tablet. If you’re using a physical medium, carefully draw over the design with the correct color at each position of the contour. You should now have a completely seamless diamond design with no apparent black outlines.
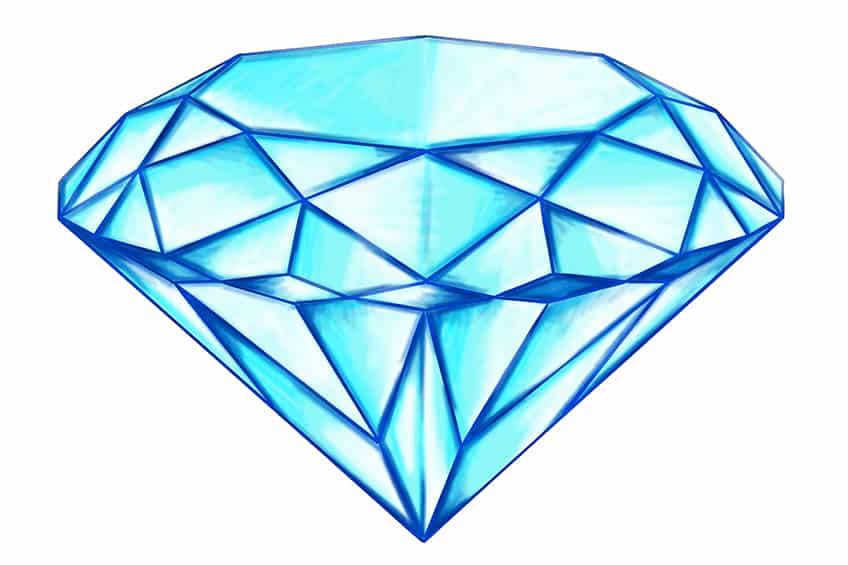

We trust you enjoyed the process of making a three-dimensional and simple diamond drawing. You discovered how to establish a structure using building lines, how to develop geometrically even facets, and how to apply convincing color to make your diamond drawing in 3D.
Frequently Asked Questions
How Do I Produce a Diamond Drawing in 3D?
In this article, we’ll show you how to utilize building lines and color to add three-dimensionality to your diamond sketch. Construction lines aid in the creation of regularity and three-dimensionality in the form of your diamond. Colors aid in the addition of dimensions and curves.
How Do I Learn How to Draw a Diamond?
Diamonds may be difficult to draw because they are so intricate. However, there are just a few steps to creating your perfect-looking diamond drawing. We have made it simple to learn how to draw an easy diamond in this guide! You will have a gorgeous and realistic diamond drawing in 17 steps.