
How to Draw a Light Bulb – Step-by-Step Tutorial
This post may contain affiliate links. We may earn a small commission from purchases made through them, at no additional cost to you.
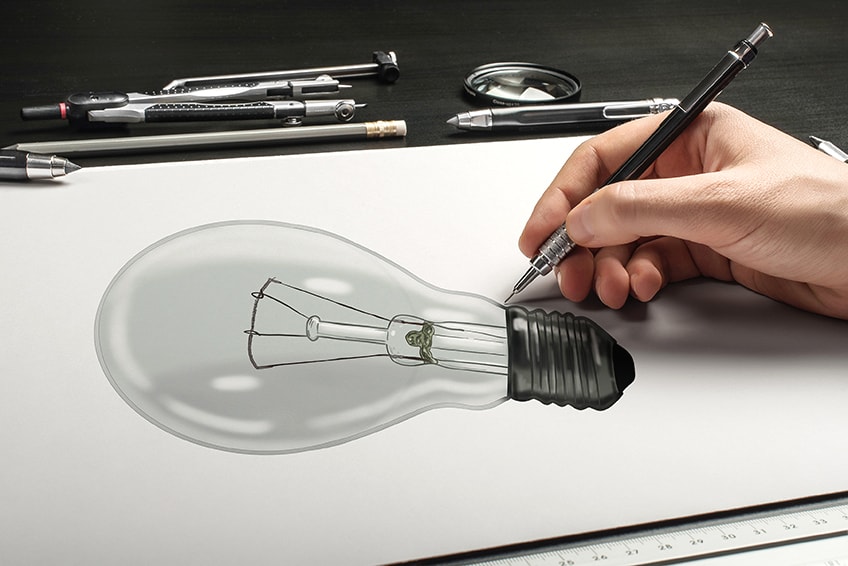
What better way to uncover a spark of creativity, marks a breakthrough moment, or spread the light with family and friends than by creating a simple light bulb drawing? We will teach you how to draw a light bulb in this art lesson. In this guide, you should learn how to make an easy lightbulb drawing complete with transparent, realistic-looking glass. So, grab your art supplies and get comfortable and let us get right to it!
Table of Contents
- 1 How to Create a Drawing of a Light Bulb Step by Step
- 1.1 Step 1: Create the Bulb’s Spherical Shape
- 1.2 Step 2: Tilting the Shape of the Light Bulb
- 1.3 Step 3: Creating the Light Bulb Cap Shape
- 1.4 Step 4: Creating the Stem of the Filament
- 1.5 Step 5: Extension of the Light Drawing’s Stem
- 1.6 Step 6: How to Shape the Filament
- 1.7 Step 7: Creating the Outline
- 1.8 Step 8: Outlining the Cap
- 1.9 Step 9: Adding Details to the Light Drawing’s Filament
- 1.10 Step 10: Creating the First Layer of Color
- 1.11 Step 11: Shading the Simple Light Bulb Drawing
- 1.12 Step 12: Creating Highlights
- 1.13 Step 13: Coloring the Cap
- 1.14 Step 14: Shading the Cap
- 1.15 Step 15: Adding Highlights to the Cap
- 1.16 Step 16: Finalizing Our Drawing of a Light Bulb
- 2 Frequently Asked Questions
How to Create a Drawing of a Light Bulb Step by Step
The project we are working on in this tutorial is a little tricky, so it may be harder for a beginner to do. That does not mean that artists of all skill sets should not attempt to follow our tutorial. With a translucent item, the aim is to create the appearance of three-dimensionality. We’ll achieve this by using highlights and shadows. We will start with a few different construction shapes and lines to get the ball rolling. These forms will make it easier for us to design the final shape of the light drawing. The stages in this easy light bulb drawing lesson are outlined below.


There are no boundaries when it comes to the media chosen to create your light drawing. If you’re a graphic designer, your sketching tablet will come in handy. Pencils or paint can be used by more physical artists. Grab your drawing equipment, and let’s get begin with the simple light bulb drawing technique, whichever medium you’re using.
Step 1: Create the Bulb’s Spherical Shape
Start by drawing a huge circle in the middle of your painting as the first step. The sphere of our drawings of a lightbulb will be represented by this circle. Make sure there’s enough room for the remainder of the bulb to fit around this globe.


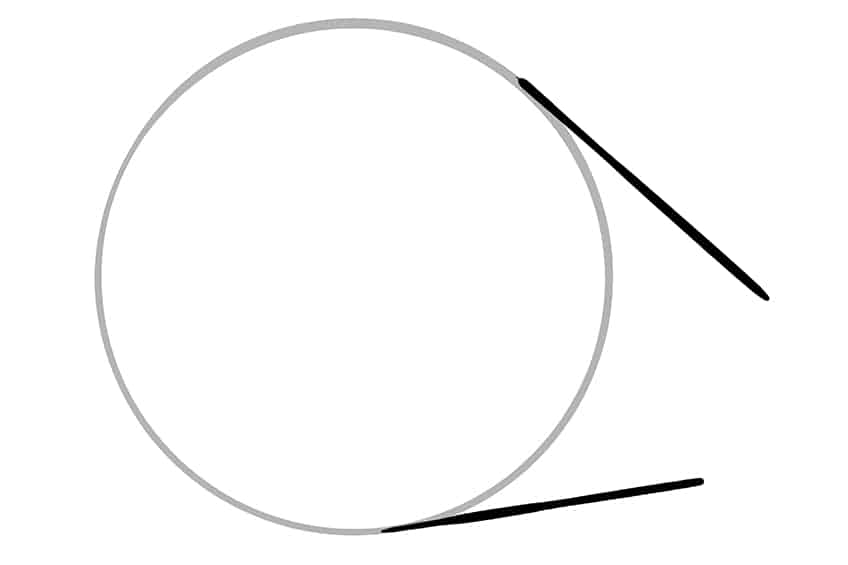
Step 2: Tilting the Shape of the Light Bulb
In our picture the light bulb is lying on its side. You’ll start developing the tilt of the light bulb design in this second stage. Draw two angled lines on the right-hand side of the lightbulb sphere. The top line ought to be inclined downwards and terminate a bit further out from the bottom line.

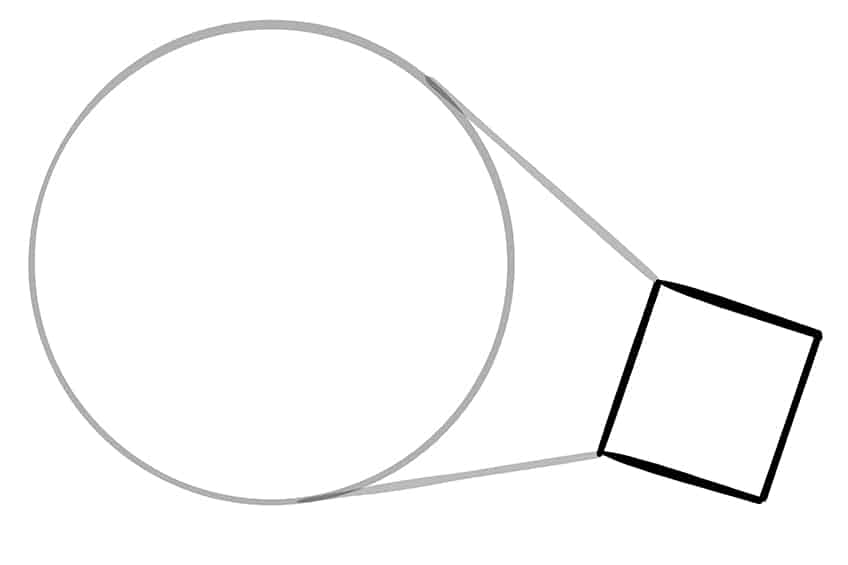
Step 3: Creating the Light Bulb Cap Shape
You’ll now establish the basis for the capping at the tip of the easy light bulb drawing with another construction form. We’re going to utilize a square as a construction shape for the basis, despite the fact that this cap is rather rounded. Construct a square that slots precisely between the endpoints of the tilted lines at the end. We’ll trim this off and add the bars where the light bulb fits into the connection in later phases.

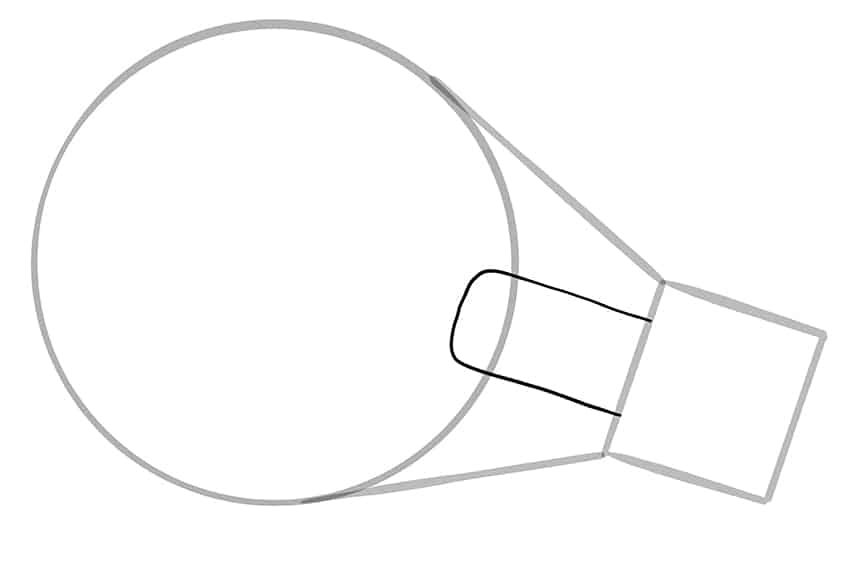
Step 4: Creating the Stem of the Filament
A stem extends from the light bulb filaments. You can create a somewhat rounded rectangular structure from the cap straight up into the lightbulb sphere in this phase. The middle of the cap should have this stem form.

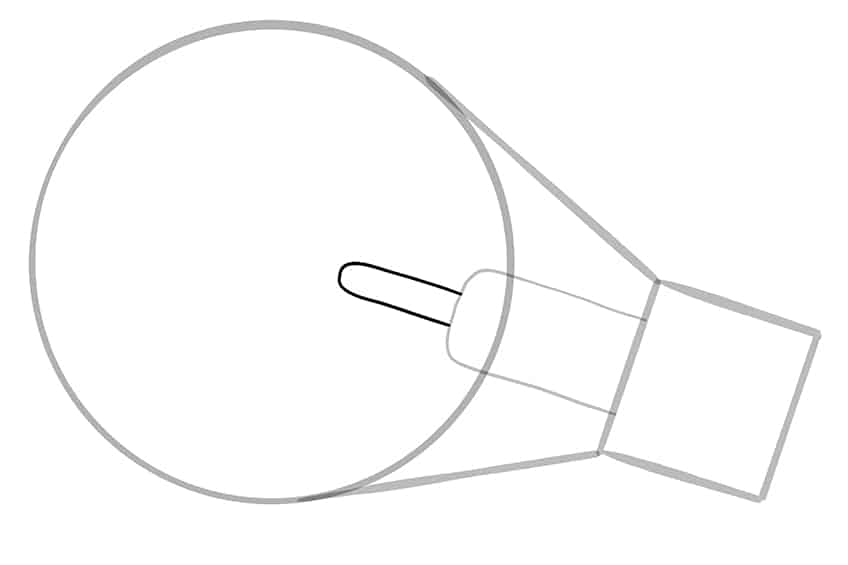
Step 5: Extension of the Light Drawing’s Stem
Draw a second section of the glass stem that goes farther into the bulb circular from the middle point of the bigger stem base. This additional stem section should be narrower and more curved than the first. This stem elongation should be completed exactly before the bulb circle’s middle point.

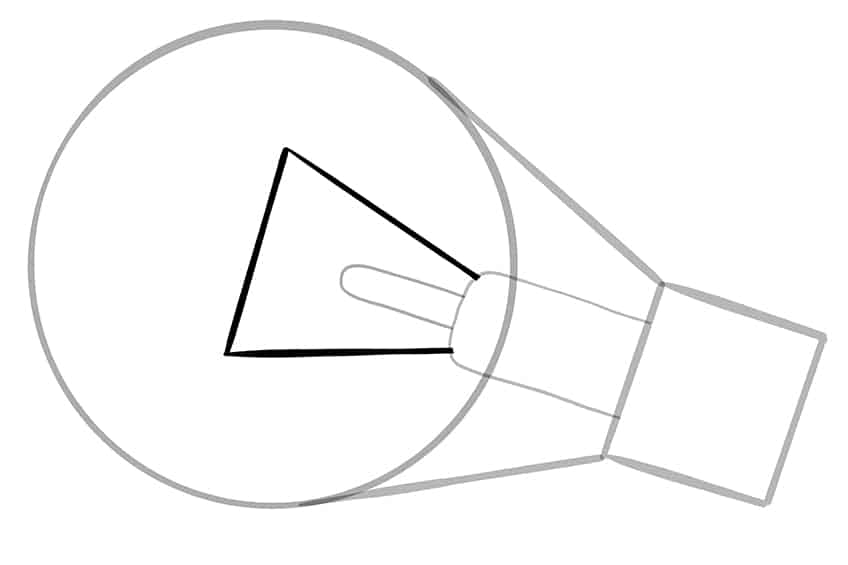
Step 6: How to Shape the Filament
The finished filament in our light bulb pictures is a bit more rounded than the one we’ll create in this stage, but for now, we’re just sketching down the broad form. Draw an unfinished triangular shape around the smaller stem segment. The triangular shape’s bottom lines should be just inside the bigger stem’s margins.

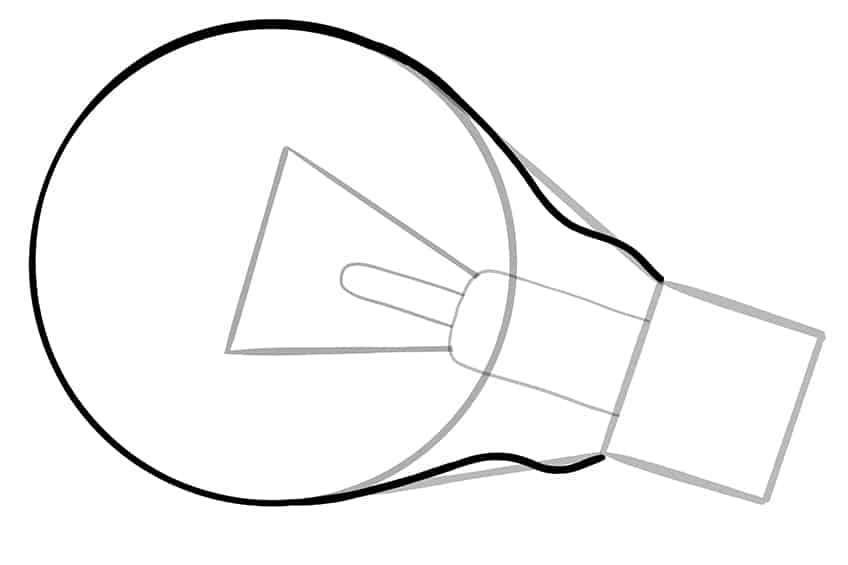
Step 7: Creating the Outline
We’ll start sketching the form of the bulb for the final contour of your easy light bulb design. To help you outline the bulb form, use the construction lines. You may closely track the bulb’s circle. Before you come to the cap area, you may add a tiny bend and a protrusion to the stem.

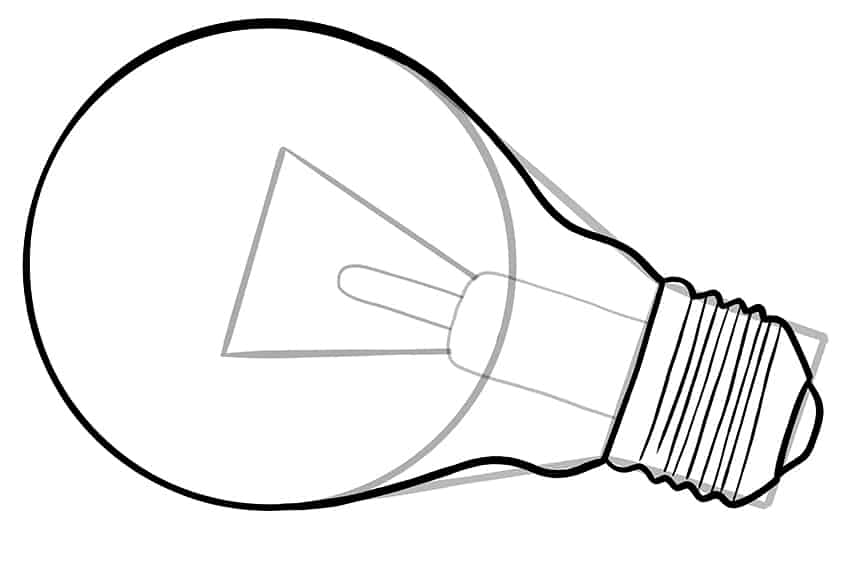
Step 8: Outlining the Cap
You can now define the round cap and add the grooves of the threaded stem to complete the final contour of your simple light bulb drawing. To acquire the right cap size, use the outside of the cap square and then make it rounder at the bottom. You may make ridges along the cap’s edges to mimic the screw thread. Draw a little rounded hump at the bottom of the cap to indicate the electrical contact. Finish the cap’s detail by drawing small lines between the thread’s outlines.

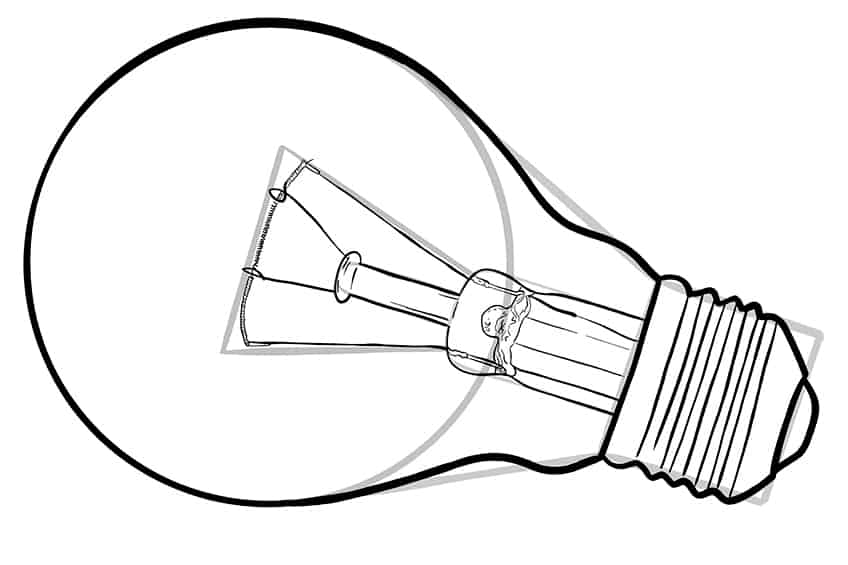
Step 9: Adding Details to the Light Drawing’s Filament
Because you’re going to be adding a lot of detail to the filament, this phase may take a bit longer than the others. Begin by sketching a few fine lines within the broader stem of the bulb. The light bulb’s fuse, also known as the outflow tube, will be represented by these lines. Take your time with this detail; you might need to redo it a couple of times. Make a round top for the smaller stem. Inside this smaller stem, you may add a few texture lines. You may now draw a line around the filament triangle, making it more curved at the top. The top line of the filament might be a little scribbled line.

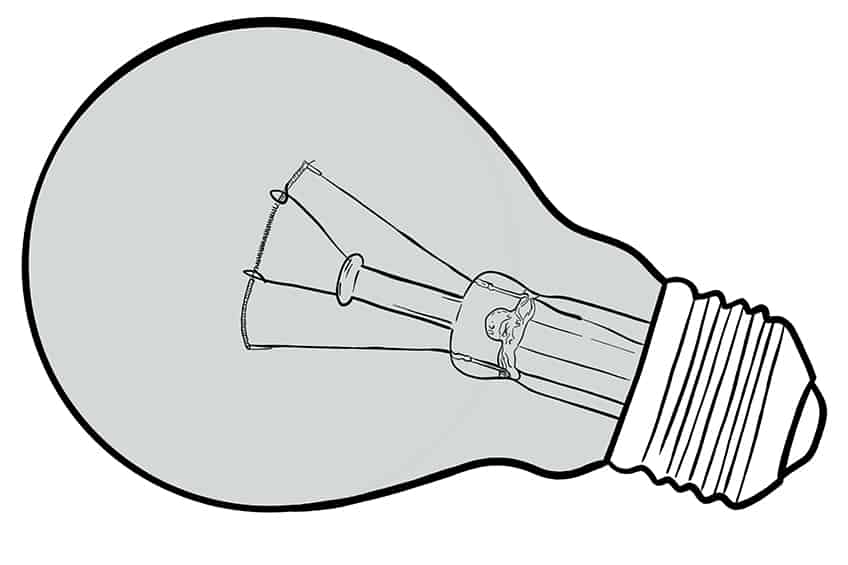
Step 10: Creating the First Layer of Color
It’s time to color your simple light bulb sketch for the first time. Because light bulbs are normally colorless, we’ll only use a grey hue to create some dimension. Use a normal brush and greenish-gray color to complete the project. Fill the globe of the light bulb with this hue. In this stage, do not color the cap. Make sure that the initial coat of color is smooth and free of blemishes.

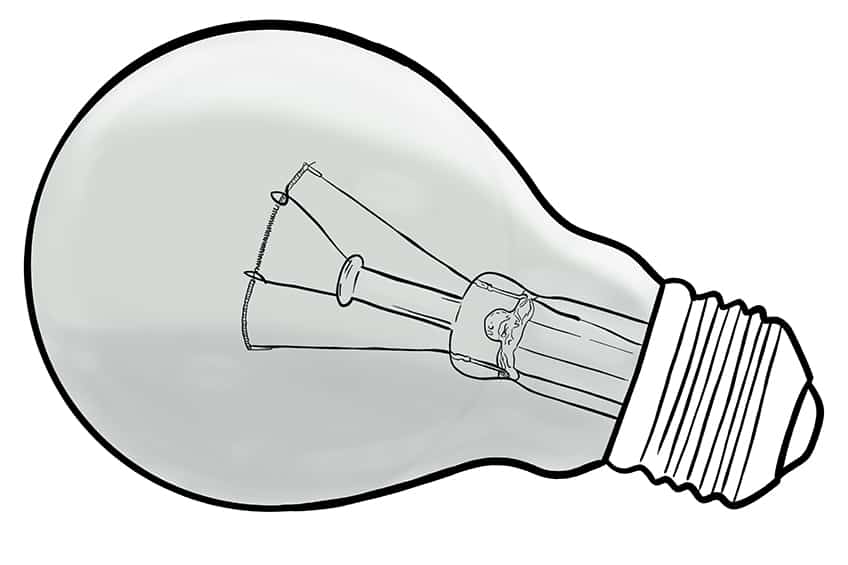
Step 11: Shading the Simple Light Bulb Drawing
You’re going to add some highlights and shadows to our easy light bulb drawings in this stage. We want to generate a genuine three-dimensional impression because the bulb is glass. Shade the lower quarter of the bulb with a delicate brush and a little darker gray paint. To complete this phase, use a blending brush and a small amount of white color to highlight the upper borders of the bulb.

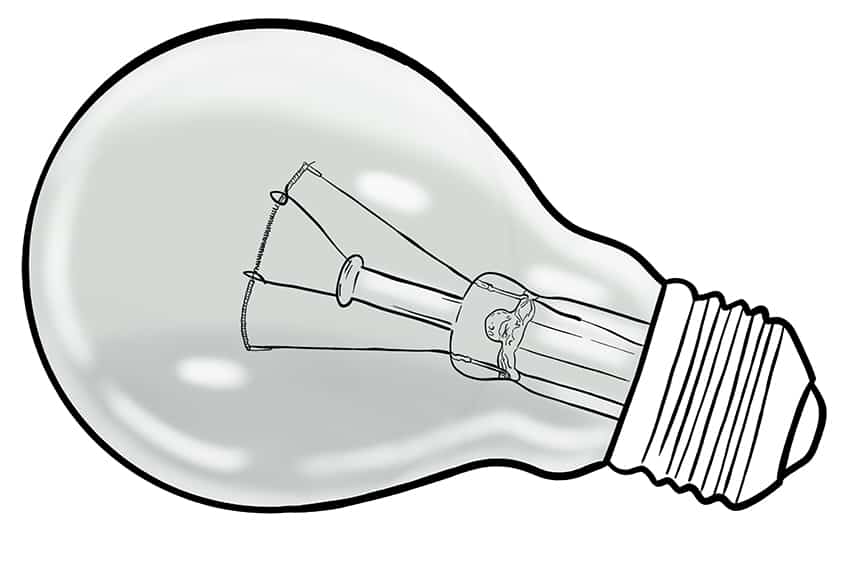
Step 12: Creating Highlights
The basic highlight we added in the previous phase established the tone for the more elaborate highlights we’ll be adding now to our simple light bulb picture. Start by tracing the contour of the bottom of the bulb with a tiny blending brush and some white paint. Place this highlight a bit above the bulb’s bottom and split it up with a few breaks. Add a few tiny highlights along either side of the filament and within the huge stem within the bulb.

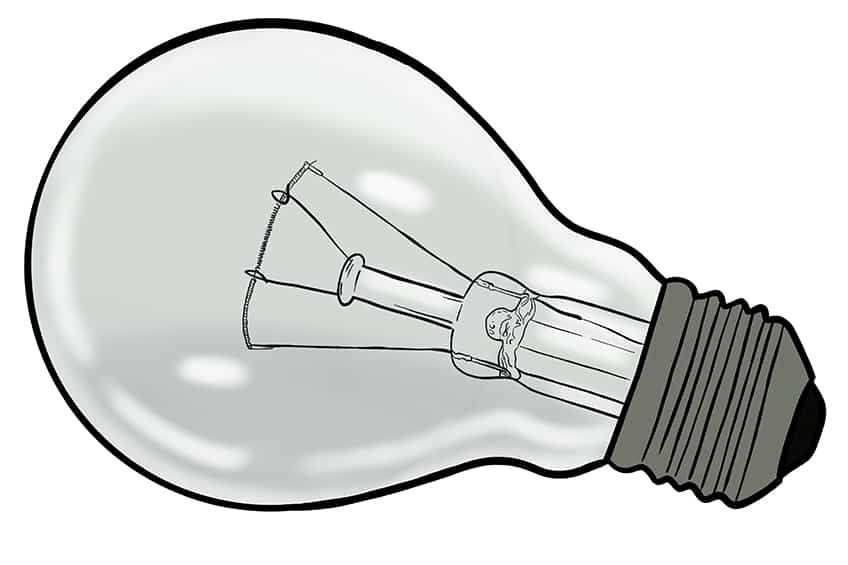
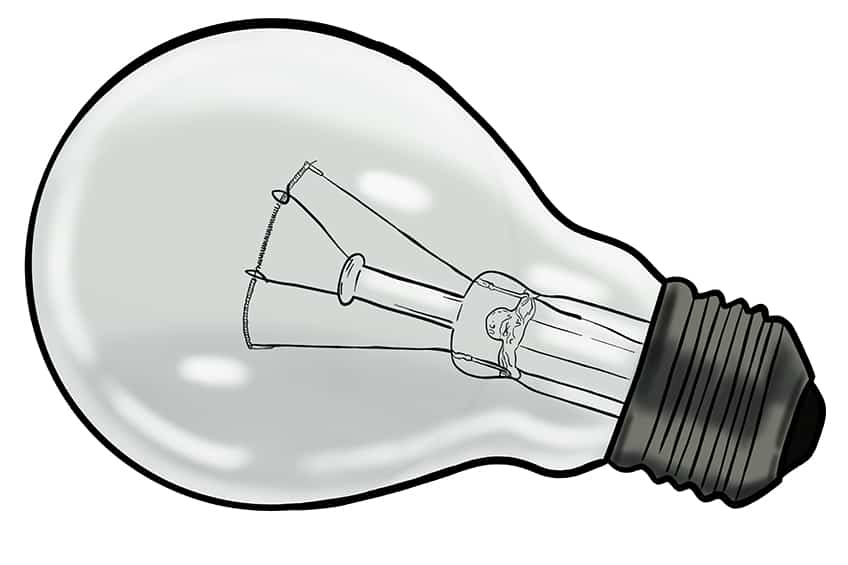
Step 13: Coloring the Cap
Fill the stem and filament of the light bulb drawing using a standard paintbrush and dark gray paint in this phase. Fill the electrical contact with black and a fine brush to complete this step.

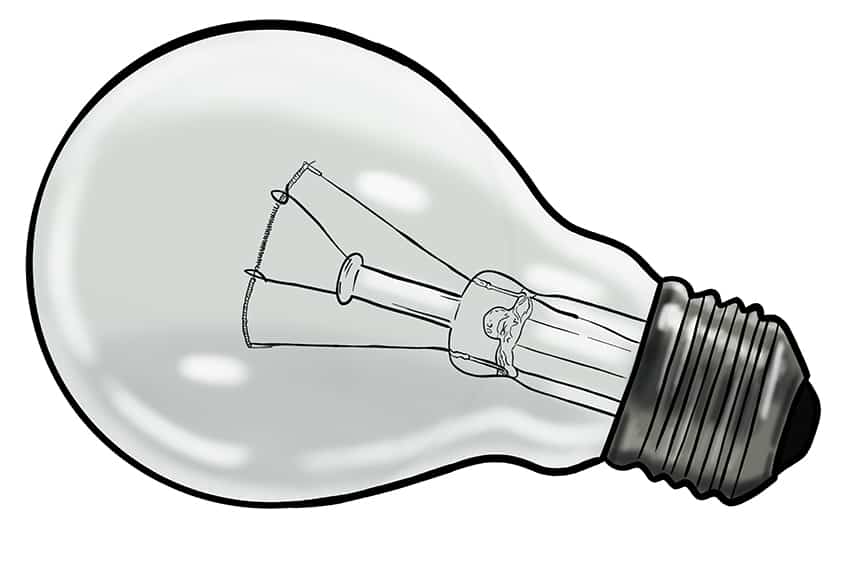
Step 14: Shading the Cap
In this phase, you’ll add some shadows to the cap to give it a feeling of three-dimensionality. To add a shadow to the cap, use a tiny blending brush and a small amount of black paint. Shading should be concentrated on the bottom border of the cap, the left side, and the middle. A small line of shade along the right side of the cap, somewhere above the electric point of contact, can also be added. And remember that less is more when using black to produce shade. More shading may always be added, but it’s very hard to remove black after it’s been done.


Step 15: Adding Highlights to the Cap
Only half of the dimension formula is shading. The other part is putting the finishing touches on the project. Add some highlights within the threading with a little blending brush and a dab of white paint. You may make a highlighting strip just above the shade strip in the cap. After applying your highlights, smear and mix them with a clean, dry blending brush to give them a softer, more natural appearance.

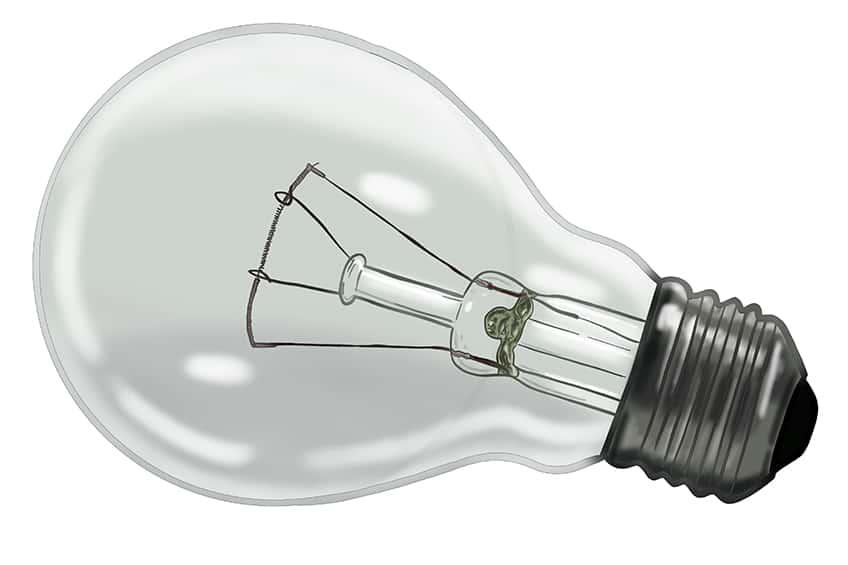
Step 16: Finalizing Our Drawing of a Light Bulb
There are two elements to this final stage. After that, you may erase the outlines from your easy light bulb drawing and add some color to the outflow tube. Find some dark green paint and fill the tube with it using a fine brush for the exhaust coloration. Next, dye the leading wires to the filament with brown paint and a pointed brush. Finally, fill the smaller stem with a dab of light gray paint for this initial segment.

You may now remove the outlines to complete your light bulb design. You may easily delete the outline layer if you’re a graphic designer. You may just sketch over the outlines with the correct color at each location if you’re using a more tangible medium.

Bravo for successfully completing our tutorial on how to draw a light bulb. Ideally, you liked the process and are pleased with the end result. You may now try your hand at various light drawing techniques now that you know how to draw a light bulb. Happy Drawing!
Frequently Asked Questions
Does This Guide Teach Me How to Draw a Light Bulb?
Definitely! If this is your first time drawing a light bulb, you’ve come to the correct spot. We’ll teach you how to design a light bulb in 16 simple stages in this video. You’ll learn how to use shading and highlighting to give your simple light bulb picture a feeling of three-dimensionality.
Is It Possible to Add Dimensions to Drawings of a Light Bulb?
When you first try it, the subject of how to produce a sense of three-dimensionality within a glass item may seem daunting. Fortunately, we’ve compiled the greatest light bulb drawing lesson, which walks you through the process of adding three dimensions to light bulb drawings using contouring and contrast.