
How to Transfer a Picture to Wood – Easy Image Transfer Tips
This post may contain affiliate links. We may earn a small commission from purchases made through them, at no additional cost to you.
Transferring a picture onto a piece of wood is an easy and fun way to create all sorts of decorations for your home. Not only that, but it is also a unique gift idea, or you could make your own gift tags with the right size of wood. You can transfer your pictures onto toy chests, jewelry boxes, or any piece of wood that has a smooth clean surface. What is so great about this project is that it is beginner-friendly and can be done by anyone. Also, it is budget-friendly, where you may already have some of the supplies at home. Let us now guide you step-by-step and show you how to transfer a picture to wood.
Table of Contents
- 1 What Is an Image Transfer?
- 2 How to Transfer a Picture to Wood
- 2.1 How to Transfer a Picture to Wood Using Wax Paper
- 2.2 How to Transfer a Picture to Wood Using Mod Podge
- 2.3 How to Transfer a Picture to Wood Using Acetone or Nail Polish Remover
- 2.4 How to Transfer Photo to Wood Using PVA Glue
- 2.5 How to Transfer Photo to Wood Using Chalk and a Ballpoint Pen
- 2.6 How to Transfer a Picture to Wood Using an Iron
- 3 Frequently Asked Questions
What Is an Image Transfer?
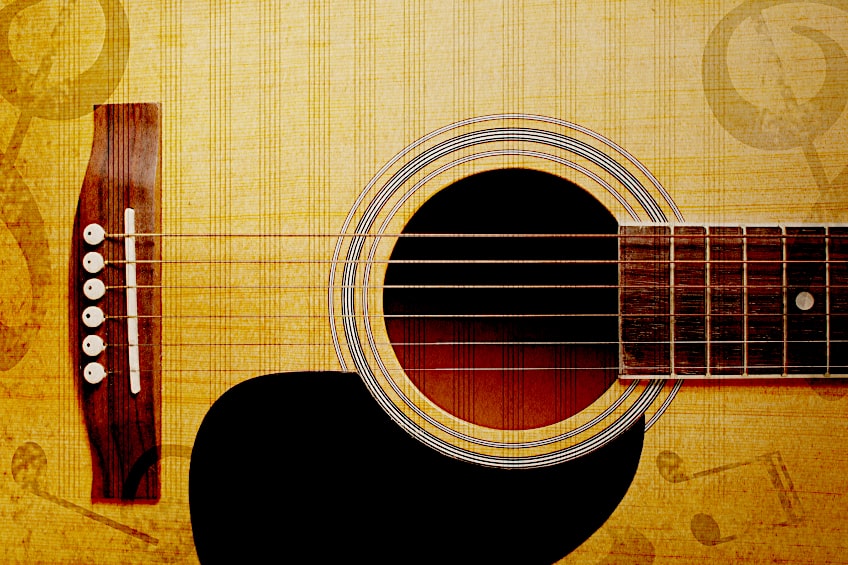
This simply means you are transferring an image, picture, or design element and placing it onto another surface. In this case, we will be transferring a photo or image onto wood. There are various methods you can do this, and we will be discussing a few of them further below. Why would you want to transfer a photo? This is an easy way to add a more complex design, like a photo, to a wooden object. Transferring an image is also a great way to customize something personal like a guitar, as you can transfer photos of those you love.

You can use any type of picture, photo, or image to transfer onto wood or other surfaces like metal, fabric, plastic, glass, and much more. However, black, and white photos or images seem to give the best results. You can use the glossy photos, but the photo first needs to be printed before transferring to the wood, and Mod Podge is the best medium to use.

You can also transfer digital pictures and drawings onto a wood surface by using the simple wax paper transfer technique. However, some of the techniques require the use of an ink-jet printer for best results, while others need you to use a laser printer or photocopying machine for your transfer of copies. The wooden objects you can use for transferring your photos or images can also include furniture, jewelry boxes, storage boxes, and wooden plaques for the walls.
Best Transfer Medium for Wood: MOD PODGE Photo Transfer Agent
Before we begin discussing how to transfer a picture to wood, let us first look at the best-recommended transfer medium you can use. When doing a wood photo transfer to wood, the best product to use is the Mod Podge Transfer Medium, which can be purchased from any arts and crafts store. This product is water-based and non-toxic, making it an ideal choice for decoupage and other crafting techniques. The medium is very easy to use, and cleaning is a breeze, using some soap and water.
All you need to do is apply the product to the surface of the printed paper by using a sponge or brush and follow the steps laid out in the tutorials above. It is a product that will give you perfect results when applied to a variety of light or dark surfaces such as wood, paper, terra cotta, fabric, canvas, glass, and much more.
The Mod Podge Transfer Medium is a very quick drying product that also dries to a white background finish. This leaves you with a smooth finish, which is also dishwasher safe. This makes it an ideal product for any kitchen decoupage projects like coffee mugs, tumblers, glasses, and much more. A laser printer or photocopying machine is required to print the photo or images.
- Results are very consistent
- Water-based and non-toxic
- Works well with black and white, and colored photos.
- Easy to clean
- Available at all arts and crafts stores
- Extremely versatile
- Quick drying
- Dishwasher-safe
- Directions on the packaging are small and difficult to read
- The supplied foam brush is flimsy
- The product is fairly thick and difficult to squeeze out of the bottle
How to Transfer a Picture to Wood
This is a great way for preserving and displaying your treasured photos and transferring those to a piece of wood, as it will help preserve them for a long time. By using this form of printing, it will enable you to create your unique designs as it is not only used for transferring photos, but you can also print anything you want like words, messages, or fancy designs.
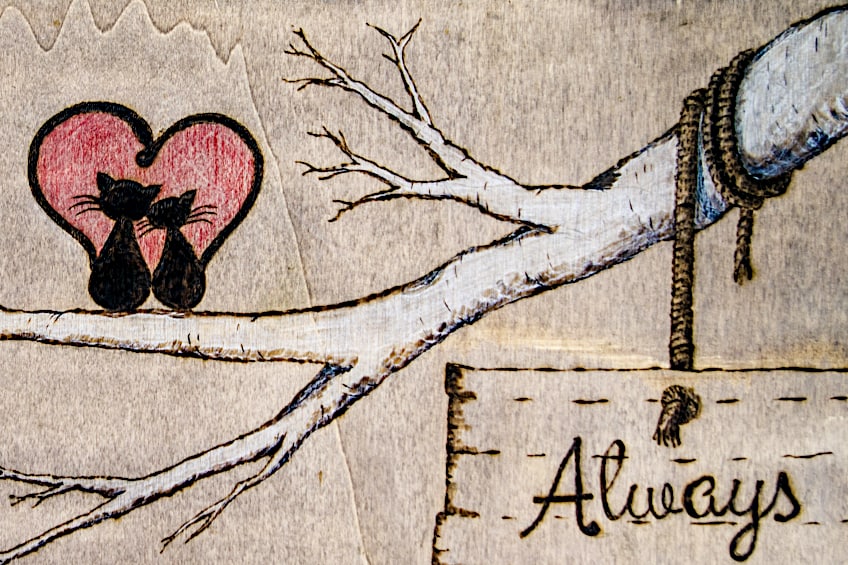

What is more, you are not limited to a wood surface only, as this technique will also work on other surfaces like glass, metal, and even fabric. There are many different techniques you can use for this project, and we will be dealing with each one separately in the tutorials below.
How to Transfer a Picture to Wood Using Wax Paper
This first technique is the fastest and cheapest method to use, as all you will need is a piece of regular wax paper, a piece of smooth wood, and an ink-jet printer. Make sure you use an inkjet printer, as the ink needs to be wet or else it will not work.
- Cut a couple of sheets of wax paper the same size as a regular printer paper.
- Look for a piece of wood the same size as the wax paper, or you could use a piece of furniture like a chair, dresser, or table.
- Select the image or photo you want to use on your computer, and then you need to reverse the image by using whatever photo program you have.
- Next, feed the wax paper into your printer and select print.
- Gently guide the wax paper out of your printer and be careful not to smudge or smear the ink. It does not matter which side of the wax paper you print on, as the wax paper is waxed on both sides.
- Place the image exactly where you want on the wood with the wet side down, and do not move it or else it will smudge.
- Hold the wax paper transfer tight on the wood and rub the entire surface with the edge of a credit card. This will cause the ink to be pushed out of the wax paper onto your wood, where it will be absorbed.
- You can rub as hard as you like to make sure your image has been transferred. You can then lift the edge of the wax paper from time to time to ensure there are no spots left without ink.
- Remove the wax paper from the wood. The ink should have been transferred to the wood surface.
- Apply a clear spray matte finish coat to protect your image. The finish coat is best for sealing pictures on wood.

Below Are a Few Tips When Using Wax Paper to Transfer Pictures
Make sure that you choose a smooth clean piece of wood, this includes the furniture you might want to use, as a rough surface will not work. Make sure you use an inkjet printer, as a laser printer or a Photostat machine copy will not work. Here are a few more tips on how to transfer a photo to wood using wax paper.
- Using dark colors for your image and applying them to light-colored wood will show up better.
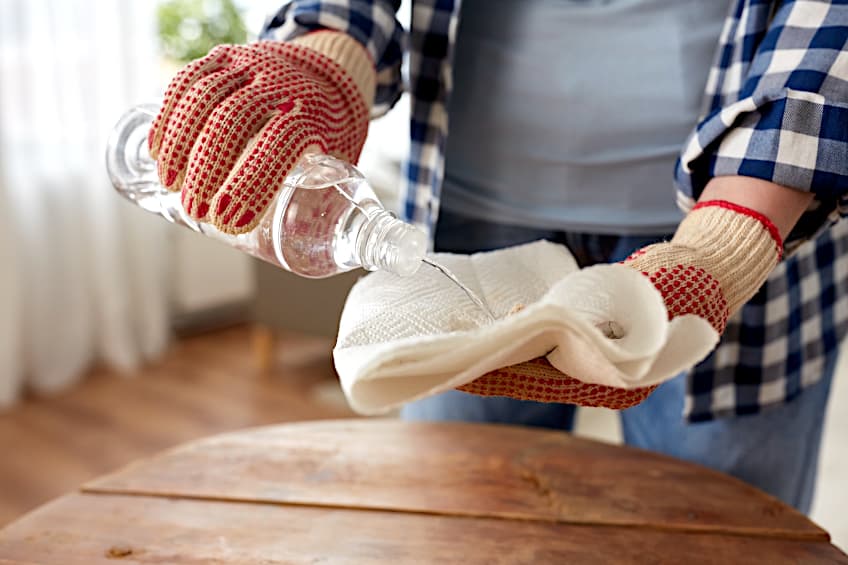
- Wetting your wood lightly with a sponge will bring out the colors of your transfer. However, you need to take care that you do not smudge the ink.
- If you struggle to feed the wax paper through your printer, try to tape it to a piece of regular printer paper before feeding it to the printer.
- Once the image is placed onto the wood, do not move it at all as you will smudge the ink.
How to Transfer a Picture to Wood Using Mod Podge
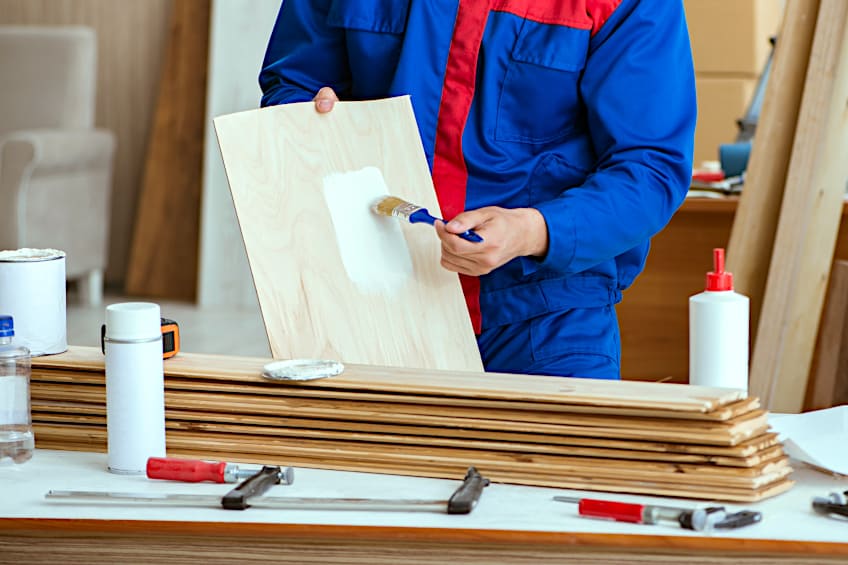
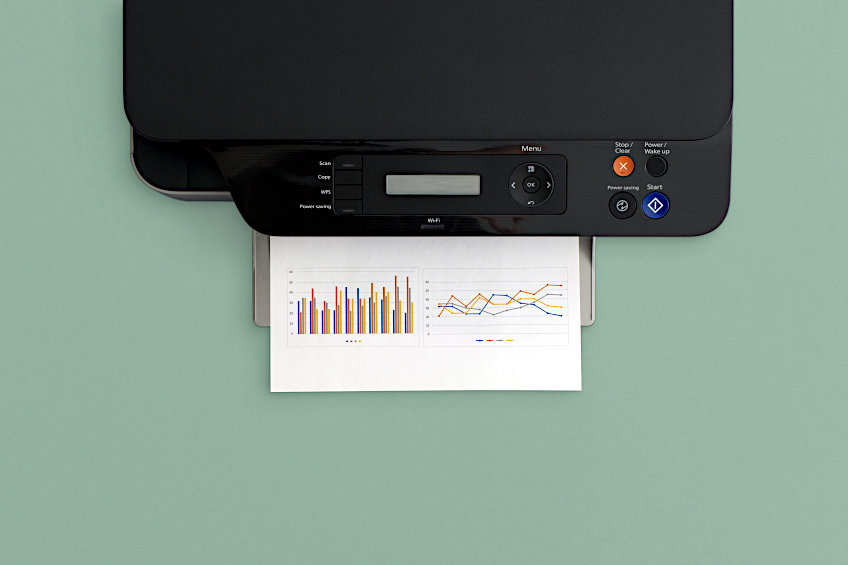
For this particular transfer technique, you will need a dry ink printer like a laser printer and a painting medium like Mod Podge. Print on a normal A4 size paper, using a photocopier machine or a laser printer. You can use a piece of plywood that is a quarter-inch thick and cut to 13 x 8 inches would be ideal. The materials and equipment you need are as follows.
- Piece of clean smooth wood
- Mod Podge Photo Transfer Agent or Medium
- Matte Mod Podge sealer
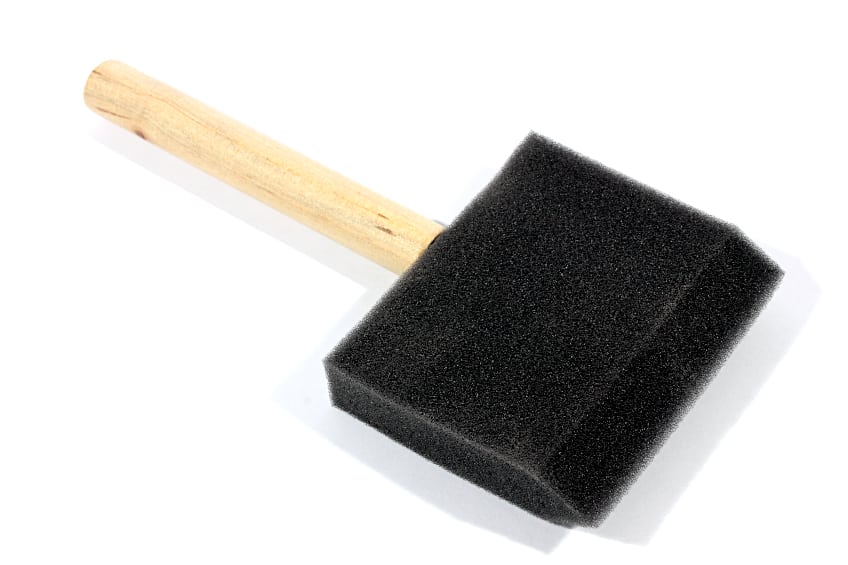
- Foam brush
- Damp clean cloth
- Printed image
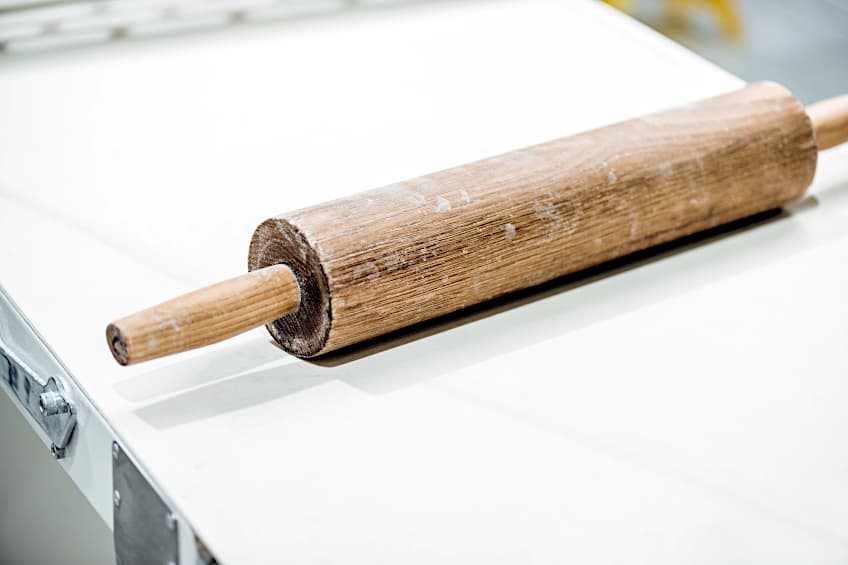
- Rolling pin, brayer, or glass bottle
- Sharp craft knife

Once you have printed a copy of your image, lay it face upwards on a Silicone mat or other clean smooth surface, which will help to protect your work surface when you apply the Mod Podge. Then you can apply a generous amount of the Mod Podge transfer medium onto the piece of wood, or over the entire paper image using the foam brush.

Next, take your printed image and lay it facedown onto your piece of wood, and begin to smooth it out using your fingers, a brayer, a rolling pin, or even a glass bottle, as long as it is smooth and round. This is to ensure you remove all the air bubbles. Keep a damp cloth nearby so you can immediately remove any transfer medium that oozes out. A brayer is a small hand rolling tool, that was originally used for printing.


Now comes the hard part: you need to wait for about 24 hours to allow the Mod Podge transfer medium to dry. Once it is properly dry, you take your damp cloth and gently start rubbing the paper off, which should then reveal your image. By using Mod Podge as a medium, the background of your finished image will be white and not clear.


Once the wood has dried, you can remove any spots of paper you may have missed. Now you can now also apply a clear spray matte finish coat to seal and protect your image on the wood.
A Few Tips When Using Mod Podge for an Image Transfer Project
You need to make sure you use a laser printer or photocopying machine for your image, as an inkjet printer will not work with this method of photo transfer to wood. Keep a damp cloth nearby when transferring the image onto the wood, to remove any transfer medium that may come out on the sides.
- This technique works best with black and white photos, but you can also use colored photos.
- Ensure your printed image fits the size of your piece of wood.
- Reverse the image before you print it, or else the words will appear the wrong way around.
- If you are not happy with areas of the transferred image or spots where you removed the image, you can take a sharpie and lightly color the spots in.
How to Transfer a Picture to Wood Using Acetone or Nail Polish Remover
This method for transferring your photos onto a piece of wood is fantastic and easy to do. You do not have to limit your transfer photo to wood, as it can successfully be done on a piece of metal or other hard surfaces. Again, an image can be printed on a normal A4 size paper, using a photocopier machine or a laser printer Materials and equipment you need for this project.
- Acetone or nail polish remover
- Face mask
- Rubber gloves
- Cotton balls
- Safety goggles
- Sponge
- Glass container
- Printed image
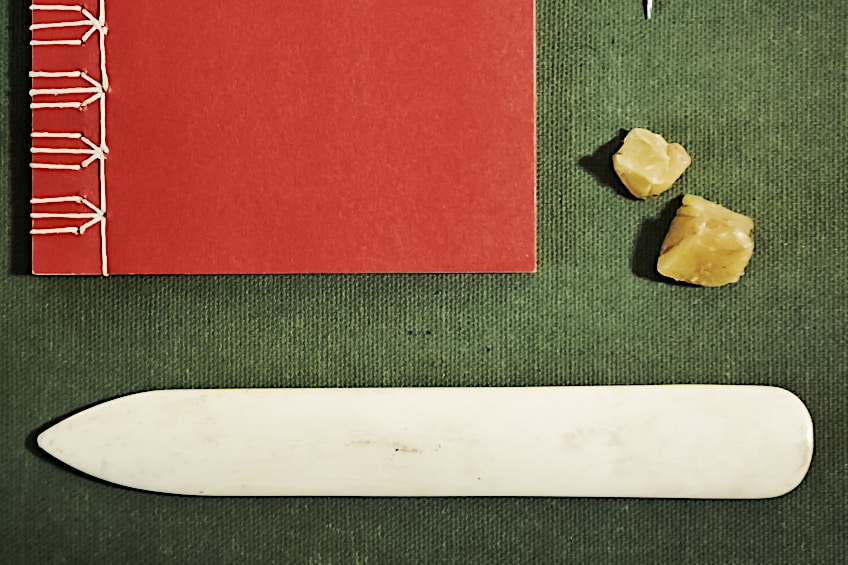
- Bone folder or spoon
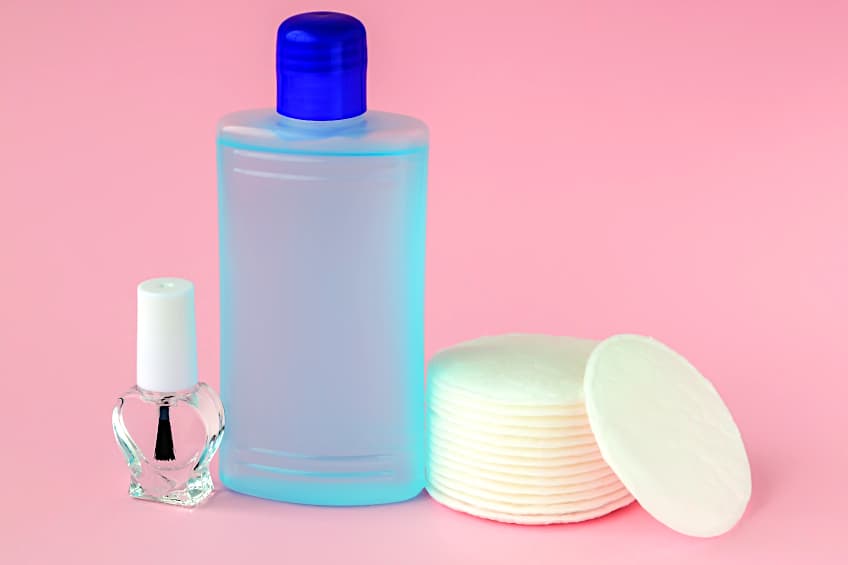

Take your printed photo or image from the laser printer or photocopying machine, ensuring that you have reversed the image, place it face down onto the wood surface and secure it with some painter’s tape. Next, pour some of the acetone into a glass container, and only pour a little at a time as it evaporates quickly. You can also use nail polish remover but only if it is the 100 percent acetone type without any additives


When working with acetone, you need to be careful and ensure you work in a well-ventilated area to avoid inhaling any toxic fumes. Now dip a cotton ball into the acetone and start to rub it from left to right over the entire printed image. Try not to use too much solvent, as it may cause the ink to bleed. To avoid this, rather apply thinner layers each time.

Take your bone folder or spoon and apply firm pressure on the image, pressing it down on the wood with the back of the spoon, moving from side to side on the wood. A bone folder is a tool you can purchase that is made for creasing or folding materials in crafts, for example, cardmaking or bookbinding.

Next, you can use a brayer or rolling pin to flatten the image and leave it smooth. Remove the painter’s tape and peel the paper off the wood, which should reveal your image that has been transferred to the wood. For sealing pictures on wood, you can apply a clear spray matte finish coat to protect your image.
How to Transfer Photo to Wood Using PVA Glue
We all have a wooden keepsake box of some kind, such as a toy box, jewelry box, or storage box. They are ideal for transferring an image or photo onto them. For this method, we will be making use of PVA (polyvinyl acetate) glue as a transfer medium and card stock to print the image onto. Materials needed for this project include some of the following.
- Foam brush
- Cardstock
- Disposable bowl
- Ink-jet printer
- PVA glue
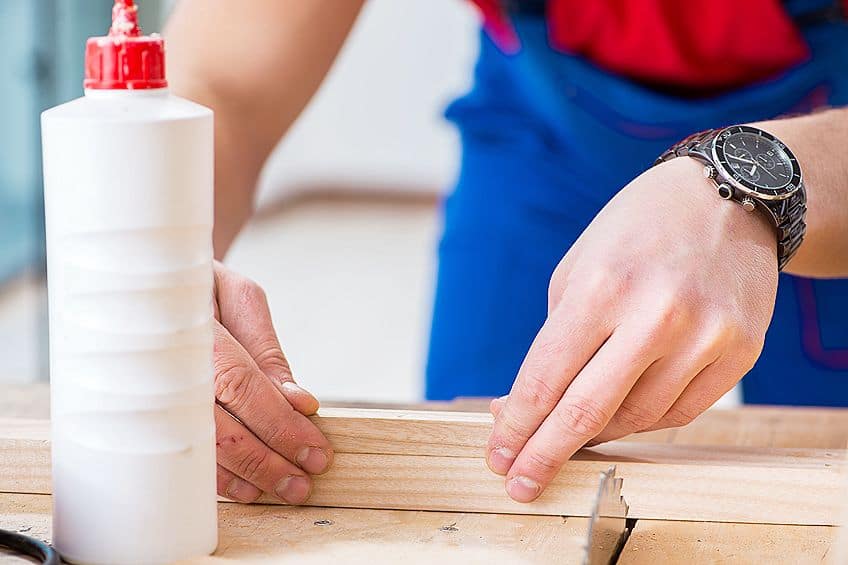

Take the PVA glue and pour some of it into a disposable bowl. Take the card stock you are going to print the image onto and paint a smooth layer of the glue onto the side you are going to print on, using the foam brush. Now you lay it aside and wait for it to dry properly, which should be about 18 to 24 hours.
Place the card into the ink-jet printer and print the image or photo on the side that has the layer of PVA glue applied to it. Now apply another layer of PVA glue to the surface of the wood using the foam brush, place the card stock face down on the glued wood surface, and press firmly down until the card stack adheres firmly to the wood. Allow the project to dry completely, usually overnight, and do not attempt to remove the card stock prematurely as it will ruin your job.

Now you can take a large bowl and fill it with some cool water and place the card stock into the water until it becomes wet, soggy, and soft. Remove it from the water and begin to peel off the card stock, starting at the top corner. After you have removed the card stock and there are still small pieces still stuck to the wood, place it under some running cold water and rub it off with your fingers. Finally, apply a clear spray matte finish to seal the picture on the wood.
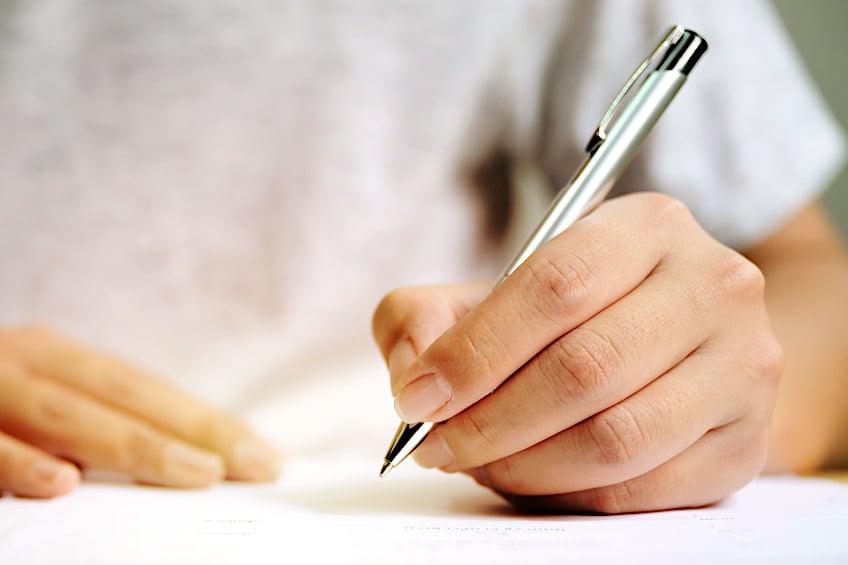
How to Transfer Photo to Wood Using Chalk and a Ballpoint Pen
By using this technique, you will be able to transfer any type of photo or graphic image onto a piece of wood or a wall. It is one of the easiest transfer techniques, but it may be slightly time-consuming and requires a steady hand when tracing. You must have the following items for this project.
- Printed photos that are printed on simple printer paper
- Digital graphic images
- Ballpoint pen
- Piece of chalk
- Pastel crayon or soft pen
- Small paintbrush or marker pen
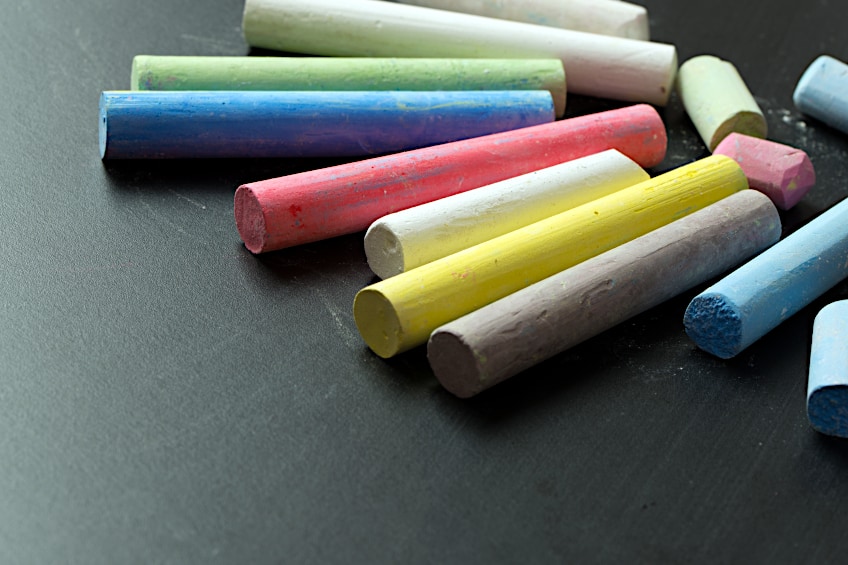

The entire process can be completed in three basic steps. First, take the piece of chalk or crayon pastel and color in the entire photo or image, then place the colored image onto your wood or wall. Trace the outline of the photo or image onto the wood by using the ballpoint pen, which will transfer the image.

Now all you need to do is use a marker pen or small paintbrush and begin to fill in the outlines or shapes of the image, and the transfer is done. Now you can apply a clear spray matte finish coat to protect your image, sealing the wood surface.
How to Transfer a Picture to Wood Using an Iron
This technique is ideal and easy for transferring an image, it can be used to transfer a photo to wood, paper, or even fabric. Most of the materials and equipment needed might even be lying around at home. This technique was originally adapted for ironing images onto t-shirts, but it works just as well when transferring images onto a solid surface like wood. The items required for this project are as follows.
- An ink-jet printer
- A hot iron
- T-shirt transfer paper
- Photo or image printed on an ink-jet printer
- A smooth, clean piece of wood
- Clean cloth or pillowcase or slip

Print your image or photo on the t-shirt transfer paper, or wood transfer paper, by using an ink-jet printer. Make sure you reverse the image before printing and set the printed image aside for about five minutes. Now place the printed image face down onto the wooden surface, and then cover the back of the photo with a clean cloth or a pillow slip.
Set your iron on the highest cotton setting, without steam. When it has reached this setting, take the iron, and press it down firmly onto the printed image. You need to keep the iron pressed in one area for about 15 to 20 seconds, and then move it around until you have covered the entire printed image.
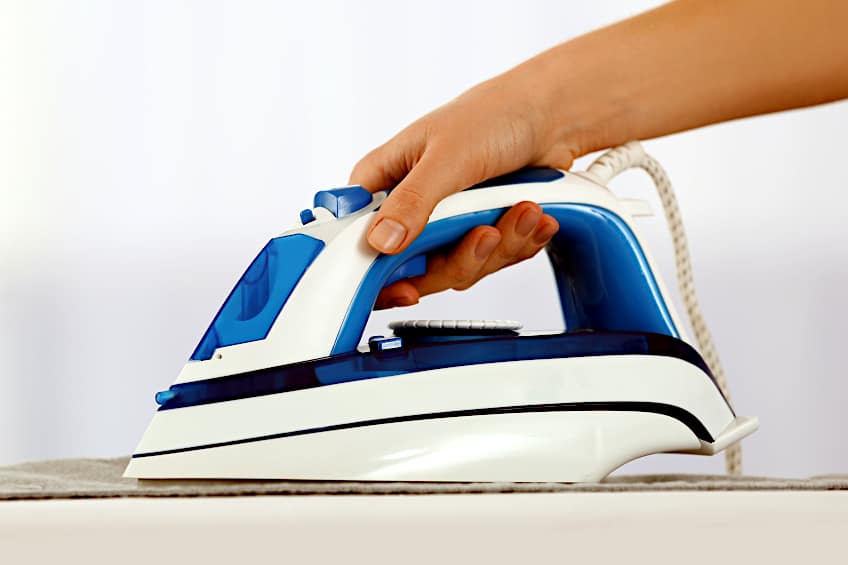

If you smell burning at any time during this process, remove the iron from the printed image. Allow it to cool for a couple of minutes and remove a small section of the wood transfer paper to see if the image has been transferred properly. If not, repeat the ironing process until you are satisfied with the result. Now you can apply a clear spray matte finish coat to protect your image. Here are some common mistakes that you can avoid to ensure your wood photo transfer is done correctly.
- Do not forget to reverse your photo or image before printing.
- Only print the on the coated side of transfer paper.
- Do not use an iron that is not hot enough, as it will not work properly.
- Failing to keep the hot iron pressed long enough on one spot, may cause problems.
- Not applying enough pressure to your iron while ironing, will also not transfer the image properly.
We have laid out the different methods you can use on how to transfer a picture to wood. We have learned that you can not only transfer your photos but also any image you want, and you are not limited to a wood surface. We hope this article has been helpful and encourages you to explore this amazing project idea.
Frequently Asked Questions
Can You Take a Regular Photo and Transfer It to Wood?
Taking a regular photo that has been developed and trying to transfer it to wood will not work, as there is no ink available to make the transfer. You first need to make a copy of the photo using an ink-jet or laser printer, and then you can make a photo transfer to wood.
What Type of Printer Can You Use for Transfers?
A laser printer is the best to use, especially if you are going to use Mod Podge or nail polish remover as a medium. However, if you are going to use wax paper, PVA glue, or iron it on, you will need to use an ink-jet printer for making the copy to transfer to your wood.
What Kind of Paper Is Best for Transferring Pictures to Wood?
Depending on what type of technique you are using to transfer your photo or image to the wood, you can use ordinary wax paper, regular printing paper, transparency sheets, iron-on transfer paper, as well as card stock.
Can You Use Glossy Photo Paper to Make a Wood Photo Transfer?
If you have a glossy photo that has been printed on photo paper, you will not be able to transfer it to the wood. You will first have to make a copy of the photo on a regular piece of paper, using either a laser or ink-jet printer. You can then use the transfer technique you are comfortable with.