
Resin Crafting Projects – Our DIY Epoxy Resin Craft Ideas
This post may contain affiliate links. We may earn a small commission from purchases made through them, at no additional cost to you.
There are so many exciting ways you can use DIY and crafting to express and entertain yourself, and DIY resin is one of them. There are countless resin art ideas, from complex epoxy resin crafts to simple, fun projects perfect for beginners. You can make gifts for friends and family with ease, or even create stunning pieces you can then sell! Whatever your motivation is for trying your hand at DIY resin, we hope this article helps you.
Table of Contents
- 1 Understanding the Basics of Resin
- 2 Epoxy Resin Safety
- 3 Selecting the Correct Resin for Your Project
- 4 Basic Guide for Using Epoxy for Crafts
- 5 Resin Crafting Projects
- 5.1 Beginner Resin Crafts
- 5.1.1 Resin Jewelry
- 5.1.2 Pen Holders
- 5.1.3 DIY Resin Coasters
- 5.1.4 Resin Bookmarks
- 5.1.5 Resin Photo Frames
- 5.1.6 Resin Letters and Words
- 5.1.7 Resin Stickers
- 5.1.8 Resin Serving Trays
- 5.1.9 Resin Christmas Decorations
- 5.1.10 Resin Door Handles
- 5.1.11 Resin Notebook Covers
- 5.1.12 Resin Paperweights
- 5.1.13 Resin Wine Bottle Charms
- 5.1.14 Resin Games
- 5.2 More Challenging Resin Craft Ideas
- 5.3 Other Resin Art Ideas
- 5.1 Beginner Resin Crafts
- 6 Tips for Your Resin Crafting Projects
- 7 Frequently Asked Questions
Understanding the Basics of Resin
There are so many different types of resin, each has its use. We will be focusing on crafting projects using epoxy resin. To begin with, we will go over the basics of epoxy resin, this will give you a better understanding of what epoxy resin actually is.
What Is Epoxy Resin?
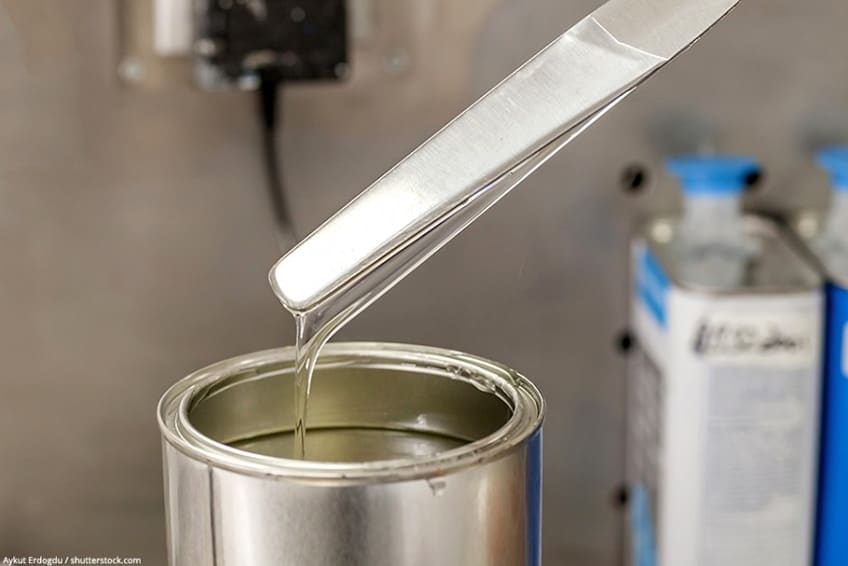
The simple answer to this is epoxy resin is made up of two liquid components, your curing agent or hardener, and your resin. You will receive the components in two separate containers when you buy epoxy resin. To activate the epoxy resin, you will need to combine the two components.
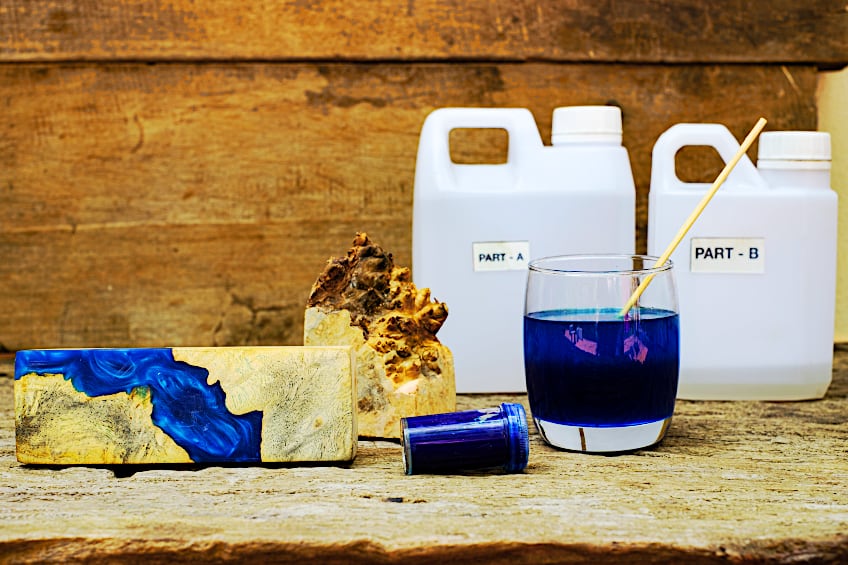

The standard mixing rule is a ratio of 1:1 of both liquids, however, each brand may have its own recommended ratios. Once you have combined the two components, the mixture will begin to harden and cure to a clear, solid, durable surface. You can use epoxy resin for filling purposes and adhesion, and it can also be used to create a strong waterproof layer over any surface you choose to apply it to. DIY resin is a wonderful material as it is a liquid that can be poured and utilized to form an assortment of shapes, that once cured will be very durable and hard. It is a wonderful product to use to do repairs throughout the home, while also being great for crafting.

Types of Resin
There are so many different types of resin, each with its properties that you may require for your project. We have put together a table with certain of the resins available:
| Resin | Description |
| Polyurethane | Offers a stunning glossy finish that is very durable and hard. Often used as a flooring product |
| Polyester Resins | Used in both industrial and household applications such as coatings, however, epoxy is stronger, it is challenging to mix, and gives off fumes |
| Polyethylene Resins | Commonly used in the plastic packaging industry |
| Acrylic Resins | Thermoplastic, challenging to work with, and toxic. |
| Phenolic Resins | Found in an assortment of industrial applications like coatings and adhesive, for example, electrical components |
| Alkyd Resins | Thermoplastic polyester resin can be used as a special coating for an assortment of applications |
There are serval types of resin that are great for use for industrial purposes, such as polypropylene resins, polycarbonate resins, polystyrene resins, polyamide resins, and silicone resins. However, another type of resin that is used often for art and craft projects is UV resin.
UV Resin
This is a fast-working resin that only needs a few minutes to cure, once it has been exposed to UV light. This resin is perfect for smaller projects, all that you will require is a UV light so you can cure the resin. Examples of this type resin includes those used by dentists or car windscreen repairers that are cured suing UV lamps. While this sounds like the perfect product, it is quite pricey.


Epoxy Resin
This is the most popular resin, thanks to its versatility. There are two versions of epoxy resin and choosing the correct one all depends on your project’s needs. Both types are made up of almost the same materials, however, they offer different properties. A lot of the different manufacturers offer an array of product features such as quick curing times, offering no odor, non-toxic products, and epoxy which is self-leveling to name a few.
| Resin Features | Epoxy Resin | UV Resin |
| Preparation | Comes as a two-part system you have to combine in exact measurements | Does not require mixing |
| How Does it Cure? | Cures naturally | UV light source is needed |
| Curing Time | Can take a few days | 15 to 20 minutes when using a UV lamp and a few hours if placed in sunlight |
| Coverage | Can be for small epoxy resin projects and larger projects | Only for smaller areas and projects |
| Durability | Long-lasting, durable results | Limited |
| Maximum Thickness | 5 cm | 1 mm |
| Cost | More affordable | Pricey and needs additional tools like a UV lamp |
| Quantities | Comes in smaller and larger volumes | Only comes in smaller volumes |
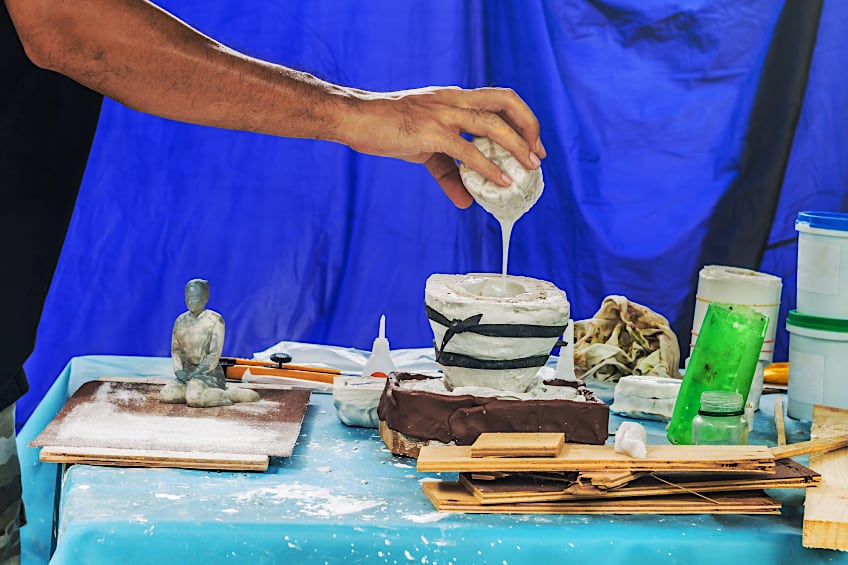
Casting Resin
This is a more fluid form of epoxy resin, which makes it ideal for use with casting jewelry, molds, figurines, and other projects. You can also use casting resin to fill cracks in wooden items. this makes epoxy casting resin ideal for use to create small epoxy resin projects.

Laminating or Coating Resin
As illustrated in the name, one can use laminating resin to coat surfaces. When you have finished coating the surface and your resin has completely cured, you are left with a hard and durable, protective finish. This form of resin is often used for tabletop coatings and floor coatings.
| Features | Casting Resin | Laminating Resin |
| Mixing Ratios | Mixing ratios can differ | Simpler mixing ratios |
| Consistency | Thin, low viscosity | Thicker, higher viscosity |
| Curing Times | 72 hours on average | Several to 30 days to fully cure |
| Pouring Depth | Thin to thick layers | Multiple thin layers |
Epoxy Resin Safety
To create the resin by combining the two components, you are causing a chemical reaction to occur. When the chemical reaction happens, the resin releases toxic fumes. You are not able to see the fumes, however, certain products release an unpleasant odor.
The fumes can be bad for one’s health if they are inhaled, so you must wear protective gear when working with resin. You will need to wear special eyewear, gloves, and a respirator mask. We also recommend that you wear either coveralls or an apron to protect your clothing. Epoxy resin can cause skin irritation, so in addition to the gloves, we recommend you wear long-sleeved clothing when working with the resin. If an accident occurs and you do have some of it get onto your skin, you should use soapy water, vinegar, or hand sanitizer to remove it immediately. It is important to note that once the cured epoxy resin is completely non-toxic.


It is also very important that when working with epoxy resin you are in an area with good air circulation. Having open windows, and or fans are a great idea. Certain epoxy resin products have low to no odor and are non-toxic, but we suggest you remain cautious and follow the necessary safety guidelines.


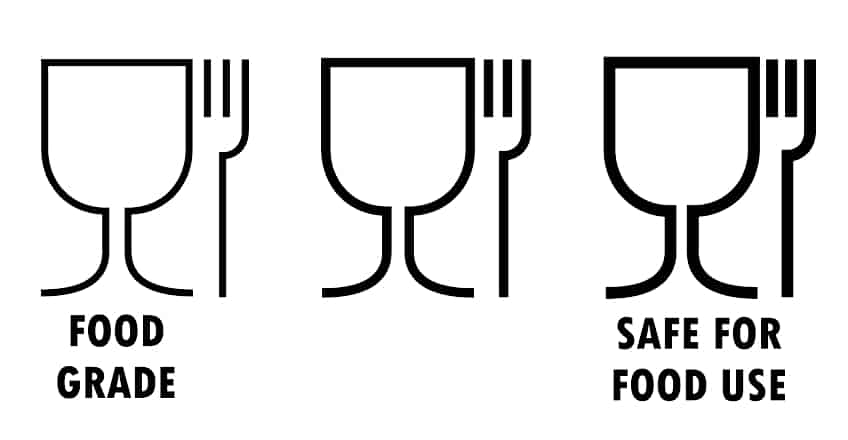
Resin products that are certified, and are thought to be safe and conform to certain requirements, are the best option. You only want to use products that are FDA approved and are food-safe if you plan to have your item come into contact with food. Manufacturers should provide a safety data sheet on all their products on their websites.
Selecting the Correct Resin for Your Project
As previously mentioned, you can purchase different types of epoxy resin products that have different properties. Some work better for certain projects, so you should select the ones that suit your needs best.
Does the Resin Need to Manage Heat?
Some projects may result in the resin being exposed to heat, such as coasters. You will need to be certain that the resin you use is heat resistant, so it will not be impacted by hot cups placed on it all the time. To determine the curing time required consult the manufacturer’s directions.

What Viscosity is Best?
Viscosity describes how thin or thick a substance’s consistency is. The viscosity of a product plays a large role in dictating what project you can use it for. For example, if you are using a smaller mold that has a lot of intricate details, then it is best you use a thinner product, that has less viscosity.

The thinner epoxy can fill all the details and corners and easily cover the mold. The thinner types of resin take significantly longer to cure resin with higher viscosity. You will have to wait longer for it to cure before you can demold and cast the piece.
Does it Take Long to Harden?
There are many brands of epoxy resin products available on the market, and each brand has its own curing time. This is why it is important to consult the product’s instructions to determine the curing time. The environment can also impact the curing time. If the piece is in an environment with a higher temperature the epoxy resin will cure faster, while it will cure slower when in cooler temperatures. To shorten the curing time, you can place the piece near a lamp or heater. You can also use some hot water to warm up both the hardener and the resin in their containers before you combine them. Consult the label to see if the product you have selected is fast curing.


Pouring Thickness
Certain resins have a maximum depth that you can pour them to, and this will impact the type of project you use them on. You can find certain brands that provide an assortment of resin products for different pouring depths, and this information is available in either millimeters or centimeters. If you use the incorrect resin, for example, you pour a layer of resin that is thicker than suggested, it will never cure completely and will remain sticky to the touch.

Is it Resistant to Yellowing?
Over time a lot of epoxy resin products will turn yellow and discolor, as a result of exposure to elements such as light. This is significantly more noticeable in resins that do not contain any pigments and is left clear. You can purchase non-yellowing products, and this will assist you in preventing yellowing by keeping resin items out of direct sunlight.

Safety and Toxicity
These days there are many resin products available that are non-toxic and produce low or no odor. With any resin product, you will receive product guidelines and instructions, ensure you read these and follow them accordingly. Consult the label to determine if the product is food-safe as many resins are not. The food-safe resin will be certified and it will state on the packaging.

Basic Guide for Using Epoxy for Crafts
Before we begin to share some resin craft ideas, we have put together a basic guide on how to use epoxy resin for crafts. To begin with, what surface can resin be applied to. Thanks to the epoxy resin being such a versatile product, it can be applied to an assortment of surfaces:
- Paper
- Metal
- Silicone molds
- Wood
- Canvas
- Concrete
- Stone
When you have determined what project, you want to do, and you have assembled your tools and set up a well-ventilated space to work in, you can begin your resin project. The first thing you need to do is consult the product’s instructions, as every brand will be different. A successful resin piece will only be created if you adhere to the instructions.

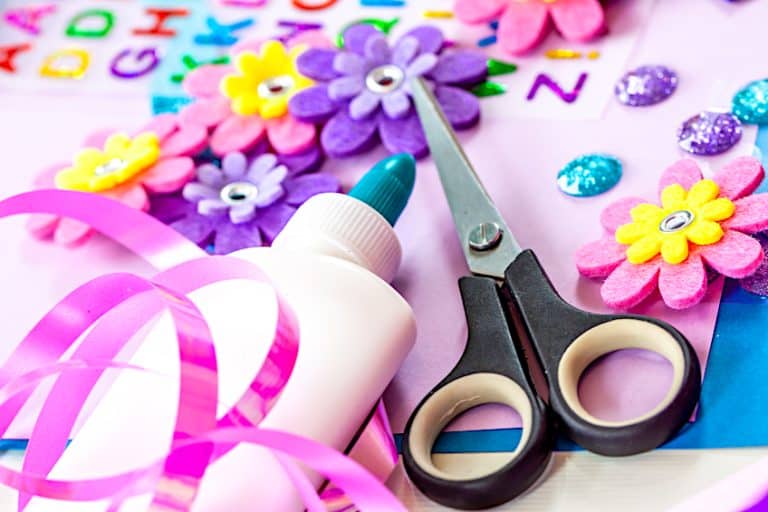
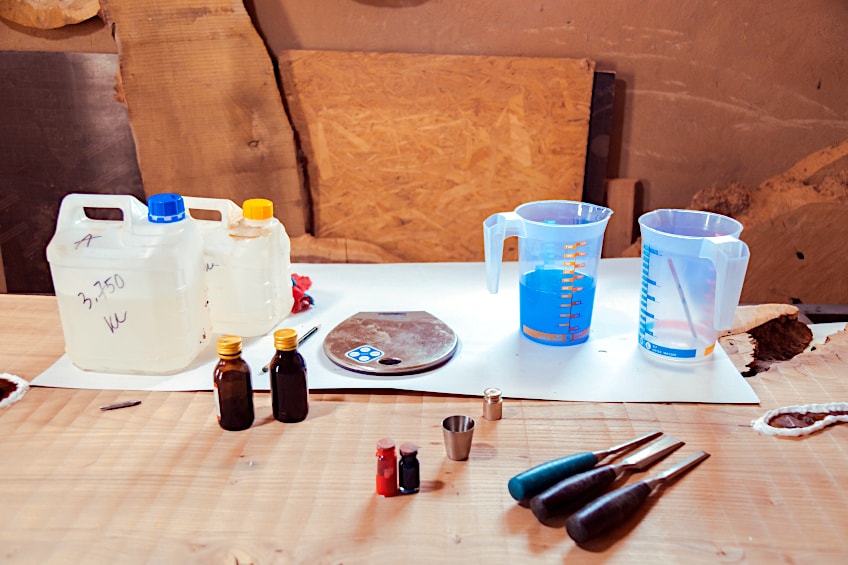
General Supplies Needed for Epoxy Resin Crafts
Now that you have selected the necessary epoxy resin, you may wonder what other equipment and tools are required. We have already discussed the safety wear required; the other items required are as follows:
- Mixing cups, which can be either silicone or plastic.
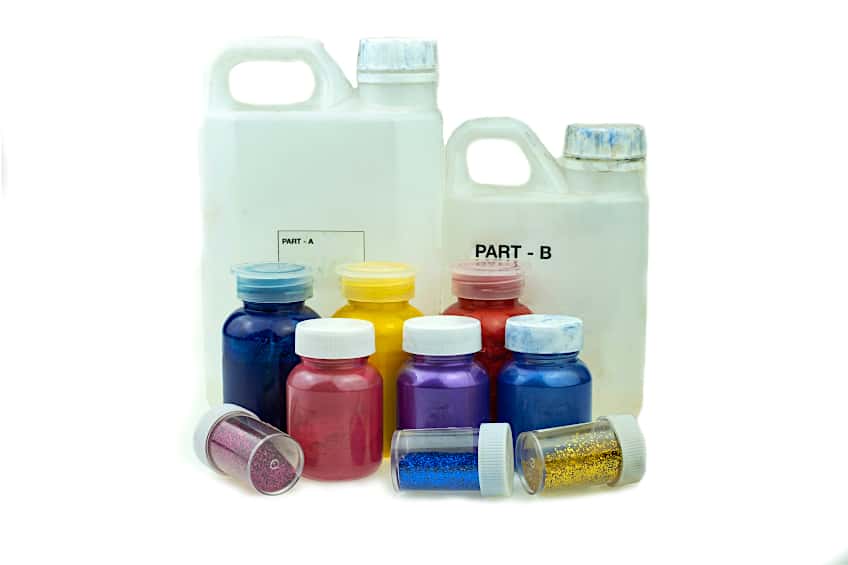
- Embellishments you can add, which can be any of a variety of items from stickers, glitter, foil, artificial flowers, to gold leaf, and all types of beads.
- Something to stir the resin with, such as a popsicle stick for mixing the resin.
- An assortment of epoxy pigments or colors, which are formulated to work best with resin.
- Toothpicks that can be used to remove any bubbles.
- Your selected silicone molds.
- Heat gun or tool, which can also be used to remove any bubbles.
Working in a Prepared Space
You want to ensure you are working in a warm space, have low humidity, and are well-ventilated, to allow the epoxy to cure properly. Cooler temperatures and moisture will result in the curing time taking longer and can cause problems such as amine blush. Amine blush is a defect to the surface that can occur while the epoxy is curing. When using resin, a consistent and warm temperature is preferred. You could also choose to use a propagation mat or heat mat, which will assist in keeping your workspace warm. These mats are normally utilized to assist in growing seeds and produce consistent subtle heat to achieve this. You also want to ensure that your work area is clean, with no dirt and minimal dust so that it does not contaminate the resin while you are working.

Preparing Your Resin and Molds
To aid the curing process you can use some warm water to heat up the resin and the mold. This will assist the curing process and stop any bubbles from forming. If you have chosen to heat them in warm water, ensure you dry them off completely before you begin. You also want to double-check that your surfaces and mold are clean and free of dust and dirt.
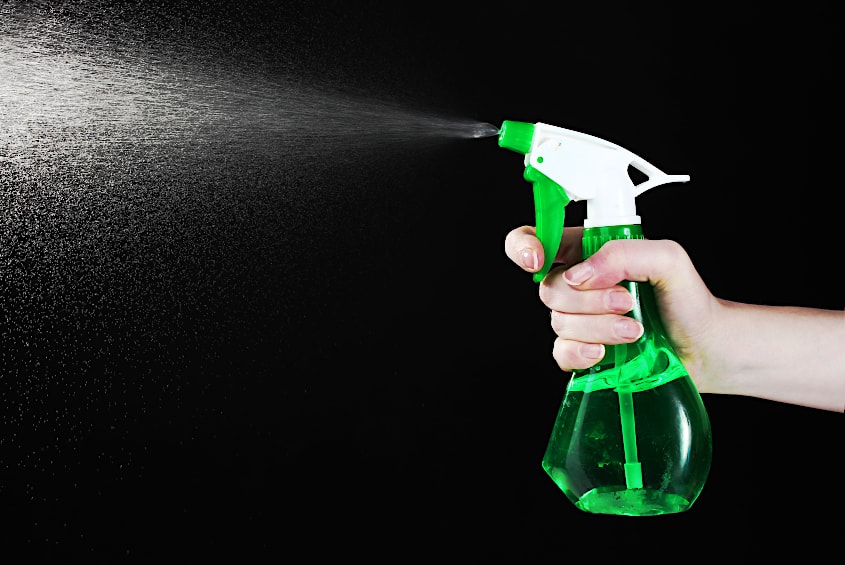
Dust can be irritating and cause issues while you are working. You can use a spray bottle with a little bit of water in it and spray the room lightly before you begin working. This should assist in lowering the floating dust levels slightly. Be careful that none of the water gets near the hardener or the resin while you are working.

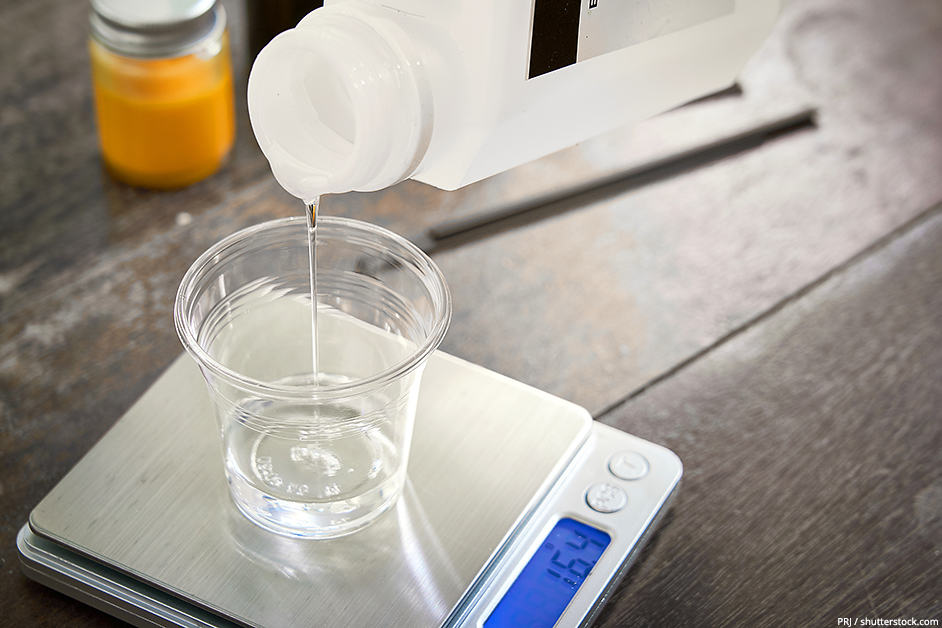
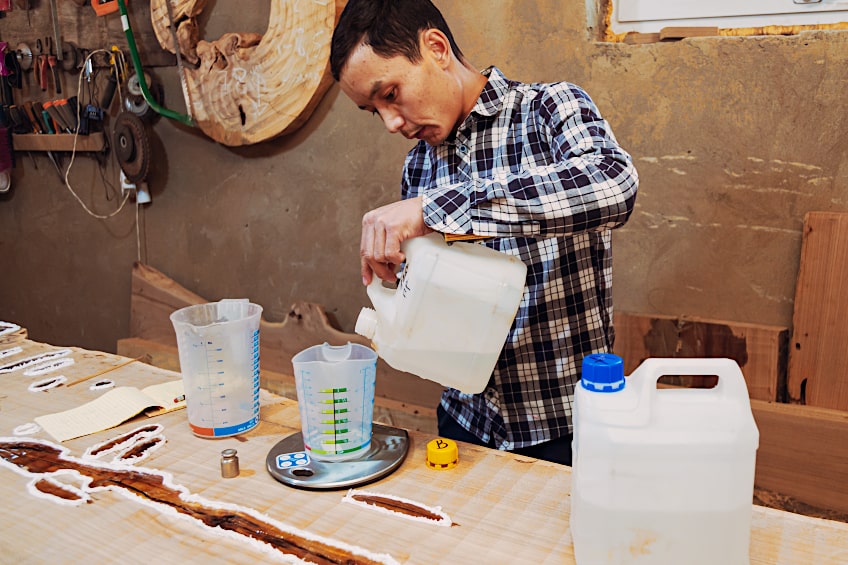
Measuring the Resin
The majority of epoxy resin products can be mixed in a ratio of 1:1, however, you must always consult the product’s instructions to confirm the ratio required. Remember, before you begin working with the resin to put on your protective gear and your gloves. Measure out the hardener and resin into your measuring cups (you mustn’t forget to replace the container caps as you work). You could potentially ruin your project if you deviate from the amounts even slightly. Calculating the amount of resin can seem overwhelming, so if you are uncertain how much resin you required, there are a variety of calculators available online that you can use to determine the required amounts.

Mixing the Resin
You can pour the content from both measuring cups into one mixing container. On average you will need to mix for roughly three minutes, mixing the components thoroughly. Use your mixing tool and slowly begin to mix, as you want to ensure you do not cause any added air to enter the mixture, which can assist in preventing bubbles. Scrape the bottom and the sides so that you are certain everything is mixed properly.

When you are happy that you have mixed thoroughly, leave it for a short while for any bubbles to move to the surface. If you are working with a silicone mold you do not need to spray any releasing agent. Pour the resin mixture into your selected mold, each product will have its hardening and curing time, so ensure that you have put aside sufficient time to work with the product before it starts to harden and thicken.

Adding Color and Embellishments
This is not a necessity but will add additional elements to your piece. Before you start to pour the mixture, you can mix in things such as color pigment or glitter. Any solid items or glitter will drop to the bottom once poured, so if you are looking for it to sit in the middle of a cured piece, you will have to pour multiple layers. In terms of adding color, you will need to use resin pigment, alcohol inks, or mica powders. We recommend resin pigments as they will give you the best results.

Once the resin has been decanted you can add your embellishments. Using a long, pointed pair of tweezers you will need to work slowly and try to avoid any bubbles that may form. Items such as paper, or other porous items will have to be sealed before you can add the epoxy resin.
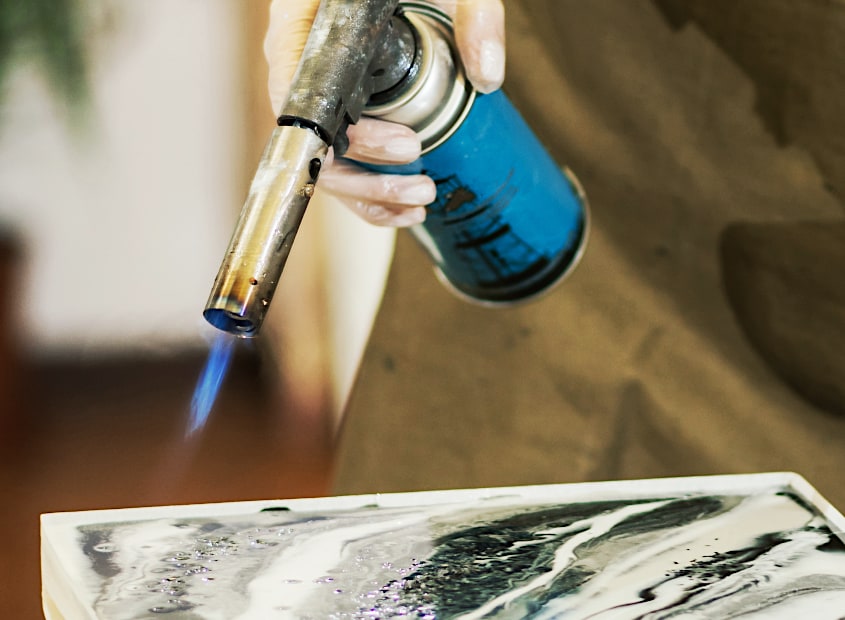
Getting Rid of Bubbles
As the bubbles rise you can pop them using the toothpicks. The majority of the bubbles will rise to the top on their own, so you will be able to pop them with ease. You can use a heat gun, hair dryer, or a lighter to force the bubbles to rise to the surface. Be careful to not hold the heat source too close to the surface, and remember to move it around, do not allow the heat gun to remain in the same area for too long.

Allow to Cure and Demold
Ensure that you leave your resin item or mold in an area where it will not be disturbed and cover it lightly, if possible. You want to be certain that this area is well ventilated as during the curing process fumes are still released. On average curing should take between 12 and 72 hours, but different brands have different curing times. You want to be certain that the item has been completely cured before beginning to demold the item. When the item has been removed from the mold, you can then sand it down and finish it off by applying some resin polish to create a shine.

Resin Crafting Projects
It is now time for us to start looking at using epoxy for an assortment of projects and crafts. Resin jewelry is one of the more common DIY resin uses, thanks to it being simple to do and customizable. You can add a variety of embellishments and colors to create unique and fun pieces, such as charms, decorative items, bookmarks, lamps, countertops, coasters, flooring, and so much more.

Beginner Resin Crafts
It might seem challenging to work with epoxy resin but there are some great beginner resin craft options. Simple projects to tackle that are easy to do while not costing you a fortune. As a versatile product, epoxy resin can be utilized on different surfaces or can be used in a mold to form a variety of shapes.

Certain products are odorless, non-toxic, and self-leveling. Stick to the simple instructions, and you will be able to work with resin with ease and form some stunning pieces. You will find yourself hooked before you know it!
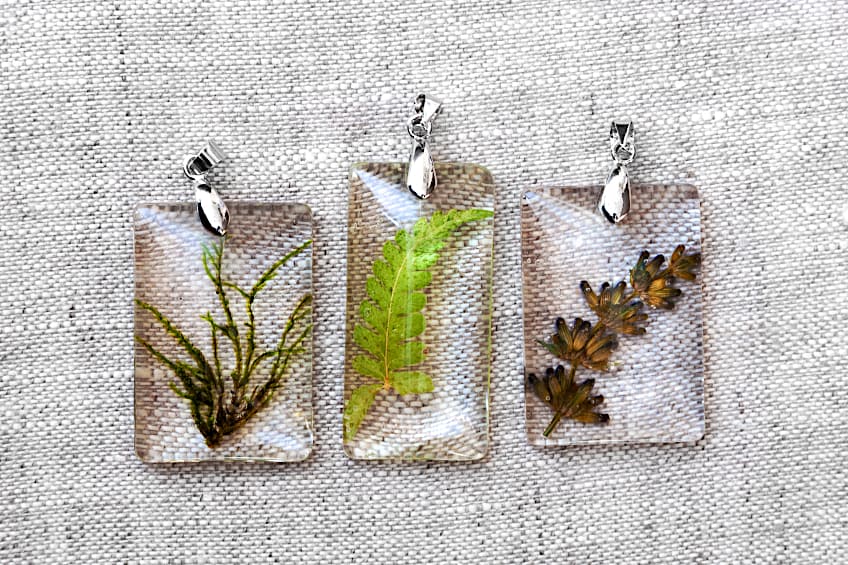
Resin Jewelry
A very popular craft idea is DIY resin jewelry, thanks to it being so simple to do, as you can purchase mold shapes for practically any kind of jewelry design. Epoxy resin is ideal to use for pouring into silicone molds. Certain molds offer an assortment of shapes for you to work with. A silicone mold is long-lasting and can be reused many times if you take care of it properly. You are also able to add a variety of embellishments or colors to your resin jewelry designs. A few jewelry options include the following:
- Pet Tags: a unique option for a gift for family and friends with pets is a resin pet tag
- Earrings: there are so many options when it comes to sizes and shapes
- Hair combs and clips: you can use resin to make a stunning resin comb or a variety of resin hair clips
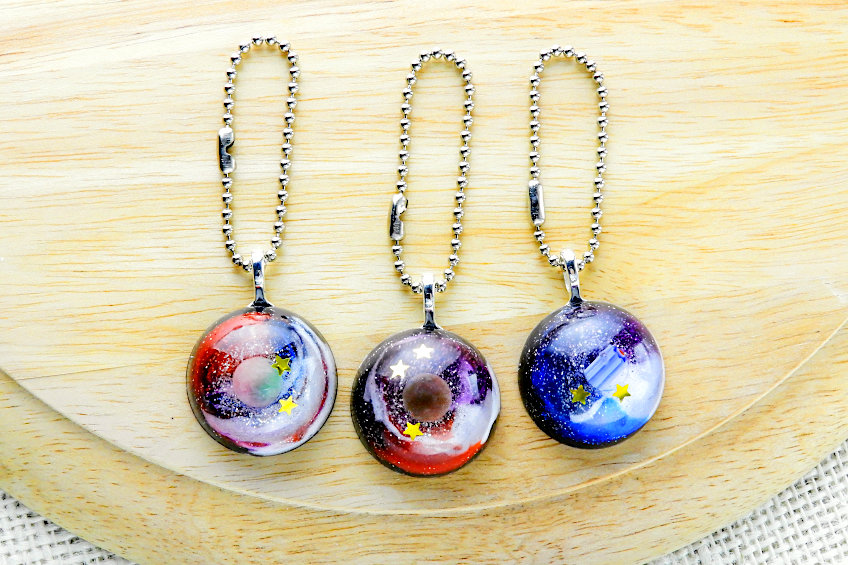
- Pendants: gemstone resin molds are available in many shapes
- Keyrings: you can make so many stunning different designs, shapes, and even letters to form resin keychains
- Rings: create your own stunning unique resin rings
- Beads: form gorgeous resin beads
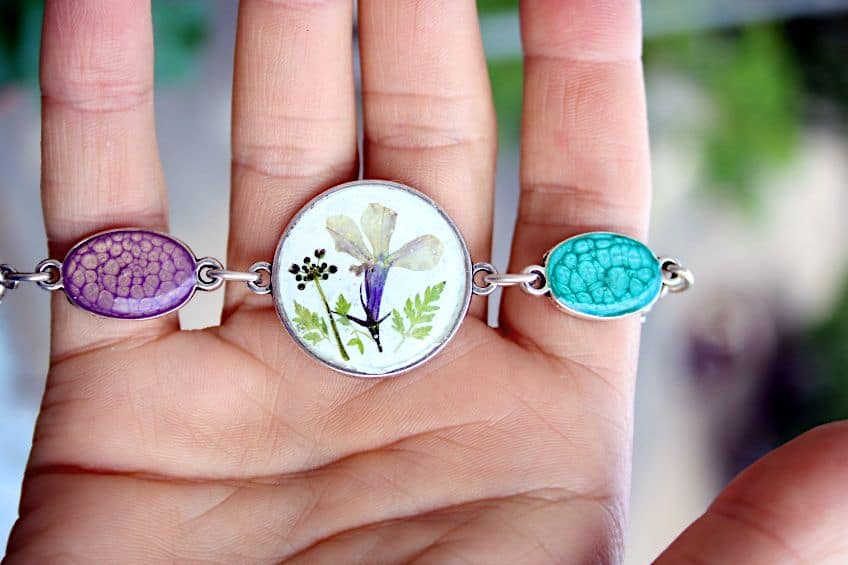
- Bracelets: you can make resin bracelets in an assortment of sizes


Jewelry Without a Mold
Instead of using a mold, you can try using jewelry blanks or closed or open bezels. This is a metal frame item that is roughly the size of a ring or pendant. You can get a variety of sizes, if the bezel is relatively thick, you will need to potentially try laying down a few layers and allowing time for each layer to cure before you move on to the next layer.

An open bezel is open on both sides, when working you will need to ensure one side is sealed. To seal the side, you can use packing tape. Adhere the sticky side onto the flat working surface, such as an acrylic block. In the center of the tape, firmly place the bezel. Be careful that there are no creases, and that the tape is completely flat. Another option is to tape down the sides so that the piece that is attached to the bezel does not move at all.
This process will ensure that the resin does not spill out and form a mess when you are working. You will not have to demold, thanks to the resin remaining within the bezel when cured. You can then carefully remove the tape. Should there be any residue left behind you can use some soapy water to wipe it off and then allow the surface time to dry. This will then create the base; you are then able to add any embellishments you wish before you begin to add a layer of resin.
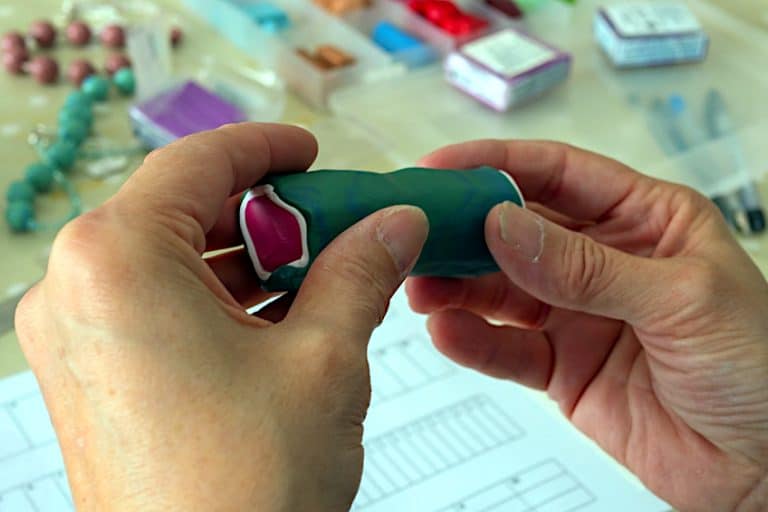
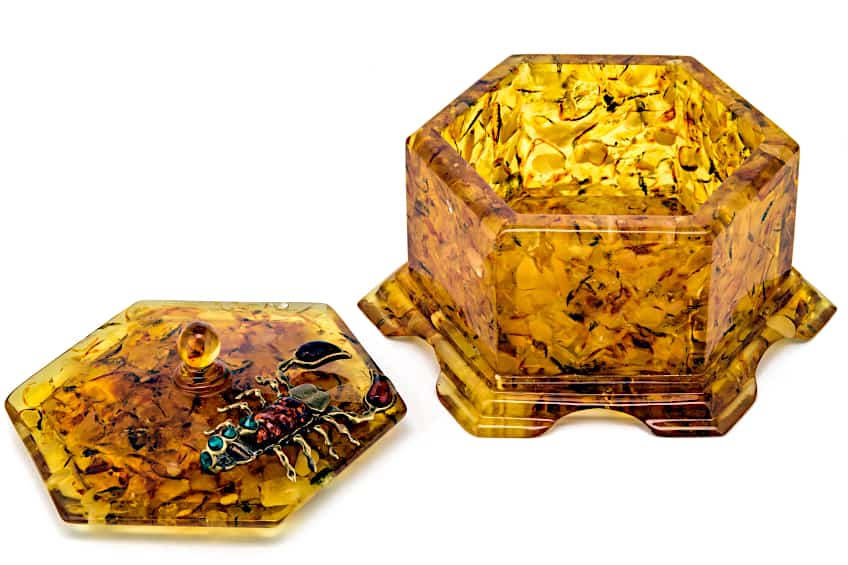
Jewelry Boxes and Ring Holders
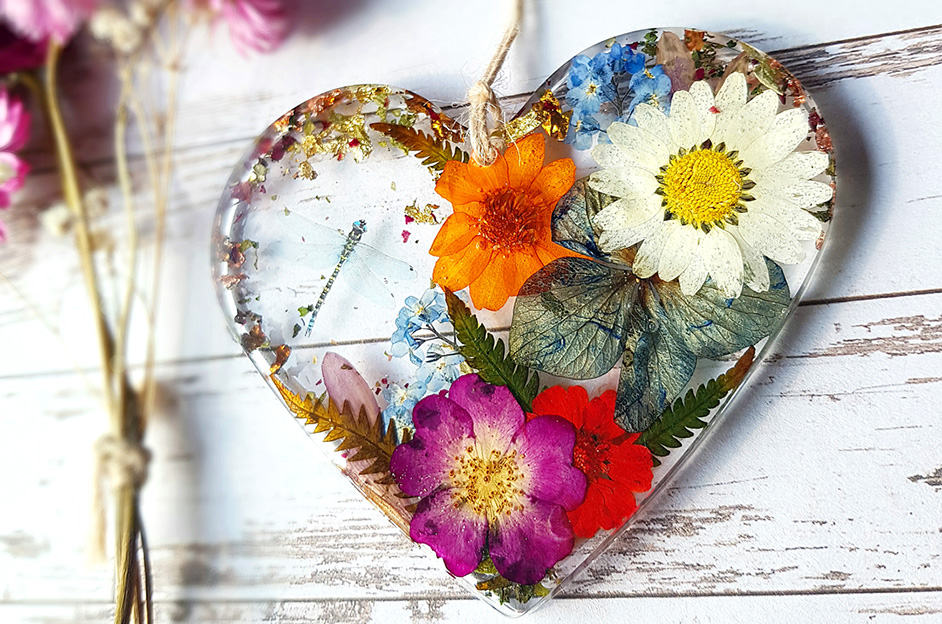
Now that you have created these gorgeous jewelry items, you will need an equally stunning jewelry box to store them in. Instead of just purchasing a standard wooden jewelry box, you can use epoxy resin and make your own unique jewelry box. You can make an assortment of shapes from a heart to squares, even a triangle-shaped mold for resin. You can further add to your resin jewelry box by adding metallic foil, flowers, color, or glitter.

You can transform a wooden box by pouring resin over the top of the box on the lid. You will need to tape off the sides of the box to ensure that the resin does not get into the wood. You can use a variety of colors and experiment with shimmering colors and opacity. To create an illusion effect, you can attempt to build up multiple thin layers. When a layer of resin has dried you can add objects between the layers or add some artwork using paint markers.
Sometimes when you are working or washing dishes you need to have somewhere to place your rings. You can use a ring holder, instead of just leaving them somewhere you may forget them. A great resin craft project is making a resin pyramid or cone. They can be used as a ring holder or even as a stunning paperweight, or even just as a decorative piece.
Pen Holders
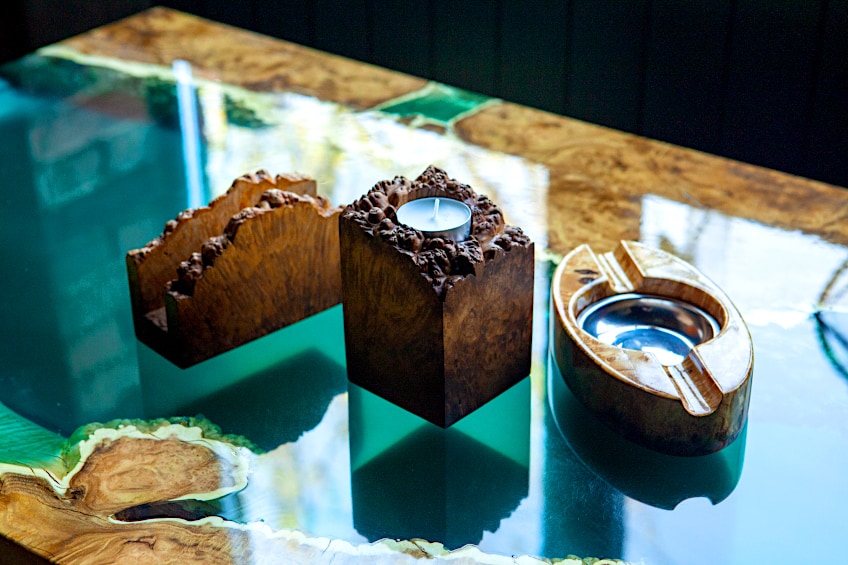
You can use a resin mold as a pen holder, a holder for candles, or even your make-up brushes. There are so many molds available that can be used to create resin pot plant holders and resin ashtrays, you will be spoilt for choice.
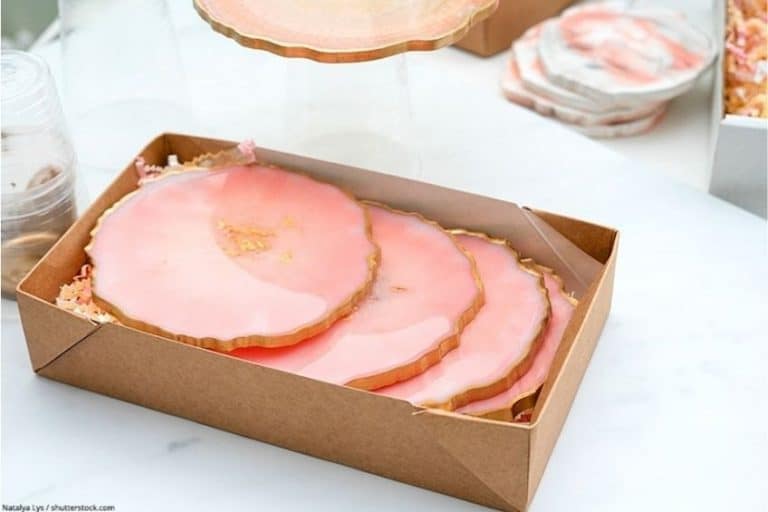
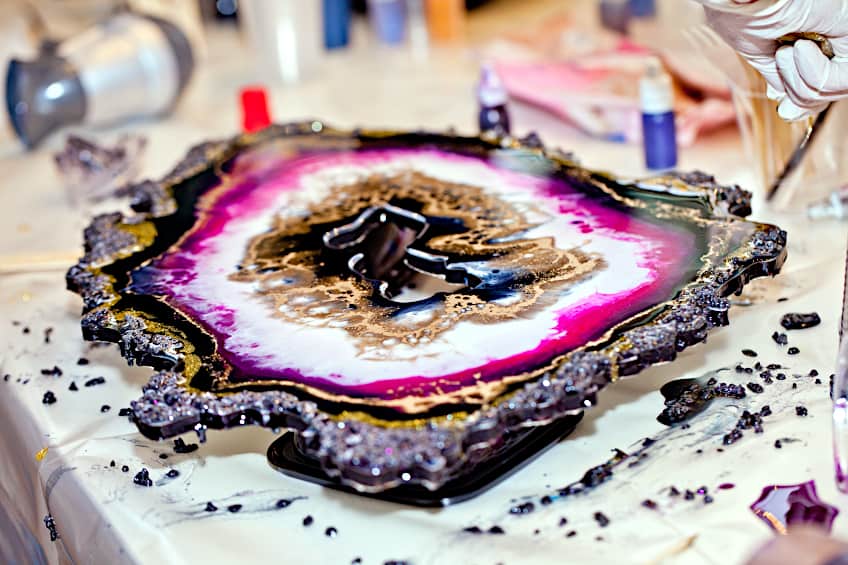
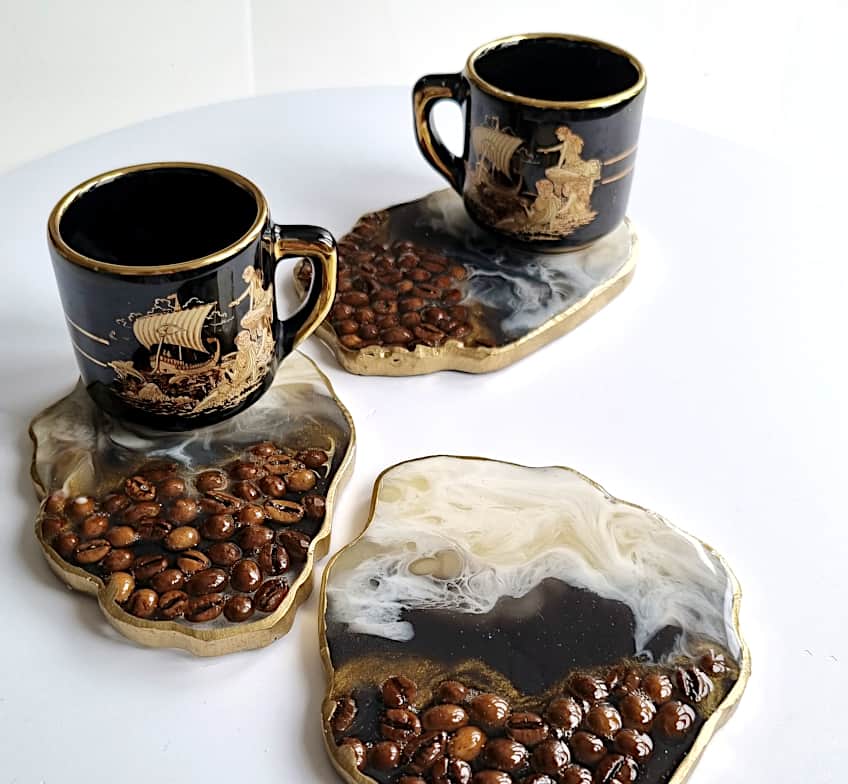
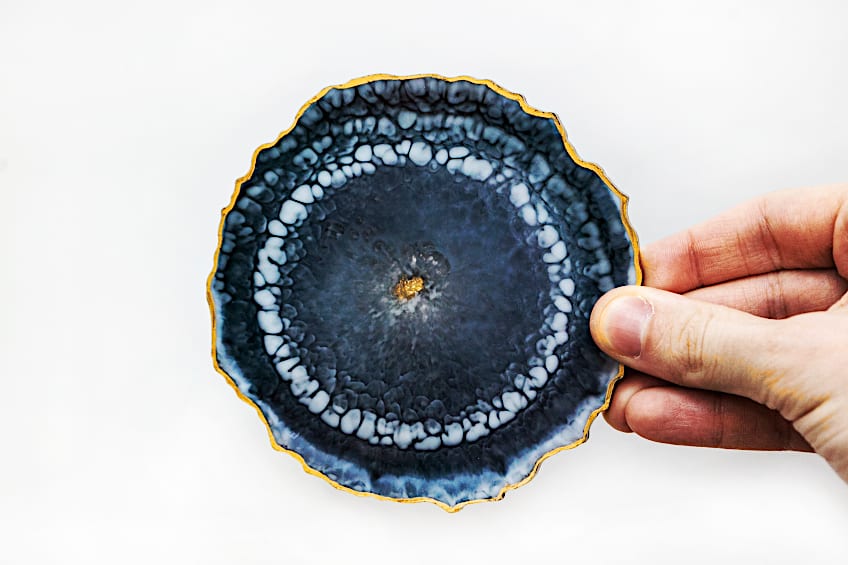
DIY Resin Coasters
Another great option if you are a beginner in the world of resin crafts is to create your own resin coasters. You could even make a geode coaster, where you imitate the look of a geode colorful rock formation such as agate. You can create these coasters using either wood circle pieces or coaster resin molds. To create the desired effect, you will also need some resin pigments, glitter, and metal flakes. When adding the alcohol ink you can create patterns with ease, just use a toothpick to swirl the ink around. This will form a stunning stained glass-like look that you will love!

Another option for resin coasters is to create a marble effect when using resin and color. you can of course use clear resin and add a variety of embellishments such as flowers or other items to the coasters. Some DIYers enjoy creating faux resin river coasters as a unique and stunning option. However, to do this technique you will be required to put in a lot more effort as you will have to cut and sand down your wooden pieces before they are placed in the round molds. You will need to leave a gap in the middle, running from one side of the mold to the other. You will then pour the resin into the gap to create the resin river. When the resin has cured you are then able to cut the wood to form either a square or round coaster.
Resin Bookmarks
Your first thought might not be to create a resin bookmark, but they make a stunning gift for family and friends. A resin bookmark is very easy to create as there are many ready-made molds available to make them. You can add embellishments and color to your resin bookmark to make it unique.
Resin Photo Frames
Photo frames are a stunning option to display photographs of family and friends. You can add a more personalized touch to your cherished photos and pictures by creating your resin frames. There are resin frame molds that will give you a standardized frame that the photograph will fit into the frame. Then there are other kinds of resin molds that are customizable and you can embed the image or photo directly into the resin. Use glossy paper to print your images, as glossy paper will not require sealant. If you, however, choose to use another type of paper, we recommend you use a spray sealant, so that the resin is not absorbed into the paper.
Resin Letters and Words
Larger resin mold words or letters can be displayed at events, used as wedding centerpieces, or just be used as décor in your home. While the smaller letters can be used on magnets, keyrings, or jewelry.
Resin Stickers
You will not need a mold to tackle this resin craft idea, you will just need cut-out paper images, like scrapbook paper with flowers. Once you have finished cutting out the images from the paper you can then use a sealant such as Mod Podge to seal the paper. You can then coat the sealed paper using your resin. Do not worry if there is a little overflow, as long as you are working on a silicone mat or some other non-stick surface. To create a domed effect, you can add a little more resin, and then leave it to cure properly. These are durable and waterproof and can be used for embellishments, jewelry pieces, or magnets.
Resin Serving Trays
This is another, simple-to-create, resin gift option. You can create an assortment of unique designs by simply adding glitter, color, or adding printed images. If you will be using any paper you must seal it before placing it in the resin. You can stick the paper to the bottom of the tray using glue. Once your resin is thoroughly mixed you can decant it onto the surface of the tray. You want to be certain you are working on a flat surface and once you have poured the resin you will need to remove any bubbles, and then allow time for the resin to cure. You are even able to make the whole tray out of resin if you like.
Resin Christmas Decorations
There are many molds available that can be used to create gorgeous resin Christmas tree decorations, or you could even create Christmas-themed coasters. Any shape mold can be used and then you can simply add a Christmas look and feel by adding festive colors, glitter, and embellishments. This concept can be used for any holiday décor from Valentine’s Day to Halloween and Easter!
Resin Door Handles
A simple option to alter the look and feel of a room is to change the door handles, whether you are dealing with the kitchen or the bedroom. Fill a cabinet knob mold with resin, you can use embellishments and vivid colors to customize it. You will then need to embed a portion of the screw into the resin. Alternatively, once the resin has cured you can glue a specially made knob base that you can purchase.
Resin Notebook Covers
You can use resin to create gorgeous book or notebook covers. You will need to purchase a book cover mold and the supplies you will require to work with the resin. There are kits available that you can purchase that include your binder rings and mold to create your notebook.
Resin Paperweights
Paperweights can be all shapes and sizes from pyramid-shaped, to square, or even sphere-shaped molds. you can add embellishments, different colors, and alcohol inks to create different looks. You can embed items such as shells, dried flowers, or any other objects in clear casting. You can even add personal items or photographs to customize the paperweights.
Resin Wine Bottle Charms
This is a stunning gift that is easy to make. You will need a small shaped mold that you can use to create your resin charm. Once the resin item has cured, you might have to drill a little hole through the resin so that you can attach some wire or thread to form a stunning wine bottle charm.
Resin Games
You may be surprised, but there are a variety of games you can make using resin. These games include Scrabble, dominoes, checkers, jigsaw puzzles, tic tact toe, and even a chessboard. The games can be customized using glitter, colors, and other embellishments.
More Challenging Resin Craft Ideas
There are a variety of issues that may come up when you start using resin. So, beginning with a simple item is a good idea, and then work your way up to more challenging and adventurous resin craft projects. You will gain experience in this way and will feel more confident when tackling more complex projects. We have put together a list of more epoxy resin crafting options.

Epoxy Tumblers
Creating an epoxy tumbler is a little harder than just pouring your resin into a mold. You will require several supplies, including a stainless-steel tumbler, and a handmade cup turner. Another option is to purchase a kit that provides you with all you need to make a tumbler, including a cup turner. You will require some experience and patience to tackle this project and you must adhere to the instructions. The hard work is worth it as the results will be stunning!
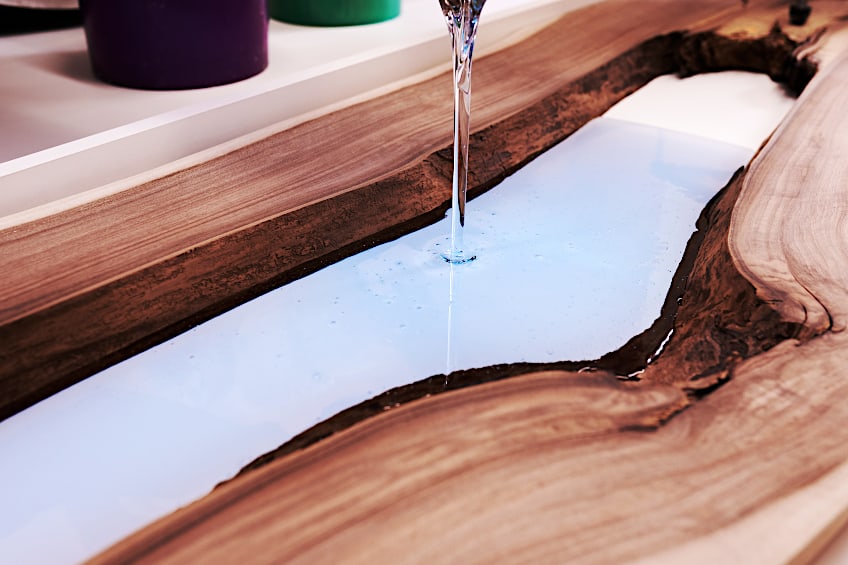
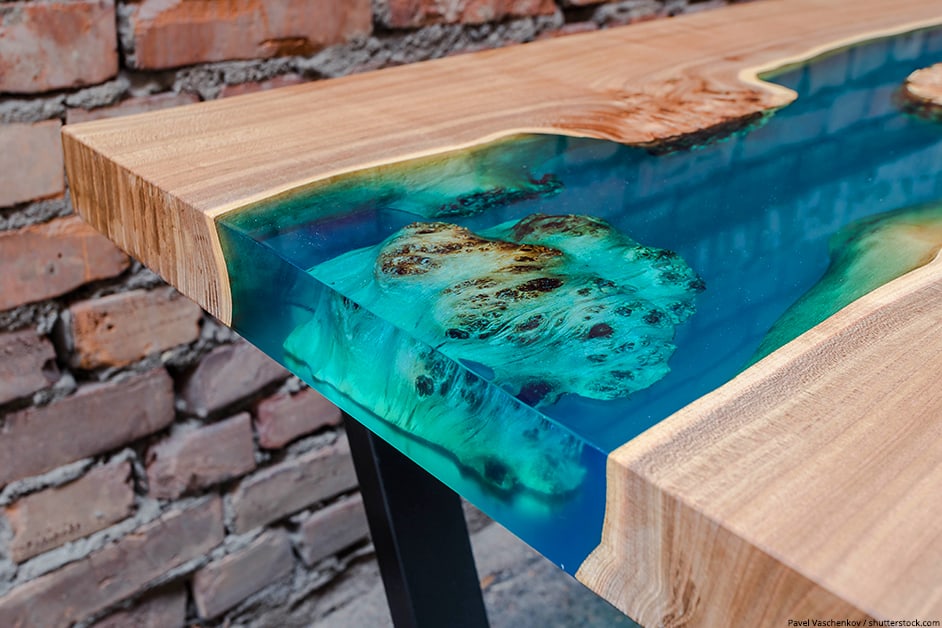
Resin and Wood Items
All these items are made up of some combination of resin and wood. They can be in the form of resin lamps, coasters, wall art, trays, tables, bowls, and an array of jewelry items. A resin river table is a very popular option for a stunning combination of resin and wood. You can also create eye-catching and stunning décor with a resin lamp with LED lights.
Resin Countertops
You can apply an epoxy coating to your dull and old countertops to restore them. This hardy coating will be able to withstand the majority of cleaning materials, and scratches and should last for many years. It can prove challenging to handle the epoxy as it is quite messy and hardens quickly. We recommend that it therefore only be tackled by a seasoned epoxy resin hobbyist or rather have a professional apply the coating.
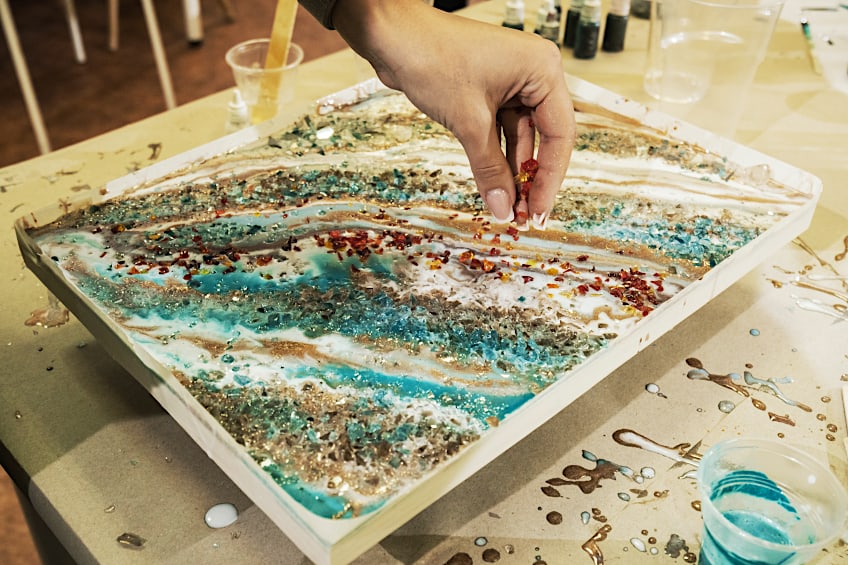
Other Resin Art Ideas
This form of resin art can work be used on an assortment of different surfaces, but keep in mind that certain surfaces will need to be primed before you can pour resin onto them. You can use a variety of metallic powders, colors, pearlescent powders, and glitter when pouring your resin. While this is quite a simple process that can even be done by beginners, it may take a few tries to achieve the look you are hoping for. A lot of people find this form of artwork quite therapeutic, and you can use a variety of surfaces as your base.
- Either glazed or unglazed tiles, which you will not have to prime
- Pre-primed canvas
- Vinyl records, which you will need to prime as certain colors will not show up well on the black background
- Medium-density fiberboard
- Wooden panels, but you may have to prime these
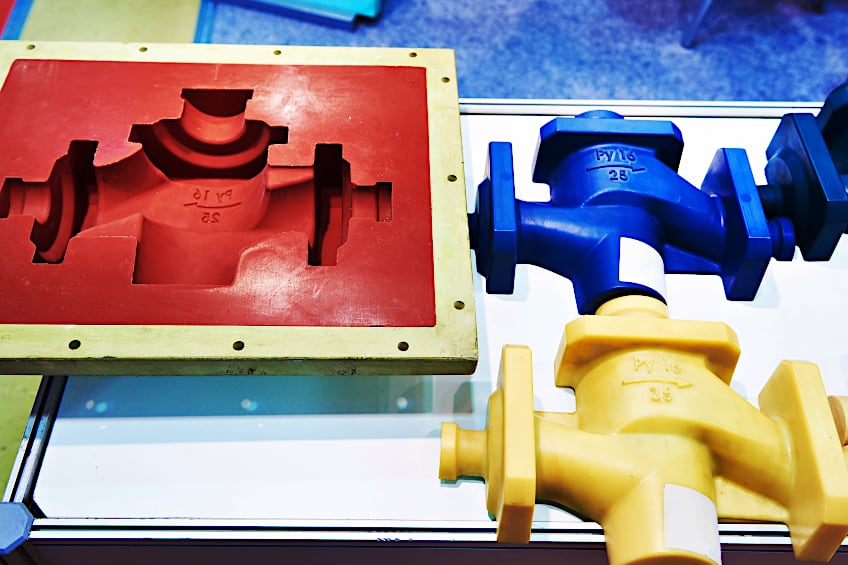
Making Resin Molds
The majority of beginner resin crafts can be made using purchased premade molds. However, if you are hoping to create a unique item, you can choose to create your own resin mold. The process is made a lot easier, thanks to the assortment of resin mold product kits available on the market.

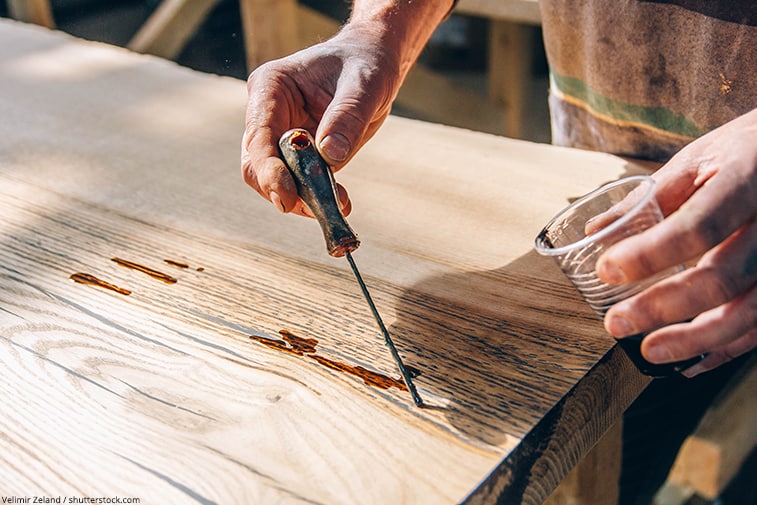
Filling Gaps in Wood
You can use a common filler to fill cracks or gaps, however, another option is to use epoxy. The epoxy will flow with ease into the gaps and will go deeper and create a stronger bond. It might sound like a simple process, but it can be quite challenging if the wood piece you are using has quite a large gap. It can take some time to do this process, so you might not be able to do it on a weekend. A fair amount of preparation work is required, and you will use a significant amount of resin, depending on the gap you are looking to fill. However, void filling, which is what the results are known as, is breathtaking!

Tips for Your Resin Crafting Projects
As you may have realized there are endless options when it comes to resin crafting projects that you can attempt. Working with epoxy resin, over time you will grow more confident and learn many useful techniques. However, we have put together the following list to help guide you with the basics.
- Always consult the directions you receive with the product, as they may vary from brand to brand.
- When working with wood, seal the surface first. If you fail to seal the wood bubbles will unfortunately form.
- The resin will be to withstand warm temperatures, once cured. Keep in mind though it will not be able to stand up to hot temperatures.
- Your workspace has to have good ventilation and you must wear the relevant protective gear.
- It is imperative that you do not adjust the ratio of hardener to resin. The correct ratio is required to ensure that the resin can cure correctly.
- When combining the two components, they must be mixed thoroughly. When mixing you want to be certain you have work along the bottom and the sides of the container.
- Ensure the environment you are working in is warm and there is no moisture.
- While the resin is curing, keep it covered. This will protect your project from any dirt, insects, or dust.
- To stop bubbles from forming, warm your resin component using warm water, before you use the resin. When warming it, ensure that the cap to the resin is closed tightly so that no water gets into the container.
- Rather use dried flowers as opposed to fresh flowers, as fresh flowers contain moisture that can cause issues when embedded in resin.
- Porous items need to be sealed, such as paper, before you embed it in resin.
- It is highly recommended that you use mold release spray, even if you are using a silicone mold.
Epoxy resin for crafting is a wonderful, versatile product that can be used to create an assortment of items. resin crafting projects are both fun and useful as they make wonderful gifts for friends and family. We hope that this article has assisted you in providing a good understanding of resin crafting projects and the potential there is to create!
Frequently Asked Questions
What Can Be Embedded in DIY Resin?
The options are endless when it comes to items that can be embedded in resin from wood, to fabric, paper, metal, and even plastic. Certain items are porous and will need to be sealed before you can place them in the resin, such as wood or paper. Items that contain moisture, such as fresh flowers can cause problems once embedded n the resin, so we recommend rather using dried flowers.
Are There Easy Epoxy Resin Crafts?
Yes! Working with epoxy is a simple process and there are some great options when it comes to beginner resin crafts. However, you will need to consult the directions and follow them carefully, while adhering to all safety rules. We suggest you start with a small epoxy resin project and then work your way up from there.
Is Epoxy Resin Toxic?
Epoxy resin produces a chemical reaction when mixed with hardener to initiate the curing process. You must wear safety gear when working with epoxy resin, and that your workspace has adequate ventilation. You should only choose to work with products that have been certified and conform to specific safety standards. If you are creating an item that will come into contact with the food you will need to use a food-safe epoxy.
How Can You Stop Resin From Sticking to a Mold?
A mold release spray will assist you in demolding your resin item. Mold release spray is readily available online and at the majority of craft stores. An alternative option is to use painter’s tape, wax paper, silicone, and baby powder.
How Much Resin Is Required for Resin Projects?
The quantity of resin required will all depend on the project at hand. You can guess the measurements of the item you will be filling, by assessing the depth, area, and volume. However, you can use the calculation of length times width to achieve an estimate, if you are working with a flat item. Another option is to use a resin calculator which you can find online to avoid these hard calculations.