
How to Draw a Daisy Flower – Creating a Charming Daisy Sketch
This post may contain affiliate links. We may earn a small commission from purchases made through them, at no additional cost to you.
The daisy is a darling little flower, symbolic of hippy girls from the 70s or the blossoming of springtime. In today’s tutorial on how to draw a daisy flower, we will look at how to construct the foundation lines of your daisy sketch and how to add realistic color and dimensions with shading. After you have completed this step-by-step guide to creating a daisy flower sketch, you will be able to draw a whole string of daisies.
Table of Contents
- 1 How to Draw a Daisy Flower in 17 Simple Steps
- 1.1 Step 1: Creating the Center Circle of Your Daisy Sketch
- 1.2 Step 2: Constructing the Foundation Area for the Petals
- 1.3 Step 3: Drawing the Petals of Your Daisy Sketch
- 1.4 Step 4: Drawing a Daisy Stem
- 1.5 Step 5: Applying Color to the Center of Your Daisy Sketch
- 1.6 Step 6: Coloring in the Petals of Your Daisy Drawing
- 1.7 Step 7: Coloring the Stem of Your Daisy Sketch
- 1.8 Step 8: Building the Texture on Your Daisy
- 1.9 Step 9: Accentuating the Texture of Your Daisy’s Petals
- 1.10 Step 10: Adding Highlights to the Petals of Your Easy Daisy Drawing
- 1.11 Step 11: Creating a Shadow on the Middle Part of Your Daisy Drawing
- 1.12 Step 12: Creating the Pollen Texture on Your Easy Daisy Drawing
- 1.13 Step 13: Adding Texture to the Pollen Center of the Daisy Sketch
- 1.14 Step 14: Adding Shadow to the Pollen Center of the Daisy Flower Drawing
- 1.15 Step 15: Applying Highlights to the Yellow Pollen Orb on Your Daisy flower Drawing
- 1.16 Step 16: Applying Color Texture to the Stem of Your Daisy Drawing
- 1.17 Step 17: Completing Your Daisy Flower Drawing
- 2 Frequently Asked Questions
How to Draw a Daisy Flower in 17 Simple Steps
To make a realistic daisy drawing, you will need to begin by drawing the foundation lines of your daisy. We call this constructing the flower, and later on, you will remove those foundation lines, so do not worry. The next phase will be to outline the daisy flower petals and then we will use color and shading techniques to form the flower itself.

As we set the stage to begin the tutorial, it is best to decide what medium you are most comfortable using. Be it acrylic paint, colored pencils, or a digital design tablet, anything will do. Get your tools prepared and let’s get started!
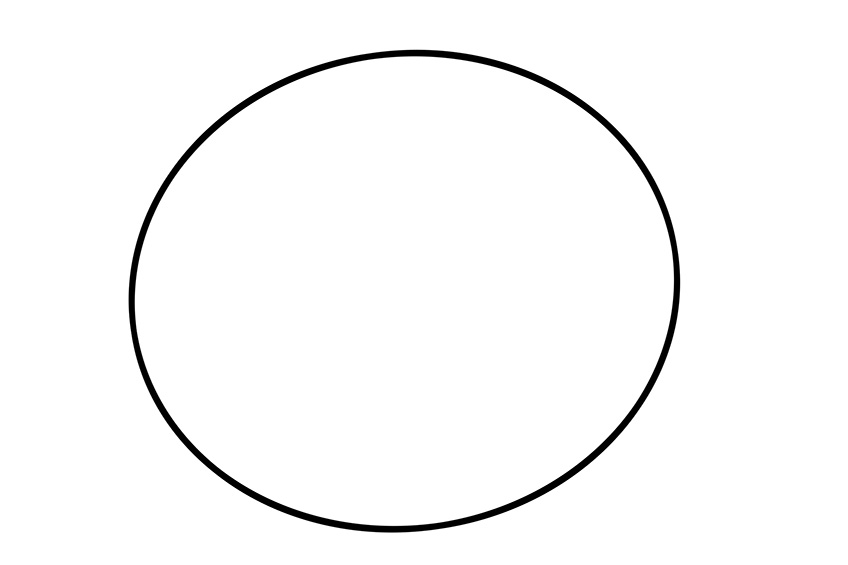
Step 1: Creating the Center Circle of Your Daisy Sketch
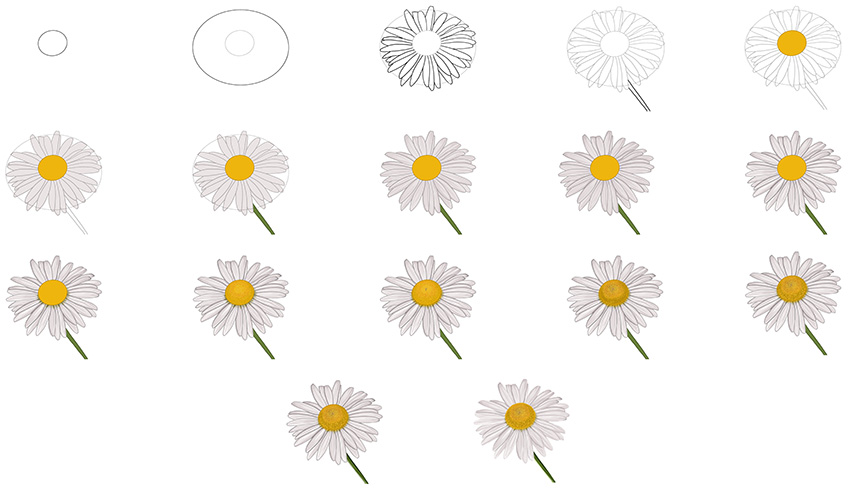
We begin our daisy sketch by drawing a small oval shape in the center of our page. This will be our foundation for the yellow daisy head. Use a light pencil that can be gently erased later. If you are using a digital design tablet, this foundation layer must be a separate layer to be removed at a later stage.

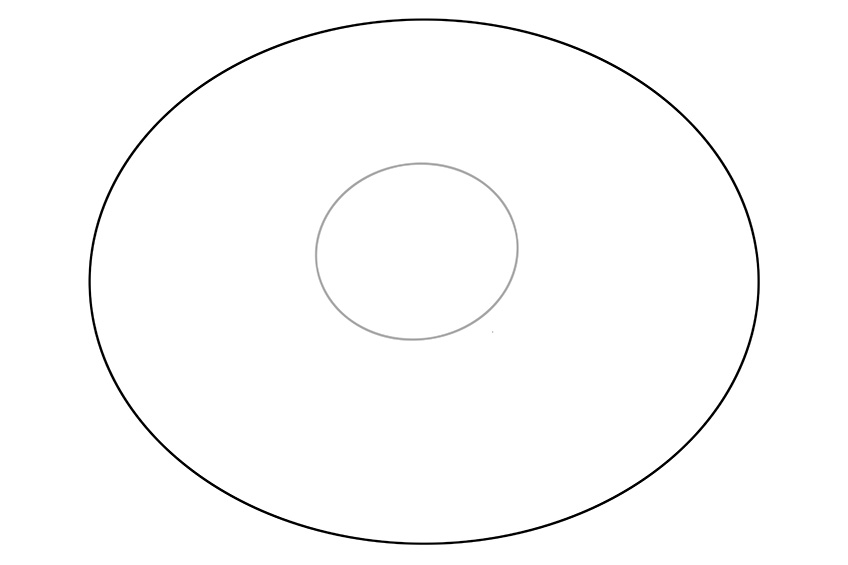
Step 2: Constructing the Foundation Area for the Petals
We can now begin to create a foundation area to help guide you in drawing the daisy flower petals at relatively the same length, and in a circular shape. This line can be erased at a later stage and those using a digital design tablet can make this a separate layer to remove later. Draw a large oval shape around the first foundation line. Please see the diagram below.

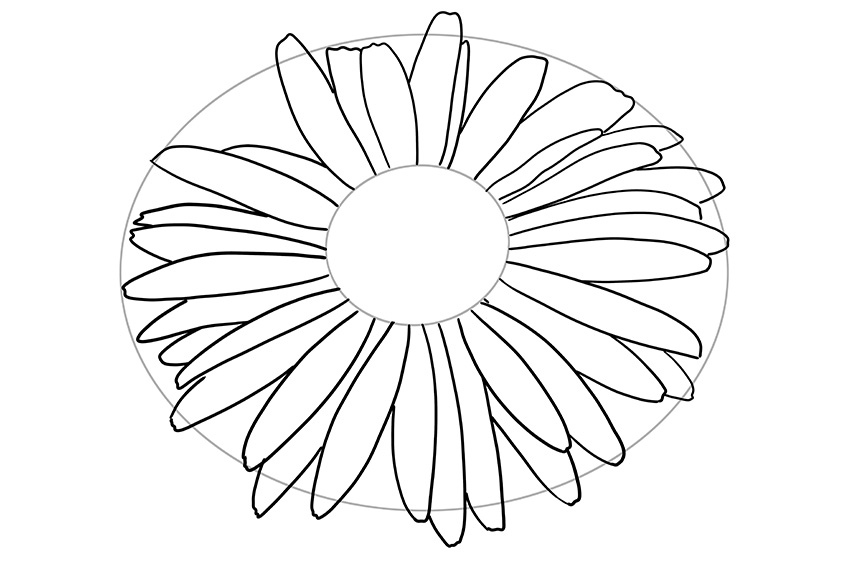
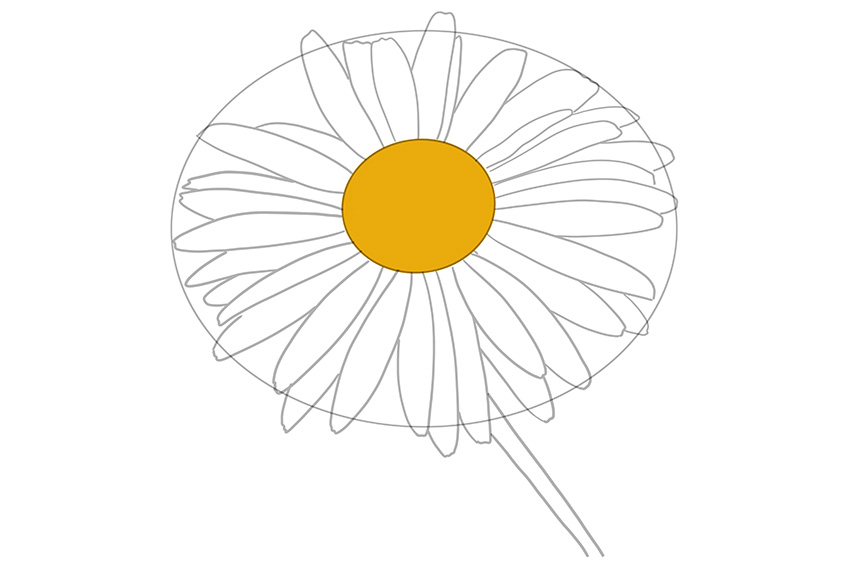
Step 3: Drawing the Petals of Your Daisy Sketch
Using the foundation lines drawn in steps one and two, you can start adding the daisy flower petals. Start each petal from the center point and make long oval shapes spread outwards. The ends of each petal don’t have to all look the same. Think about the angle of the flower on the page; you can make some of the petals in the back area look slightly squared and the ones closer to the front rounder. You can also overlap the petals at the center base. Please see the diagram below for guidance.

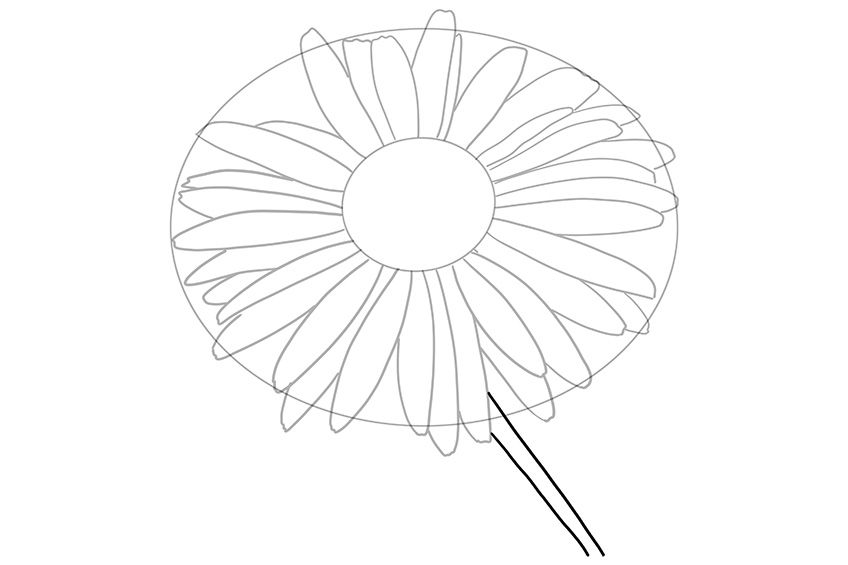
Step 4: Drawing a Daisy Stem
It’s time to add the stem to your daisy flower drawing. Draw two lines at an angle from the bottom of the daisy petals on the bottom right-hand side of your page. You will want to make it at an angle to create movement in your drawing.

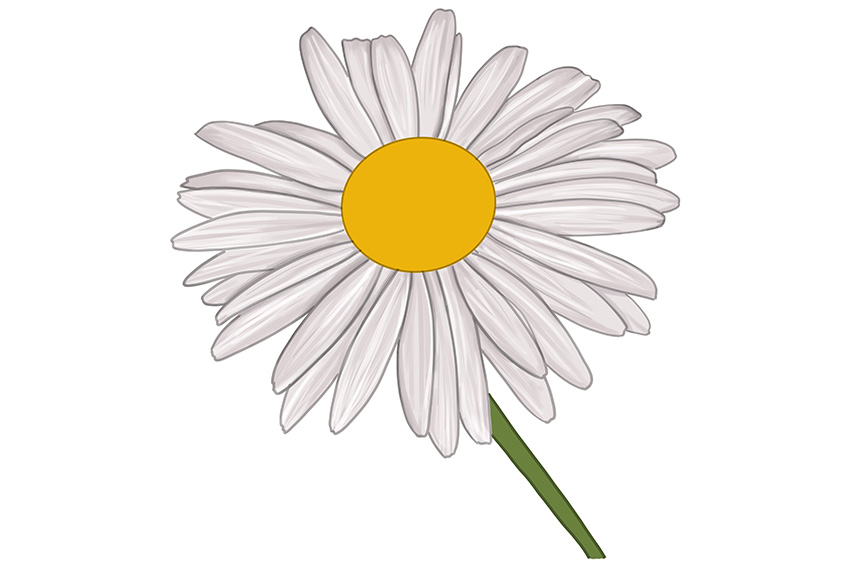
Step 5: Applying Color to the Center of Your Daisy Sketch
We have reached the beginning of our color stage of the easy daisy drawing tutorial. Take a regular paintbrush and choose a golden yellow paint or colored pencil to color the center daisy flower head with an even base coat.

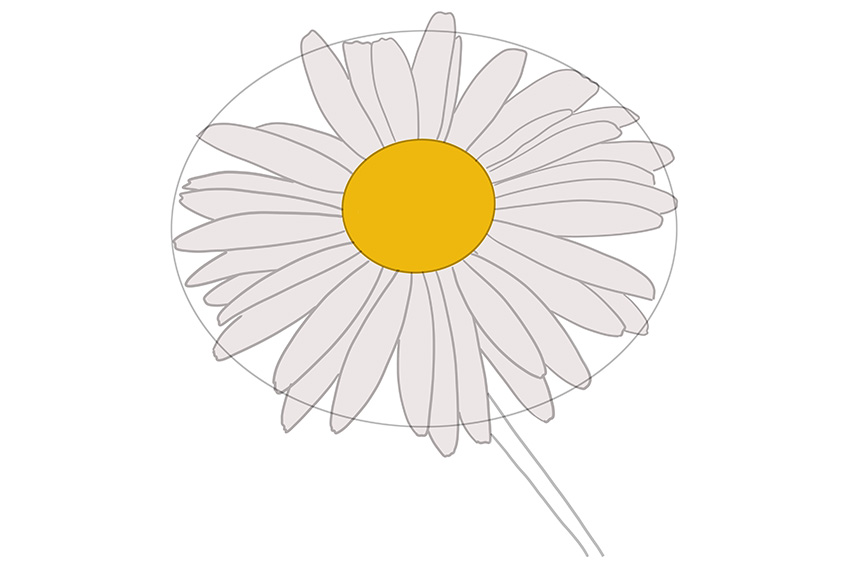
Step 6: Coloring in the Petals of Your Daisy Drawing
Take a regular paintbrush and some light gray paint or a gray-colored pencil. Begin adding color to the daisy flower petals with a base coat as you did in step five with the center of the daisy flower. Be sure that it’s an even coat and has no lumps. We will be adding more definitions and colors in the next steps.

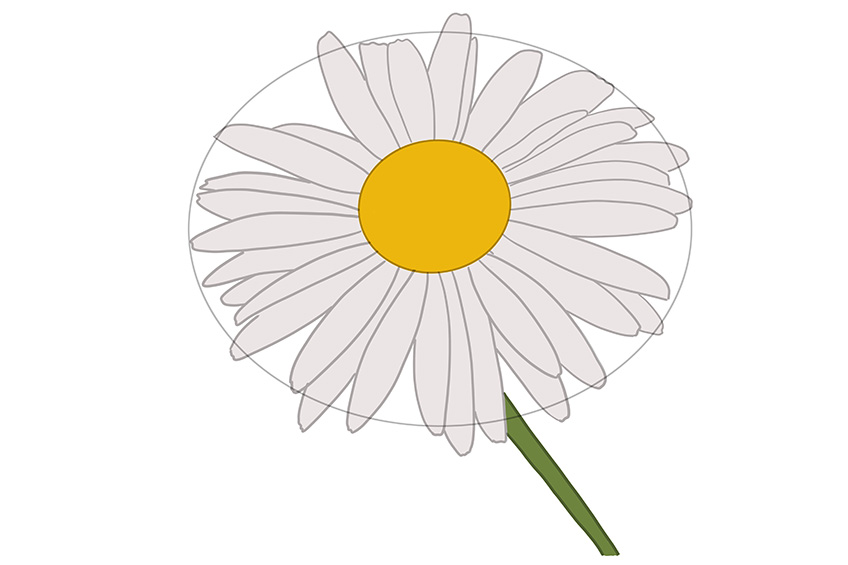
Step 7: Coloring the Stem of Your Daisy Sketch
You may continue using the regular paintbrush, where now you will cover the daisy stem in a base coat using dark green paint or a colored pencil. Once you have completed adding color, it is time to erase the foundation lines and those using digital media may remove the foundation layers.

Step 8: Building the Texture on Your Daisy
The base coat is now ready to begin building texture on this easy daisy drawing. Take a small blending brush and a darker gray paint or colored pencil. Gently paint or draw fine lines in the petals and along the tops and sides. Please see the diagram below for inspiration.


Step 9: Accentuating the Texture of Your Daisy’s Petals
Continue using the small blending paintbrush and add a second coat of paint, this time using a darker gray paint or colored pencil. The idea is to accentuate the texture of the daisy petals by adding shadows and creating a three-dimensional look to the daisy drawing. Shade between the daisy petals and extend the shadows.

Step 10: Adding Highlights to the Petals of Your Easy Daisy Drawing
When creating a realistic picture or painting, we use shading and highlights to make something look three-dimensional. In this step, you will need a blending paintbrush and a very small amount of white paint. Gently add the white color and make gentle fine lines within the individual petals. The highlight lines must go over the texture shadows from the ninth step.

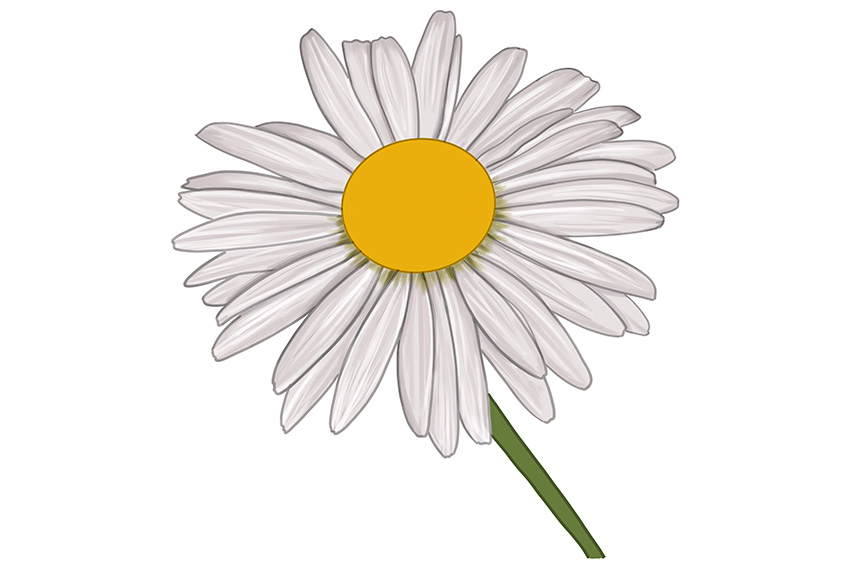
Step 11: Creating a Shadow on the Middle Part of Your Daisy Drawing
To create the dimensions of your realistic daisy drawing, you must add a shadow below the yellow center of your daisy flower sketch. Take a small blending brush and make a mixture of light green and gray paint. Gently shade and blend a small shadow on the petals just below the yellow center. The idea is to make the yellow daisy center look separate from the petals as it would in reality.

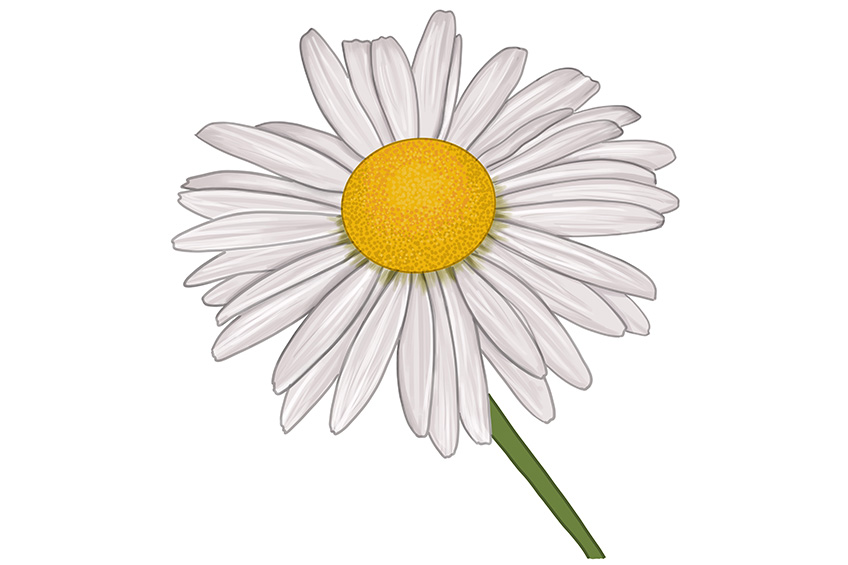
Step 12: Creating the Pollen Texture on Your Easy Daisy Drawing
In this step, you will add the pollen texture to your easy daisy drawing. Use very sharp colored pencils or a sharp paintbrush to create the pollen detail. Use three different colors to create the texture. Yellow, light brown, and orange combined next to one another in tiny little strokes and together will make up your daisy’s realistic composition.

Step 13: Adding Texture to the Pollen Center of the Daisy Sketch
To create more detail, you will continue adding small dots to the daisy’s yellow pollen center. You can also add more dots to the outer rim, creating a pollen effect to your daisy sketch. Please see the diagram below for guidance.


Step 14: Adding Shadow to the Pollen Center of the Daisy Flower Drawing
We have come to the last stages of our easy daisy drawing. To make the daisy feel three-dimensional, you will need to add a shadow to the daisy pollen center. Take a tiny touch of black paint or a black colored pencil and a small blending paintbrush. Gently shade the edges of the yellow pollen center. When using black paint, remember that less is more and to rather add on where necessary. Please see the image below for inspiration.


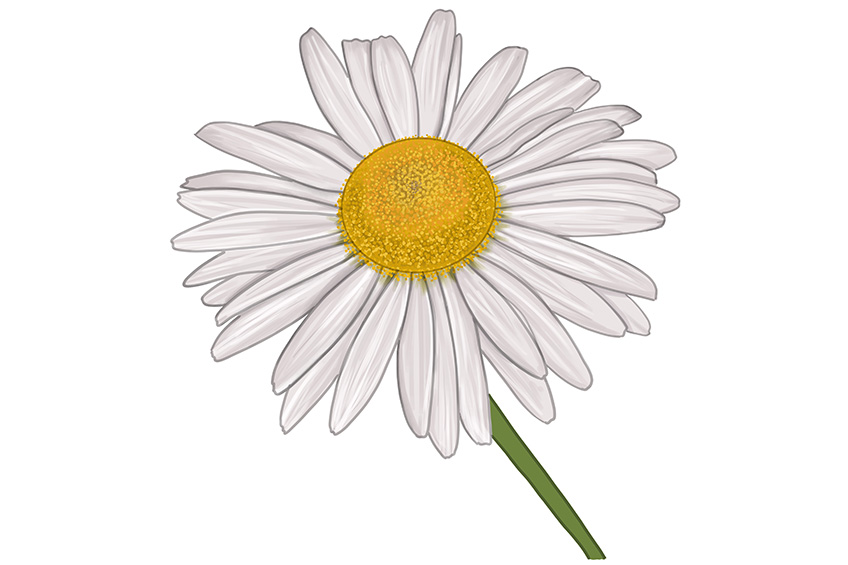
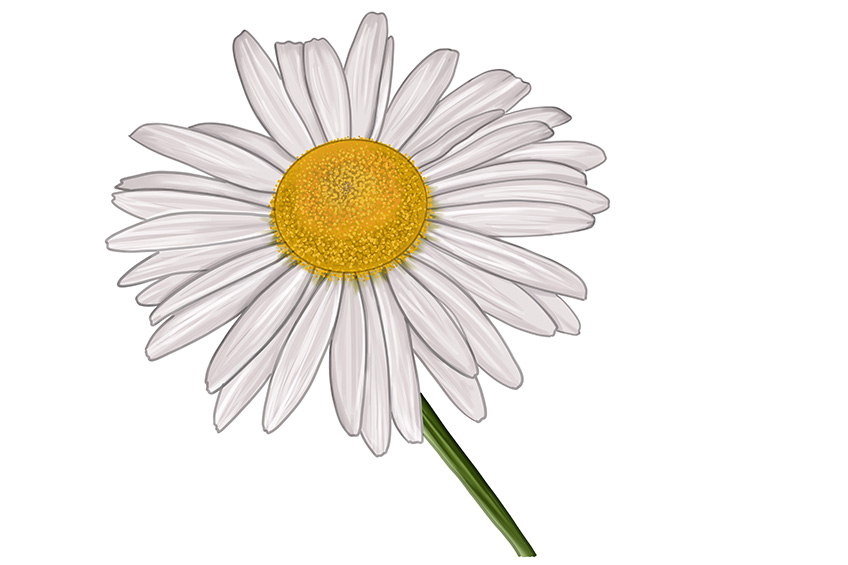
Step 15: Applying Highlights to the Yellow Pollen Orb on Your Daisy flower Drawing
To add highlights to the yellow pollen orb, you need to take a very sharp paintbrush or colored pencil and create a layer of tiny dots using a yellow paint color. Then, add an extra layer of dots in a darker shade of yellow paint.

Step 16: Applying Color Texture to the Stem of Your Daisy Drawing
We have almost reached the final stage of this how-to-draw a daisy flower tutorial! It is time to apply color texture to the daisy stem. Take a small blending paintbrush and a touch of black paint or a dark green colored pencil and gently apply a dark texture to the shadow of the daisy flower stem. Then, you can take a touch of white and add a highlight to the center part of the stem.

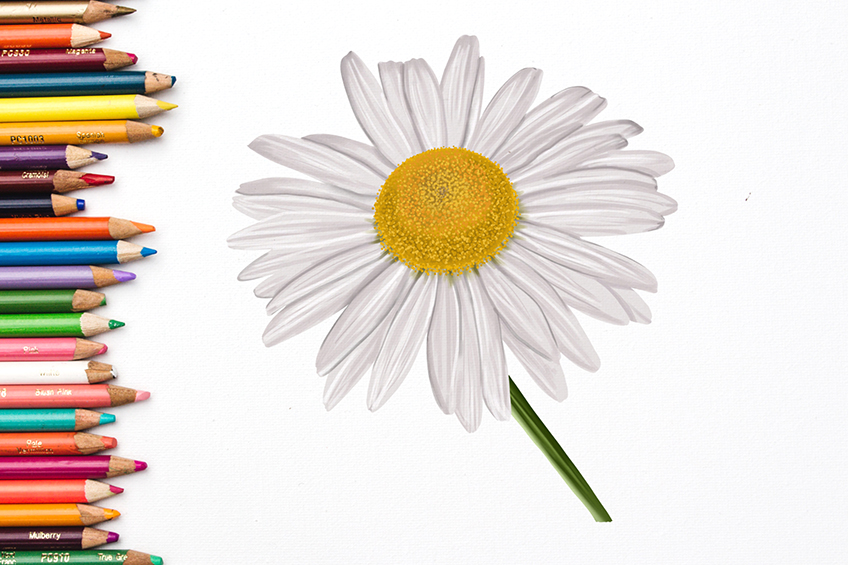
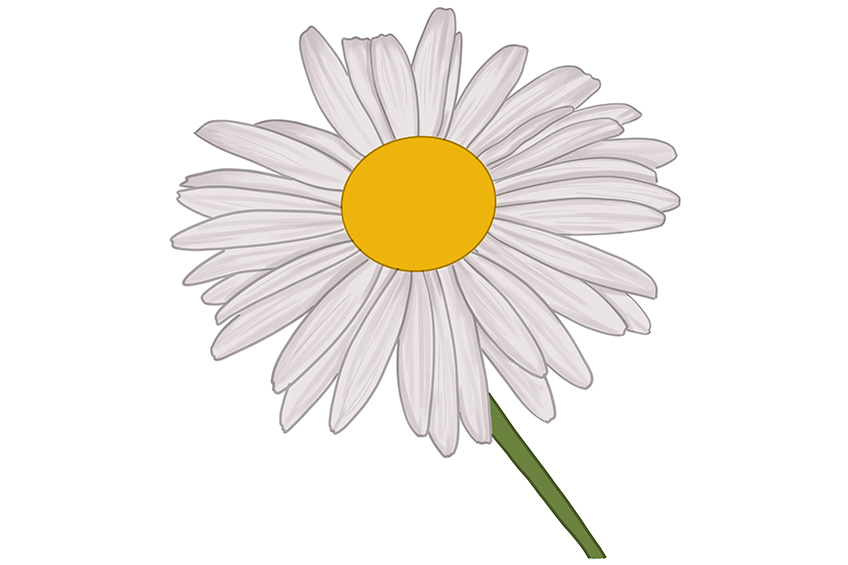
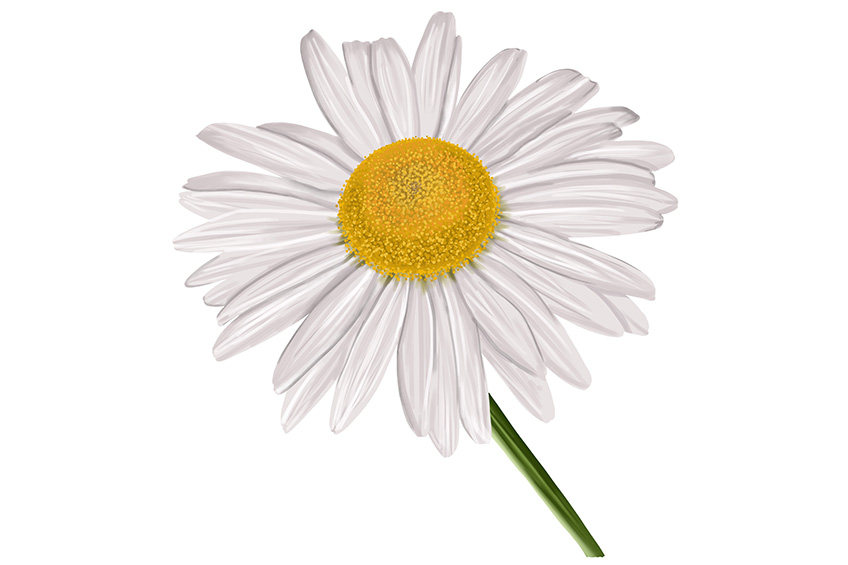
Step 17: Completing Your Daisy Flower Drawing
In this final step, you will add the finishing touch to your daisy sketch. You will now erase any outlines that shouldn’t be there and use a very fine brush or sharp colored pencil to outline the daisy flower and in between the petals to finish it off.

Congratulations! You have reached the end of this how-to-draw-a-daisy-flower tutorial. We hope you loved this tutorial and enjoyed giving artistic skills a workout. We have lots more flower drawing tutorials available to choose from and try out. Perhaps you can try them all and create your own botanical art collection.
Frequently Asked Questions
Is It Hard to Learn How to Draw a Daisy Flower?
Anything is daunting until you learn the basic steps on how to do it. The same goes for how to draw a realistic daisy flower. Once you go through our tutorial steps, you will be a professional daisy flower sketch artist in no time. Follow our simple 17 easy steps specifically constructed for all ages, and together we will teach you the basics of colors and textures.
How Do I Add Texture to My Drawing of a Daisy?
Adding texture to a realistic daisy flower drawing is easier than you think. It is all about how to use color and shading to create dimensions using different brush strokes and shadows collectively to create a realistic drawing.