
How to Draw a Sword – Create a Drawing of a Sword in 15 Easy Steps
This post may contain affiliate links. We may earn a small commission from purchases made through them, at no additional cost to you.
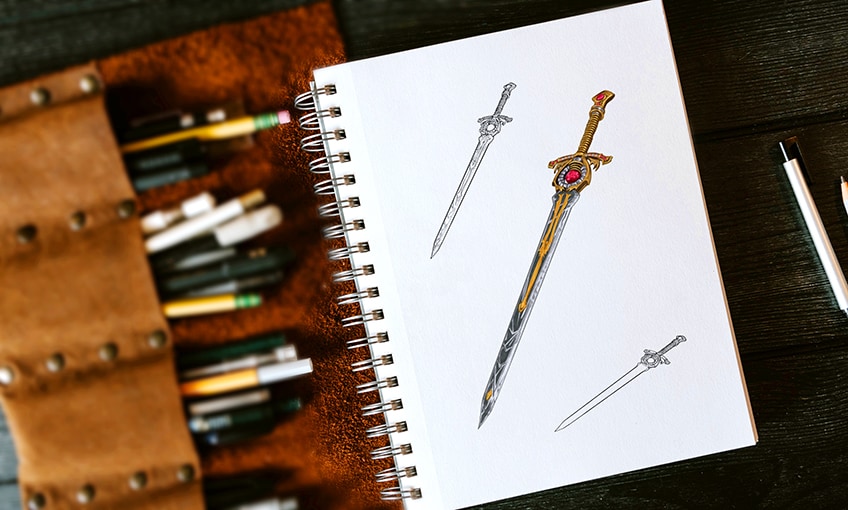
The sword is one of the most ancient weapons known, and has been used all over the world for as long as metal has been forged. From Templar and Samurai knights, to Roman legionnaires and Vikings, swords have been around for a very long time. In this tutorial, we’ll teach you how to sketch a jewel-encrusted fantasy sword from scratch. You will be able to produce a really impressive artwork with the step-by-step directions for drawing swords provided in this article. So, gather all your sketching supplies, and let’s get started.
Table of Contents
- 1 Easy Step-by-Step Guide to Drawing a Sword
- 1.1 Step 1: Draw the Handle
- 1.2 Step 2: Sketch the Pommel
- 1.3 Step 3: Draw the Guards
- 1.4 Step 4: Shape the Handle Design
- 1.5 Step 5: Sketch the Blade
- 1.6 Step 6: Adding the Outlines and Details
- 1.7 Step 7: Incorporate Texture into the Drawing
- 1.8 Step 8: Apply the First Coat of Color
- 1.9 Step 9: Add the Second Coat of Color
- 1.10 Step 10: Add in the Details
- 1.11 Step 11: Shade the Blade
- 1.12 Step 12: Highlight and Shade the Drawing’s Details
- 1.13 Step 13: Shade the Handle and Guards
- 1.14 Step 14: Emphasize the Shading on the Jewels
- 1.15 Step 15: Complete the Drawing of a Sword
- 2 Frequently Asked Questions
Easy Step-by-Step Guide to Drawing a Sword
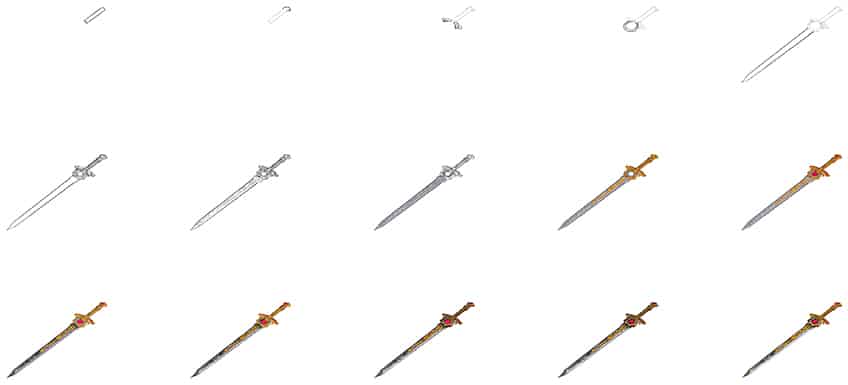
If you want to learn how to draw a sword, we are here to help you. Here, we will guide you step-by-step through the process of drawing a sword realistically. We will also go through the process of coloring your design, including how to add details as well as texture to it. The following is a diagram that depicts all of the steps that we will do in order to draw our sword.

Our step-by-step guide can be used for drawing enough swords for an entire army, or a single sword wielded by your hero. So, the choice is yours. Furthermore, our tutorial works with a variety of painting mediums, such as acrylic paint or gouache paint. Hence, you can choose any kind of medium to use.
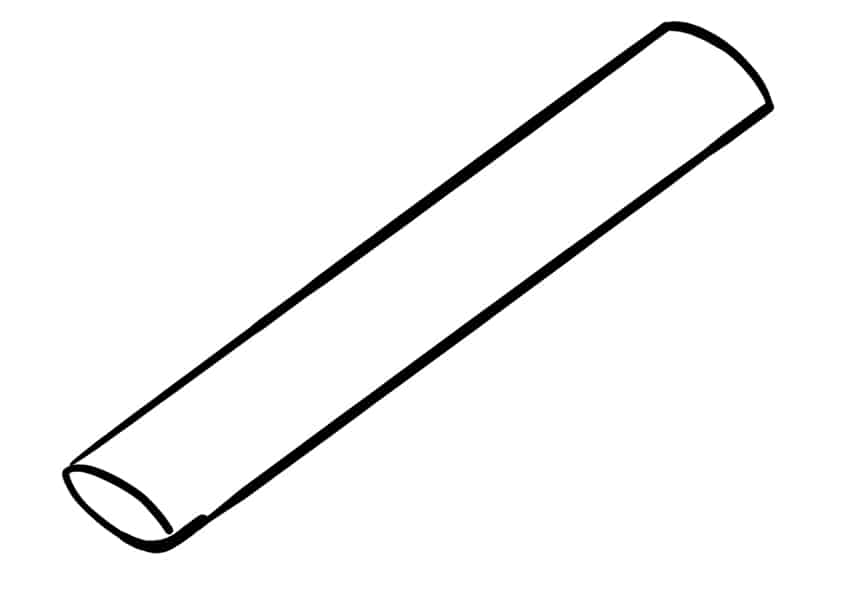
Step 1: Draw the Handle
To begin, choose a location on your drawing surface where you will make your sword sketch. Once you’ve located the center of your drawing area, draw the handle of your sword to the right side of the center to complete the drawing area. The handle can be represented by a narrow cylinder.

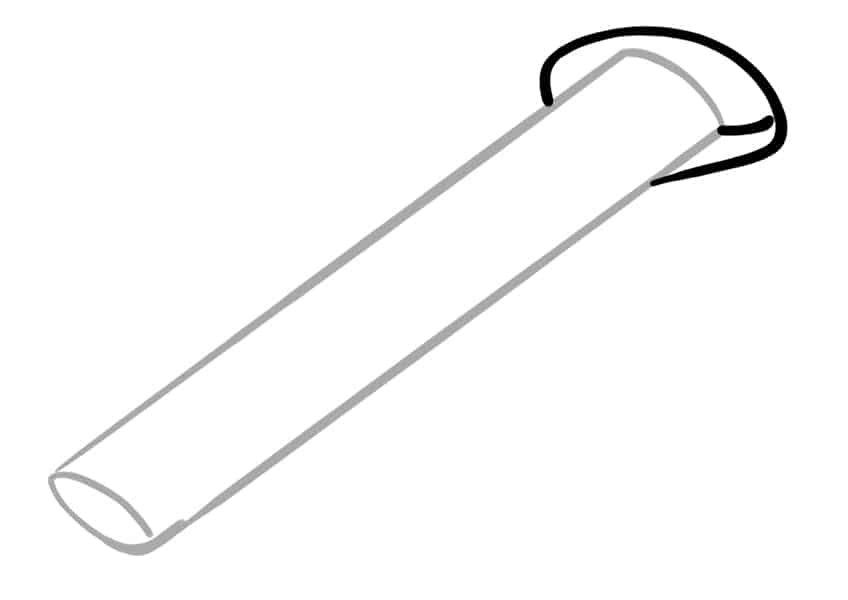
Step 2: Sketch the Pommel
After you have finished sketching the handle, it is time to go on to sketching the edge of the blade that is linked to it. The pommel is the part of the sword that keeps the sword from sliding through your hand as you are wielding it. This may be accomplished by simply sketching a small oval shape at the end of the handle. Make sure that the pommel is not overly large.

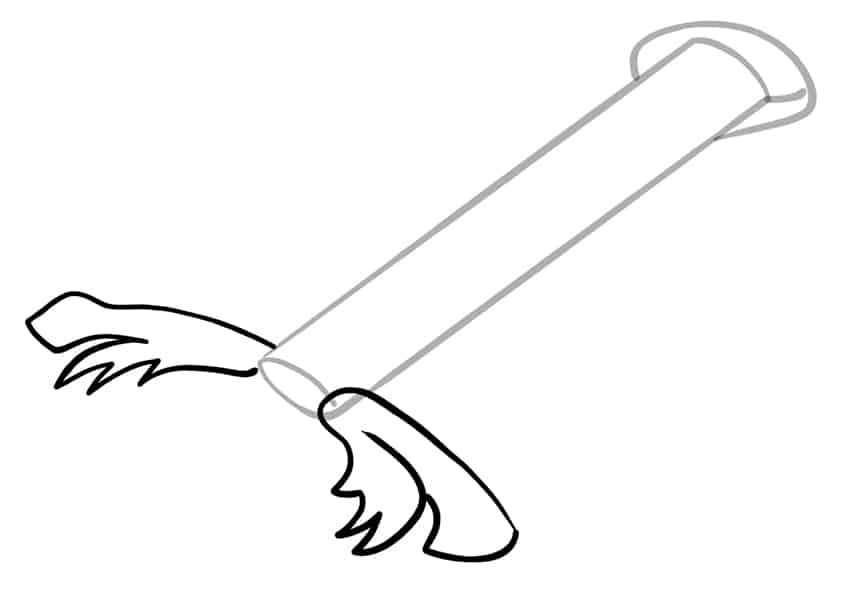
Step 3: Draw the Guards
Guards should be placed on each side of the blade. This protects the hand that is gripping the sword from sliding onto the blade. At the bottom of the handle, which you sketched earlier, draw two guards with a projecting edge, making sure to keep it in proportion with the rest of your sword sketch. Create a wing-like design for each guard as shown below.

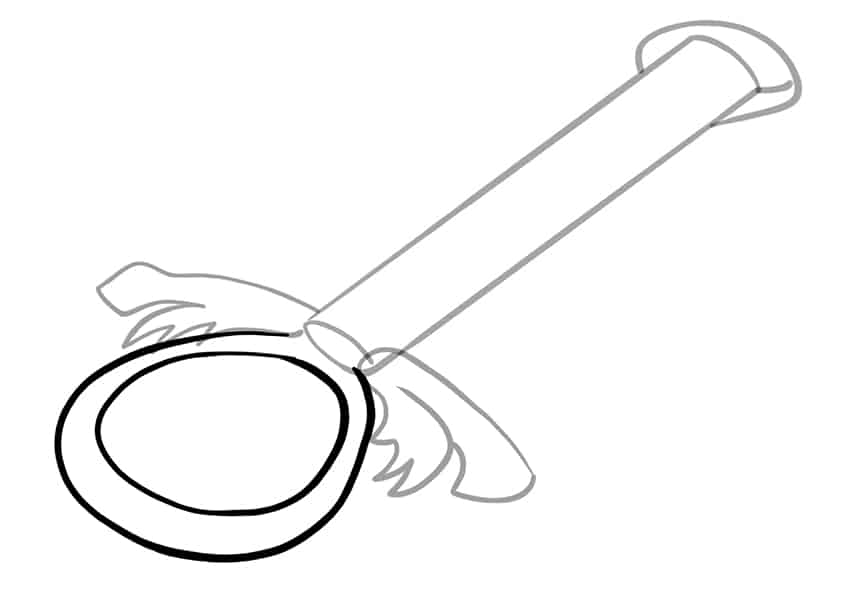
Step 4: Shape the Handle Design
You are now ready to form the handle of the sword. Begin by drawing two oval shapes, one large and one small. The smaller shape should be drawn inside the larger oval shape. This will depict the sword’s handles, which are effectively the point of connection for the whole sword. Adorn the sword with a jewel.

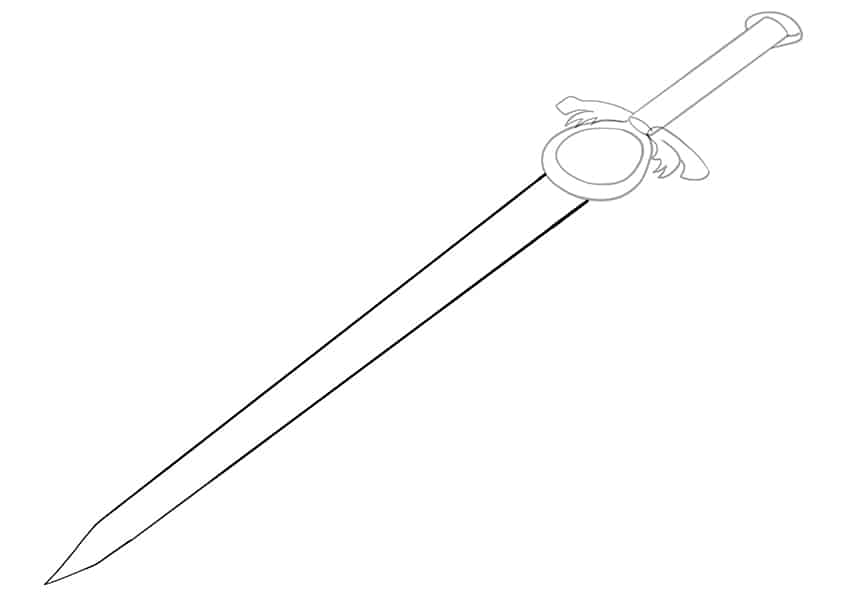
Step 5: Sketch the Blade
Following the completion of the handles, it is time to begin sketching the blade. This step entails sketching a long blade. The blade should protrude from the handle’s attachment point. Create a sharp point at the end of the blade.

Step 6: Adding the Outlines and Details
This step involves adding the outline and details to your drawing. First, sketch the outline of the blade, handle, as well as the guards. When sketching the blade, be sure to include two edges on opposite sides of the blade. When you’re finished, add a pommel and an oval shape to symbolize the gem. Additionally, extra looming curving lines should be added along with the handle.
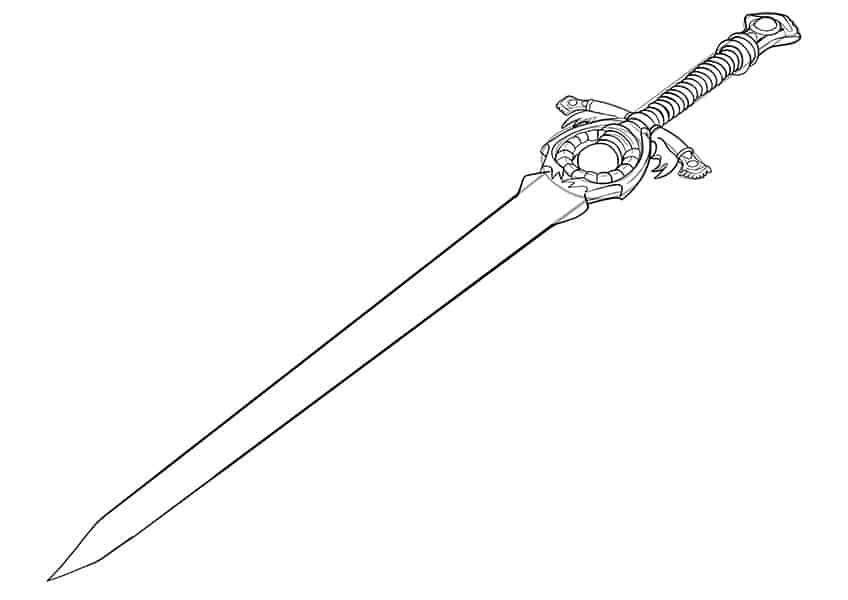

Fine symmetrical features should be sketched on the guards. Additionally, little oval shapes must be included in this part to depict the jewels that are affixed to the guards. Finish by sketching a large gem as well as other stones inside the curve of the handle to complete the step. Remove any obvious sketch lines.
Step 7: Incorporate Texture into the Drawing
You should now begin to include texture in the drawing. You may give some texture to the guards by designing a grip handle with many looped lines. Begin by creating a complete indent as well as textural patterns or lines on the blade.
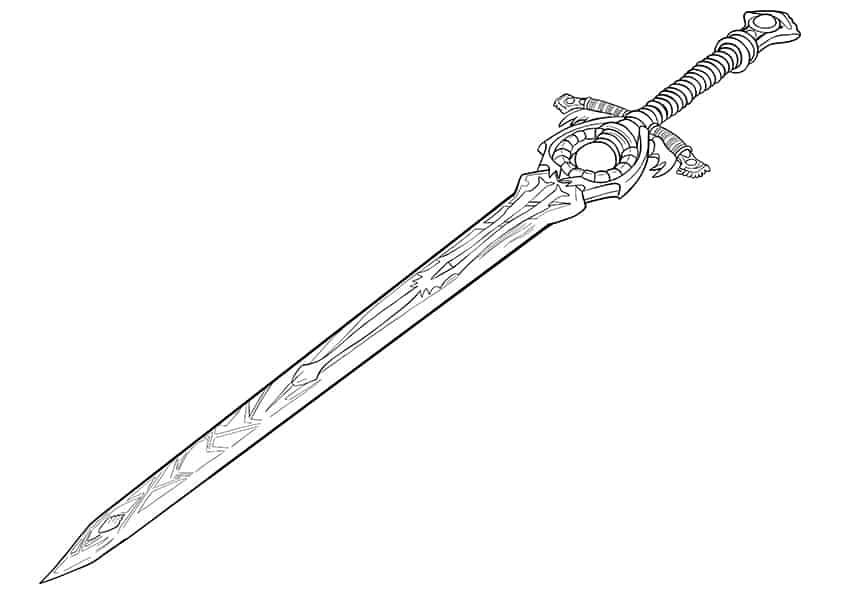

Step 8: Apply the First Coat of Color
Following the completion of the outlines, you may proceed to the application of the first layer of color to your design to complete it. If using paint, a fine brush should be used to ensure even coverage. You may select a gray color for the whole blade if you like. The same color should also be used for the stones in the attachment oval as well as the grips on the guards. Leave some space between each colored grip to allow for drying time. Finish by painting the remaining two grip rings on the handle with your chosen color.


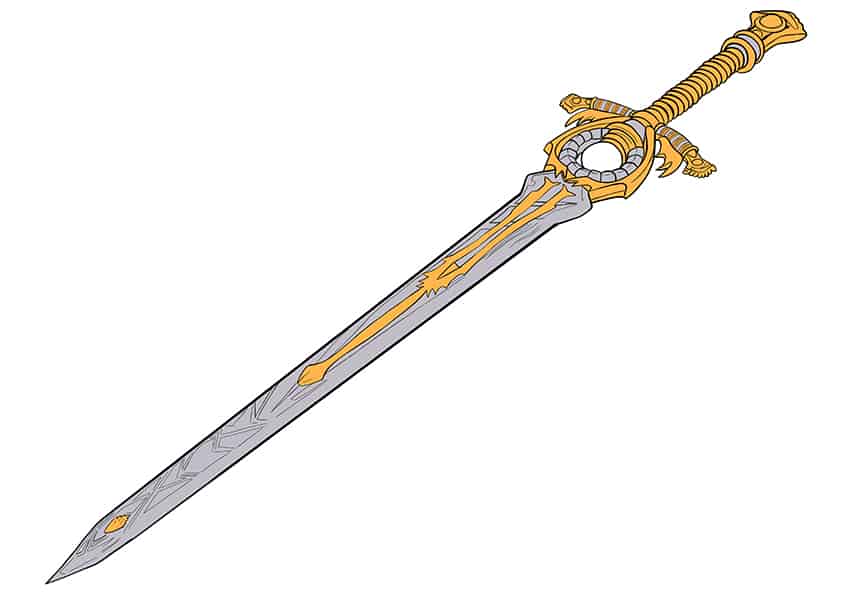
Step 9: Add the Second Coat of Color
Using a fine paintbrush, apply gold or dark yellow paint to the shape. This hue must be used to color the pommel, handle grip, and the blank oval designs on the guards. It must also be used for the handle attachment. Paint the larger indent of the swords as well as the blades’ ends with whatever color like after that. Do not paint the jewel in the handle attachment.

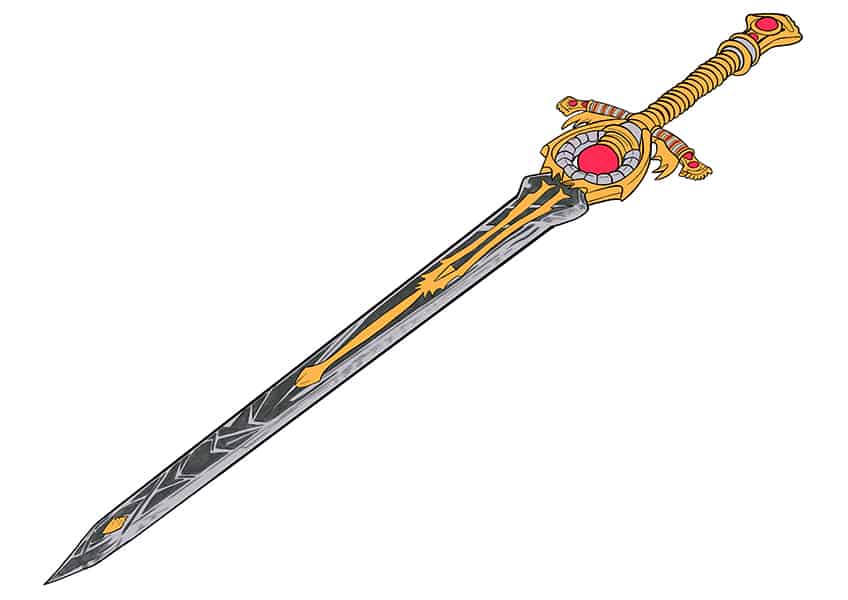
Step 10: Add in the Details
You are now ready to begin working on the finer points of your sword’s illustration. Choose a punchy pink paint shade and color the jewel in the handle attachment with a soft, pointed paintbrush. Paint the jewels on the grips with the same color as the loops on the guards. Paint the jewels on the pommel.


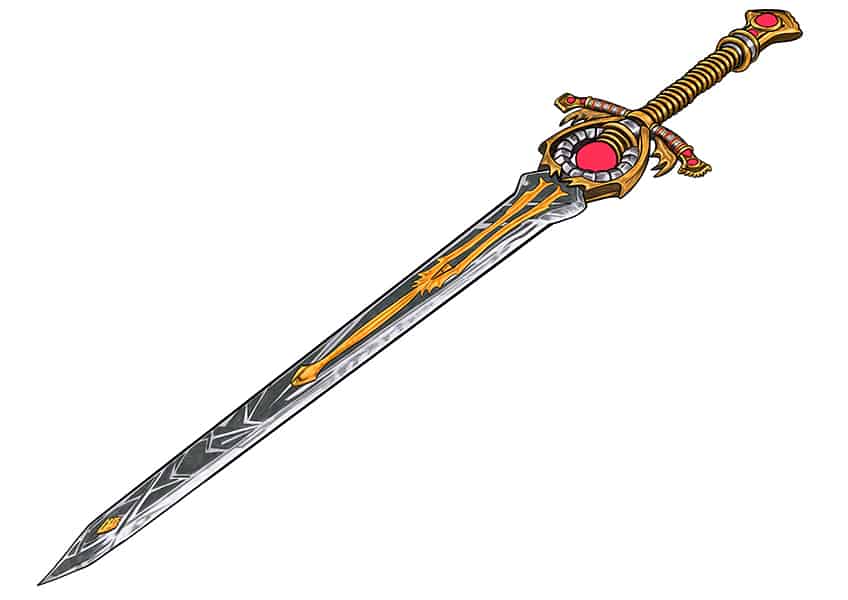
Step 11: Shade the Blade
After the blade has been painted, you may begin to shade the blade with a soft brush. To add additional texture to the blade, use a small fine brush and dark gray paint to shadow in certain details. Some of the cuts and outlines from the first coloring should still be apparent after the second coloring.

Step 12: Highlight and Shade the Drawing’s Details
It is now time to add some realistic touches to the drawing. Using white paint and a soft brush, you may add highlights and shading to the drawing to make it more realistic. To darken the larger indent, handle attachment, and grey loops of the handle, black paint and a soft brush should be used. Finish the procedure by painting a realistic color fading and smearing with white paint to give it a genuine appearance.


Step 13: Shade the Handle and Guards
The handle and two guards must be shaded in order to make the whole design seem more real. Make use of a thin brush to apply black paint to the areas between the loops and borders, as well as the curve of the handle to accentuate the shadows. The same should be done for the handle attachment guards, pommel, as well as grip. More black paint may be used to enhance the color and texture of the artwork.

Step 14: Emphasize the Shading on the Jewels
Increase the prominence of your gems in your painting by accentuating the shading. Use a light brush and black paint to add some shadowing around the diamonds in your design. Final highlights may be applied using white paint and a delicate brush, followed by a few faint strokes of shimmer applied with the brush.


Step 15: Complete the Drawing of a Sword
This last step, which is optional, will allow you to complete your drawing of a sword. If, on the other hand, you do not want a sword drawing with noticeable and hard outlines, we recommend that you proceed with caution. Start by taking a fine pointed brush and stroke some black paint over the whole blade. You should also stroke over the texture and detail lines, using the color that was used in that particular area.
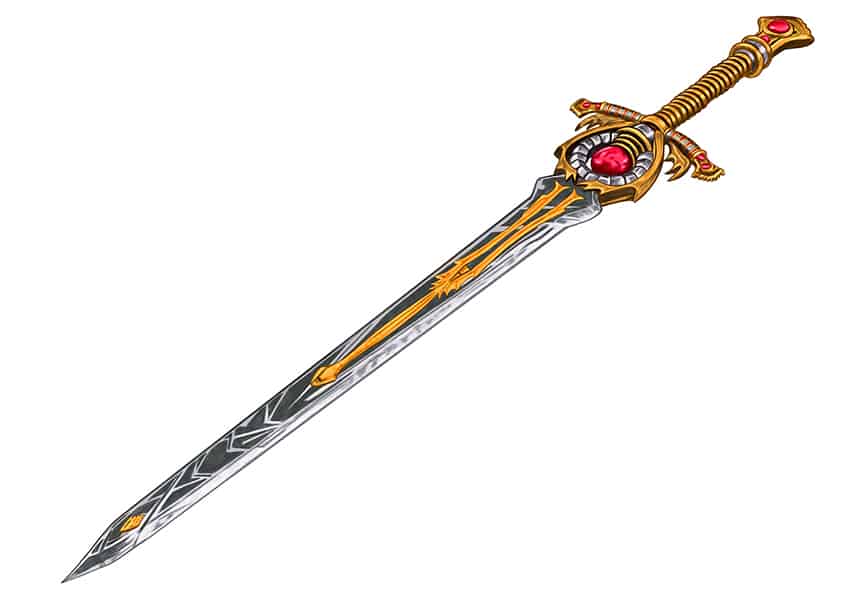

Congratulations! You have finished your sword drawing. We hope you enjoyed this tutorial and found drawing this sword easy. You should now be able to create more engaging sword drawings as a result of it. We hope you have liked our guide and that you will come back for more fun and simple tips.
Frequently Asked Questions
Is It Easy to Learn How to Draw a Sword?
Learning how to draw swords is very easy. With the steps provided in our tutorial, you can easily draw a beautiful sword fit for a knight. Although drawing the sword may look like a tough process, with our guidance, you will find making a sword drawing really easy.
What Colors Do I Need to Draw Swords?
There is no restriction on the color that you can use to draw your sword. You can choose any colors of your choice. For the best possible match between your drawing of a sword and ours, we recommend using the same colors as we used while creating ours. But, if you want to try out various shades, go ahead!