Types of Wood Joints – Guide to Woodwork Joinery Techniques
This post may contain affiliate links. We may earn a small commission from purchases made through them, at no additional cost to you.
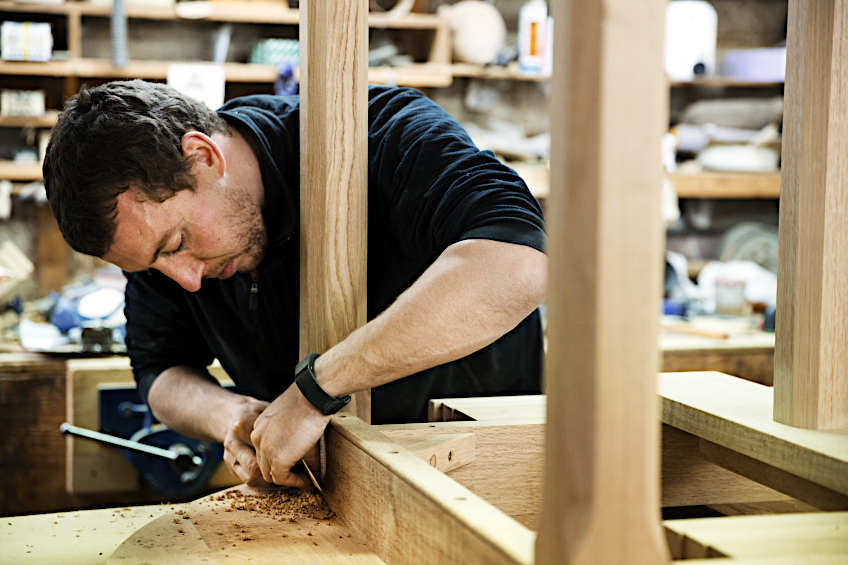
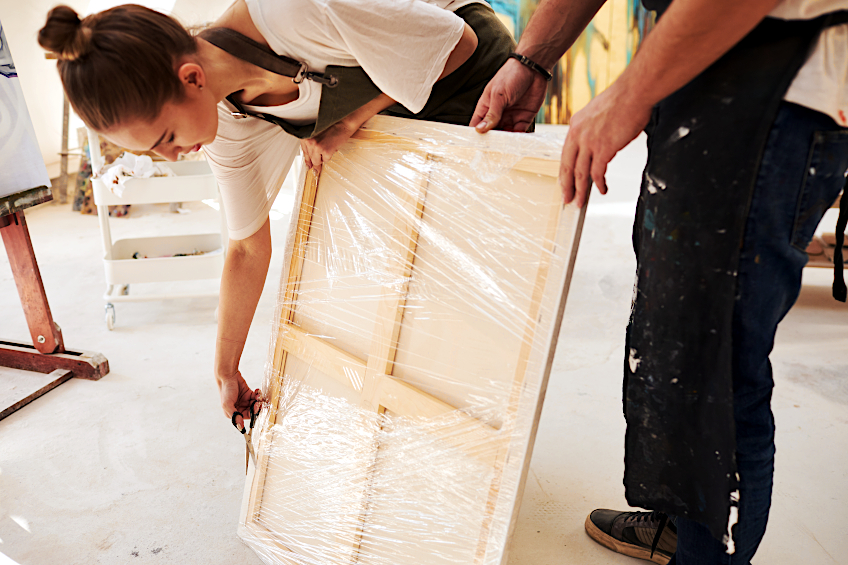
While most us of think of furniture for its practical uses and its aesthetic appeal, we hardly ever think about how that furniture is put together. The quality of furnishings are inextricably linked to the quality of their construction, allowing a piece of furniture to maintain its structural integrity throughout its lifetime. There are a variety of methods to join component parts of furnishings, including fastening mechanisms such as rivets, screws, and bolts, adhesives, and wood joints. Wood joints serve a variety of purposes, from home construction, to furniture construction, to the woodworking industry, and the world of arts and crafts as well. In this article, we will take a look at what wood joints are, the variety of wood joints available, and their specific applications in wood workpiece creation.
Table of Contents
- 1 What Are Wood Joints?
- 2 Different Types of Wood Joints
- 2.1 A Regular Butt Joint
- 2.2 A Mitered Butt Joint
- 2.3 A Tongue-and-Groove Joint
- 2.4 A Biscuit Joint
- 2.5 A Mortise-and-Tenon Joint
- 2.6 A Pocket Joint
- 2.7 A Dado Joint
- 2.8 A Rabbet Joint
- 2.9 A Half-Lap Joint
- 2.10 A Cross-Lap Joint
- 2.11 A Box Joint
- 2.12 A Through Dovetail Joint
- 2.13 A Half-Blind Dovetail Joint
- 2.14 A Sliding Dovetail Joint
- 3 Frequently Asked Questions
What Are Wood Joints?
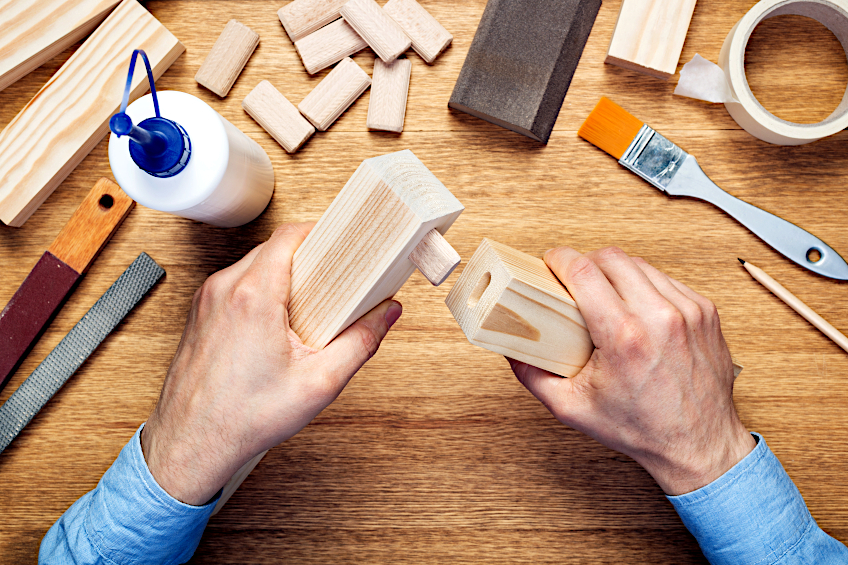
Wood joints are means of securely joining wooden parts together. This is achieved by shaping the wood so that the connecting sections will fit closely together, enabling a more secure locking mechanism than simply relying on fasteners or adhesives. Wood joints are usually used for more robust applications, where adhesives or fasteners such as wood glue would not be effective in the long run. Wood joints are also required for woods like Teak or Purple Heart that keep producing their own oils.
These oils can prevent adhesives from being absorbed into the woodgrain, which makes a glued joint more likely to fail.

If you only plan on using wood glue, and your workpiece will be used outside, there is a good chance that the adhesive will not stand up to the elements. Elements such as abrasion, wind, impact, heat, and moisture, can all cause wear and tear to the joining points on a wooden workpiece, resulting in the joins failing if the adhesive used isn’t substantial enough to hold it together. Remember that even an adhesive as strong as epoxy can suffer UV damage and deteriorate over time.

In other circumstances, the item will be under significant strain and used for a load-bearing task, such as kitchen shelving, bunk beds, big bookshelves, or even housing units for stovetops. In these applications, you will need more than just adhesive bonding mechanisms to stand up to the elements the furniture will be exposed to. In these circumstances, adhesives should ideally be used in conjunction with wood joints.


When constructing large furniture pieces such as tables, it is advisable to use wood joints even if you plan on using fasteners and glue. Items such as tables for example, have to be sturdy enough to cope with the weight they are required to support and retain their structural integrity. Glue will deteriorate over time, and fasteners will slowly loosen as everyday movement of the furniture piece allows the metal of the fastener to damage the wood around it.
Wood joints also allow large furniture item to be disassembled and reassembled when moving or repairing it without weakening its structure over time. Traditionally joiners used adhesives such as hide glue that can be easily removed without bringing along parts of the surface of the wood, purely for the purpose of being able to disassemble and repair furniture with ease and risking no damage to the wood itself.

Overall, making use of a wood joint in a workpiece will make the item sturdier and more secure, while also providing an amount of convenience to both constructors, owners, and renovators of furniture. While fasteners such as screws and nails, and adhesive polymers such as heavy-duty wood glues and epoxies will hold for a time, they will fail in the long run.
Different Types of Wood Joints
It is easy to see why wood joints are so important and useful when creating furniture, though it is important to note that there are a variety of different types of wood joints available. What follows are a few of the more common types of wood joints and how to use them to secure and/or strengthen the piece you are working with.

A Regular Butt Joint
In terms of wood joints, a standard butt wood joint has become the go-to option. It can be used for corner joint pieces on items such as door frames, tables, chairs, and floor lining. You characterize this technique by butting two boards against one another at a right angle and then using a fastener such as screws or nails to join it. You can even use dowels if required.
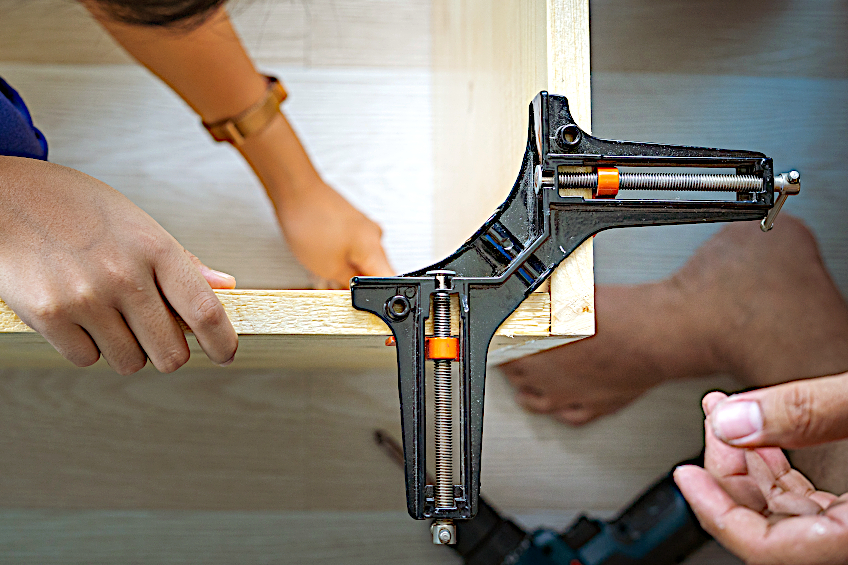

Unlike some of the other types of wood joints, although this does not need an assortment of specialized tools to make it. All that is required is that both boards being connected are the same breadth and length before you can join them to ensure a completely flush joint. You will simply require some sandpaper, a hand saw, and a ruler to create the joints accordingly.
A Mitered Butt Joint
A butt wood joint is the simplest type of joint. As it involves the least amount of structural support, butt joints were traditionally secured with dowels. A mitered butt joint creates a 90-degree corner by joining two pieces of wood cut at a 45-degree angle. This allows for a stunning tailored corner piece of the type usually seen in picture frames.


This is more of an aesthetic than structural joint and is useful for making frontages for wooden cabinets, boxes, or molding brackets. As it is still a butt joint, it is not very strong on its own, but the addition of dowels, staples or nails will help keep it in place.
A Tongue-and-Groove Joint
This joint type is used in many industries and is quite a versatile. This joint is normally used to lock floorboards into one another, but they can also be used to build vertical surfaces as well. The joint can be found along the long end of a board where one is step tapered. The receiving joint can slot into the other board as it is negatively tapered.


It is quite easy to make tongue-and-groove joints, particularly if you have the correct tools for the job. You can use either a joint cutter that is specialized for creating a tongue and groove, a slot cutter, or a straight bit. All these tools can be purchased with ease and will assist you in creating the perfect tongue-and-groove joint.
A Biscuit Joint
If you want to join wood together securely without any visible means of joining you will need a biscuit joint. This particularly useful joint and is one of the more recent inventions in woodwork. To make this joint simply cut two receiving slots, one for each side of the biscuit into the two boards you want to join. When you have finished cutting the slots, you can either create a biscuit that will fit securely into each slot, or insert and glue a ready-made wafer. Both the tool for cutting the slots and the and wafers can be purchased as a kit to ensure a secure fit.

This joint works on the principle that the biscuit or wafer acts as a flange between the two pieces of wood. You simply coat the biscuit in glue before inserting it into the board, it will then expand to fill the gap in the slots in the two boards. This technique can also be used with dowels instead of biscuits.
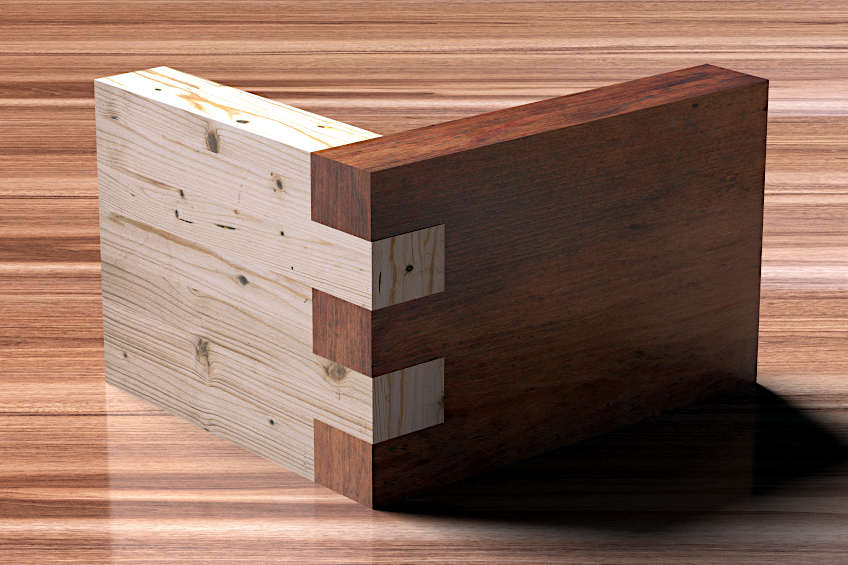
A Mortise-and-Tenon Joint
The mortise-and-tenon joint has been used for centuries, throughout the world for load-bearing applications. This type of joint has a recess cut in one board, while the end of the other board is shaped to create a narrower section (tenon) that should fit into the recess exactly. The joint consists of the flange inserted into the recess.

To make a mortise and tenon you will begin by butting the two boards against one another so that you can use a pencil to mark where the recess needs to be. Next, you can mark out where the flange and the flange’s shoulders will be. Use a mortise-and-tenon gauge to score the markings you have created. Lastly, take a tenon saw (or something similar) and carve the cheeks of the tenon. When you have finished removing all the excess, you can neaten and trim the tenon by lightly sanding it. Next, you will need to make the mortise (or recess). Use the chisel to remove the material from the marked portion of your board. Before you can insert the tenon you will need to double-check the depth.
This joint must be close fitting and not allow for any movement or it will not hold.
A Pocket Joint
A pocket joint is a modern invention widely used in flatpack furniture. This is a very simple joining method that relies entirely on fasteners and butt joints. A pocket joint consists of angled pre-drilled holes on one piece of wood, usually towards the surface at the edge of the board. This joint is not a mechanical wood joint in the conventional sense, as it is entirely reliant on self-tapping screws to secure. Like a biscuit joint, it does have the benefit of being invisible from the exterior of your furnishing item.
It is quite an easy process to make a pocket joint, thanks to the fact that it is not necessary to prepare both pieces of wood to get it done. The holes need to be drilled at a 15-degree angle towards to edge of the board in question. You will need to be certain that the spacing of the hole is equal, so take care when measuring and mark the distance between the holes beforehand. Fortunately, you can get a variety of drilling guides designed purely for making pocket joints.
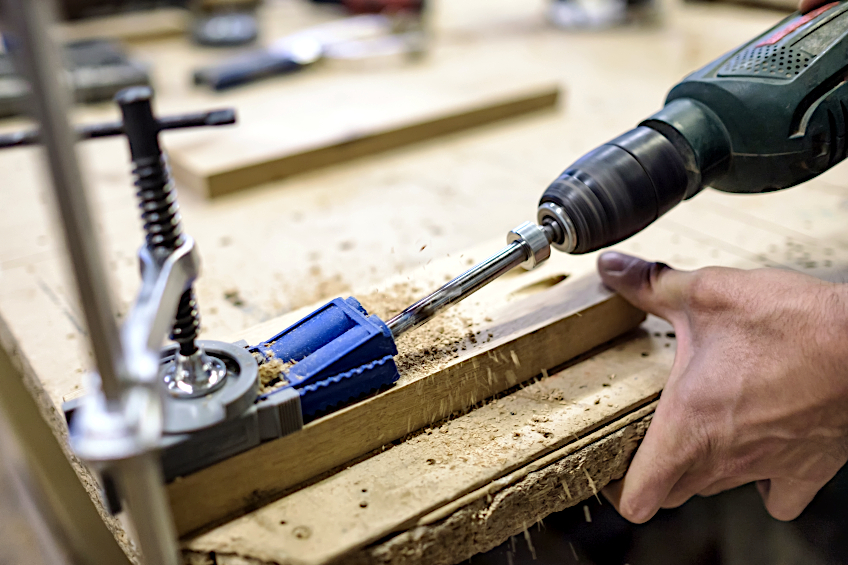

Once you have completed the drilling, simply line your pocket-jointed board up with the piece of board you are looking to connect it with and insert some self-tapping wood screws. You would usually use these joint in the interior corners of a workpiece, and they have become popular for the construction of chairs and tables. To assist in the joining process, you can clamp both boards while you are inserting the self-tapping screws. Unlike most woodworking joints, pocket joints can also be used with ease on engineered boards.
A Dado Joint
If you are dealing with a workpiece that does not need to be completely secure there are several wood joints available, but one of the simplest ones available is the dado wood joint. You can make and apply this simple wood joint in a matter of minutes if you have the correct tools available. This form of wood joint has a grooved slot which is square in shape, that allows for another board to slide into it.

To create a Dado wood joint, take fine saw to score the surface of the piece you are planning to cut out, remember to measure the length and width of the slot before you begin cutting. Next, take a chisel and use it to remove the section that you have scored and marked and clean away any excess materials in the recess that you have created. You will not need any specialized tools to create this wood joint and it is quick and easy to make.
A Rabbet Joint
This is your go-to wooden joint if you are looking to create a simple wood joint, that can be used in the majority of woodworking applications. These are quite popular woodworking joints and are often used in the construction of cabinets and furniture. They are simple to make and will add more strength to the workpiece than a butt joint would.

A rabbet joint is very similar to a dado joint, except that a rabbet consists of a long groove cut at the end of a board to receive a side panel. Viewed from the front it will appear as a step on the horizontal board with the vertical board sitting on it. You must measure both the flange and the groove correctly so that you achieve a nice snug fit.
To make a rabbet joint, you will use a wood saw and a pencil. When you have finished marking up and cutting out the flange, use the wood chisel to create the recess for it to fit into (you want to ensure you are creating a tight fit) and clear away any remaining wood particles. All that is left to do is to insert the flange into the recess. This type of joint will usually require the addition of adhesive and/or fasteners to keep it secure.
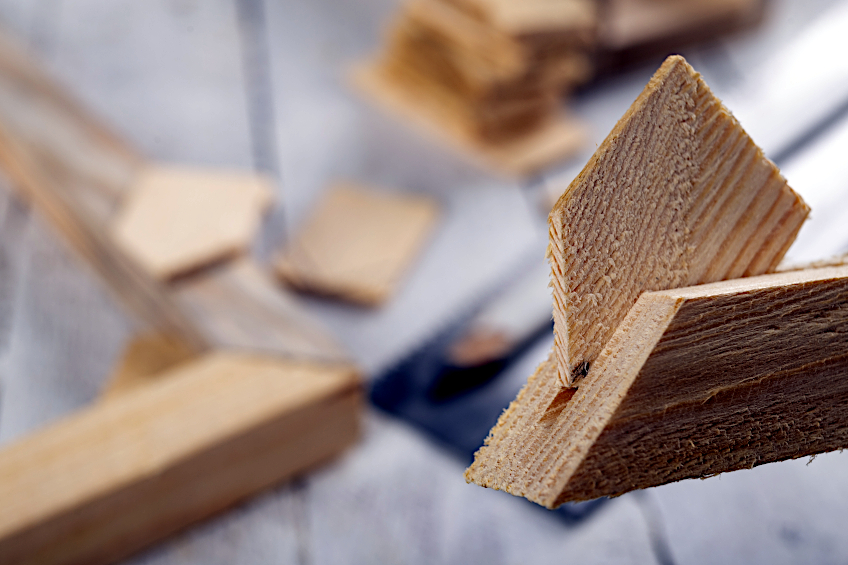
A Half-Lap Joint
Another option for simple joints for wood is the regularly used, and greatly under-appreciated, half-lap joint. This type of wood joint is used when you are working with a large piece of lumber that needs to be overlapped to provide heightened structural integrity but without using too much material. They are often used in the application of corner joints; they are perfect when you are looking to create a 90-degree angle.


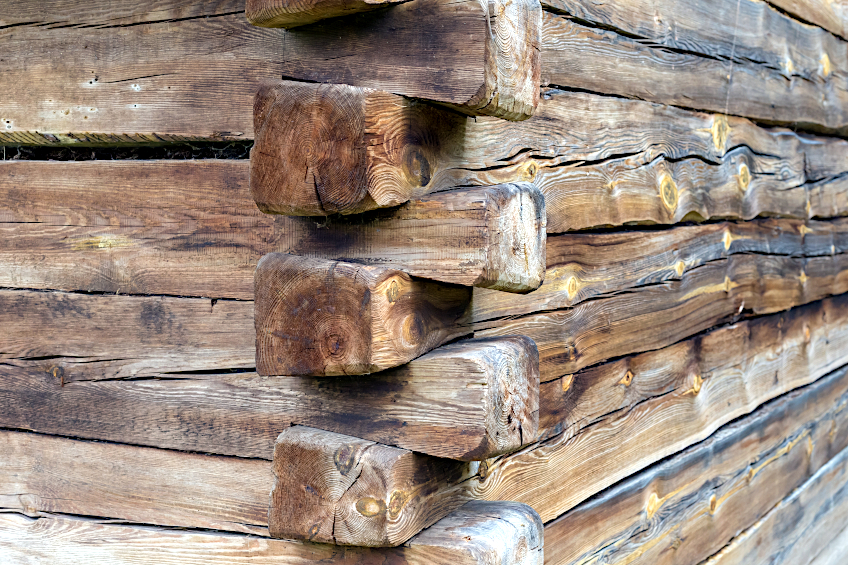
The half-lap joint has the flange cut into the edge of both pieces of board which is then overlapping with one another. As with a butt joint the boards will not be mechanically locked together when using this technique, so you will have to use some type of adhesive, dowel, or fastener to secure this joint. This is a popular technique to use when framing and can also be used in wood cabins and wall runners, or even ceiling trimmings.
This type of wood joint is normally used to ensure the two surfaces are completely flush and that the final product is uniform, which is ideal when you are dealing with limited space. To make a half-lap clamp the two boards to be joined together. Outline, the width and depth of the sections to be removed. Using a wood chisel remove the marked sections, level the two flanges, and join securely.
A Cross-Lap Joint
Several wood joints resemble one another but are each used for different applications. A cross-lap joint is often confused with a half-lap joint. While the two joints have a lot in common, the cross-lap joint is used to join two pieces in a similar manner as a half-lap, but it is not used on the end of one or both wood lengths but sits on the span of both pieces of wood.

You can use a cross-lap joint to form a seamless cross by connecting two pieces of wood at an interception. This technique is normally used for foundation reinforcement or when building a ceiling, but it can also be used on a small scale when creating art installations and props.
How do you create a cross-lap joint? Much like making a half-lap joint, you need to create a recess as opposed to a flange in the middle portion of your second board. You can create this by marking the depth and width that is required. You are then able to score smaller sections using a wood saw and remove the excess with a chisel. You can fashion the second board in the same way that you would do when doing a half-lap joint.
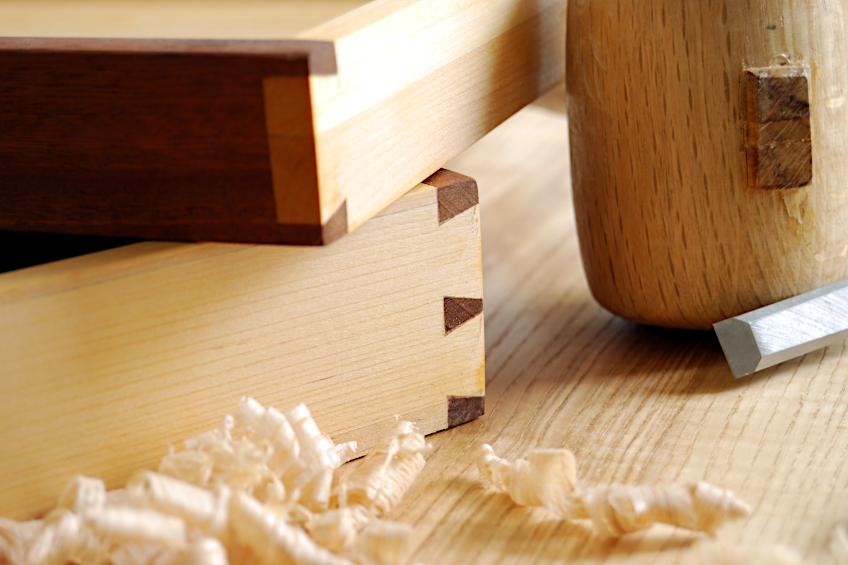
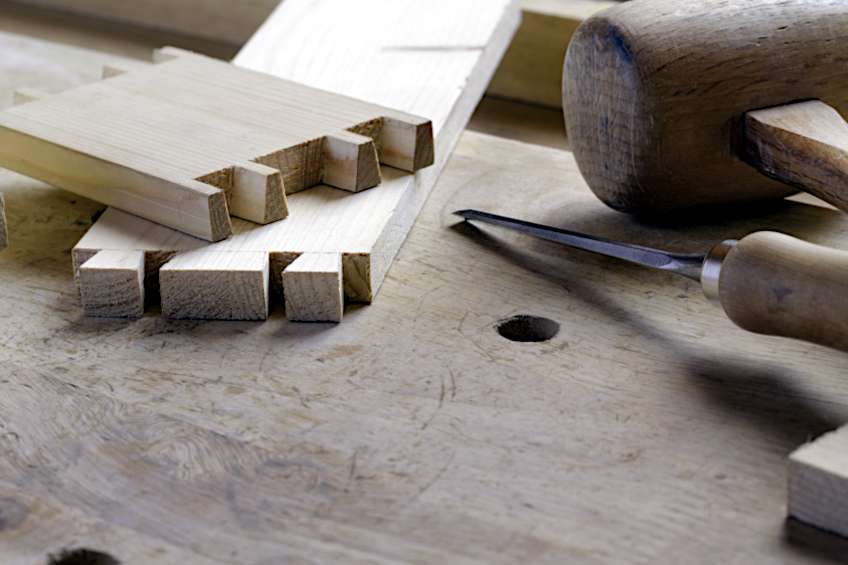
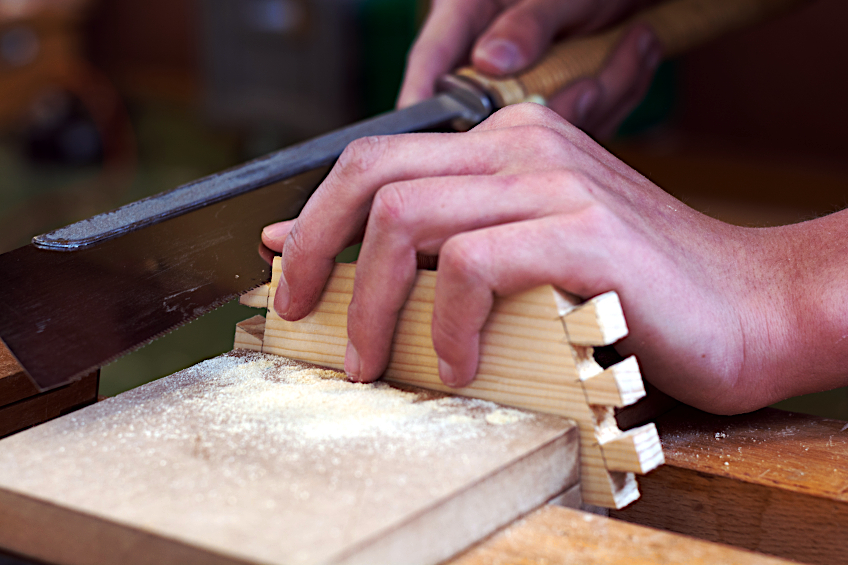
A Box Joint
If you are looking to build on your woodworking skills, then odds are you would like to create an item featuring a beautiful set of joints. The ultimate achievement in woodwork is the perfect dovetail. To get there start with perfecting the more simple box joint, before graduating to the more complex dovetail joints. This will give you the opportunity to perfect the detailed measuring and cutting skills that will be required down the road.
A box joint is thought of as a dovetail joint that does not have tapered flanges. So, you end up with little straight-cut wooden fingers that slot into one another. These types of carpentry joints are not ideal if your workpiece is going to be pulled a lot. This type of joint is best for when your workpiece will not be pulled as it can cause it to come apart. Box joints can be used to manufacture a drawer for example, but there is a reason furniture aficionado’s look for dovetailed drawers.

You are still able to use this type of wood joint in less robust applications that require a certain amount of pulling, but you will have to line the edges of these flanges using a strong wood adhesive beforehand. This type of joint is typically used when you are building a wooden box or items where you want a beautiful block pattern on the corner. You will need to measure up the depth and width of your flange, make the necessary cuts, and then slide them into one another after you have applied the glue.
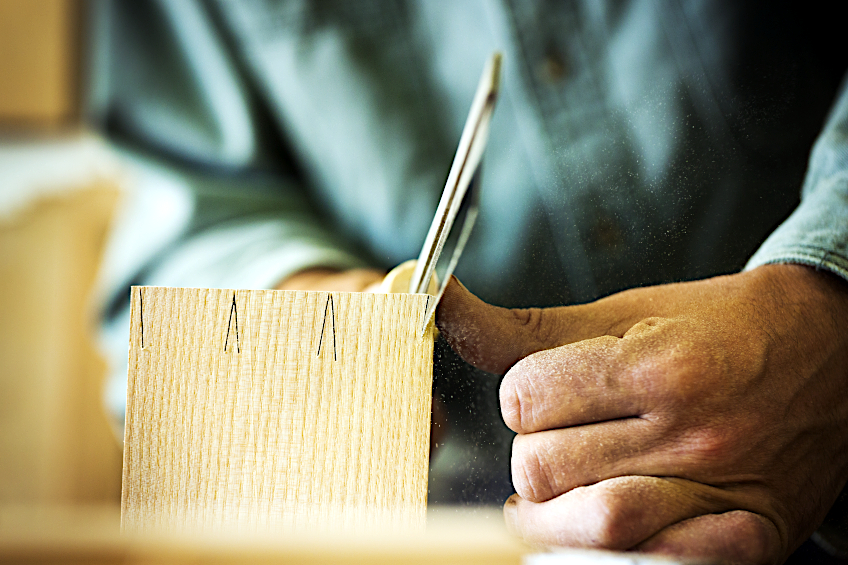
A Through Dovetail Joint
Whether you are a casual DIY-er or a professional woodworker you probably have heard about the well-known dovetail joint. This type of wood joint is known to be challenging to create, but when done correctly they provide a stunning and sturdy option to secure two pieces of wooden board together. This is a great wood joint technique for robust applications thanks to it being one of the strongest wood joint methods available.

The dovetail joint consists of a series of fingers or pins cut into the board’s edge, that interlock with another set that has been cut into the board that is joining. These pins look very much like a dove’s fanned tail, hence where the name comes from, and are known for being almost impossible to pull apart. This technique is frequently used for front-facing wooden boards of cupboards and wooden cabinets.
You may wonder how to make these strong wooden joints. You will begin by cutting at the edges of the boards you will be joining. You can either use a jig or cut the fingers by hand. It is important that you mark the interlocking sections and accurately measure them before you attempt to cut.
A Half-Blind Dovetail Joint
As previously mentioned, it is not easy to create a dovetail joint, but it is seen as one of the most effective wood joint types available. If you have a situation where both surfaces will be subjected to pulling forces, then this is the joint to use. This is why it makes the perfect cabinet joint for any setting. This joint is different from a full dovetail thanks to the dovetail being invisible.
This can be achieved by the receiving fingers not being cut completely through the board, resulting in a half-blind cut. As you can imagine, this type of dovetail can be extremely difficult to create, particularly if you are a beginner but it is an amazing technique, once mastered.
How do you make a half-blind dovetail? Begin by measuring the width and depth of your dovetail flange as you normally would. The same needs to be done to the surface board, using your depth gauge you can make compensation for the blind side. Create a dovetail joint on the interior wood piece using your jig (or by hand).

On the surface of the board that will contain the half-blind joint mark up the width of your joints. Your stopping point is demarcated by the markings you made prior. Use a drill bit to remove the majority of the materials and then use a chisel to finish off the remaining wood. You can use a mallet to gently join the two boards together. If you are looking to provide added stability you can use some glue, but the join should be more than sturdy enough on its own.
A Sliding Dovetail Joint
Of all the dovetail joints, the sliding dovetail joint is the simplest type to make. This joint type is used in the construction of shelves and cabinets. It is a great option if you are looking to avoid using a fastener. In terms of complexity to make, the sliding dovetail sits somewhere between a box joint and a conventional dovetail joint. Much like a plastic book binder’s sliding spine, the sliding dovetail joint works similar, and even looks similar to a book binder’s sliding spine.

This type of dovetail joint has one flange that is quite long that slides into an often equally long recess. If you are planning to make these types of wood joints, you will spend a considerable amount of time measuring the receiving end. If you are doing the work by hand, you will also end up spending a lot of time chiseling the recess itself.
To create a sliding dovetail joint, you need to measure up the depth of both your flange and recess and mark them off accordingly. When you have finished marking and measuring and you have determined where the join will be placed, take your handsaw and job to cut out the flange before you begin to sand down any rough edges. On the receiving end, you will require a small drill bit to remove the bulk of the materials. Once that is done, you can use a fine tip woodworking tool or a chisel to remove the remaining wood particles before you then slide the wood into one another.
You should now know what wood joints are and whether glue or wood joints are the better options. You also now know the different types of wood joints available (and how to make each type of wood joint), so you can put your newfound knowledge to use! Like any DIY project, you will need to ensure that you are working in a well-ventilated space and that while working you are protecting yourself by wearing the necessary safety gear.
Frequently Asked Questions
What Is the Craft of Making Wooden Joints Called?
While one might think that wood joints are simple wood joining methods, it is its craft that can take many years to master. Joinery is the correct term to describe the specialization of creating and implementing wood joints, and it does take a considerable amount of time and practice to become even adequate.
Which Is the Strongest Wood Joint?
This is a difficult question as the term strongest does not mean that it is always the best option. The mortise-and-tenon joint is thought to be the strongest wood joint, and it can be used in the majority of day-to-day applications. However, it can be a difficult type to master and is not suitable for every type of project.
What Is a Good Cabinet Joint?
If you are hoping to construct a stable cabinet, the majority of people will choose to use a mortise-and-tenon joint. This joint type will produce a structure that is both simple to make and relatively sound, provided you have access to the correct tools.