
How to Draw an Orange – Our Simple Drawing Tutorial
This post may contain affiliate links. We may earn a small commission from purchases made through them, at no additional cost to you.
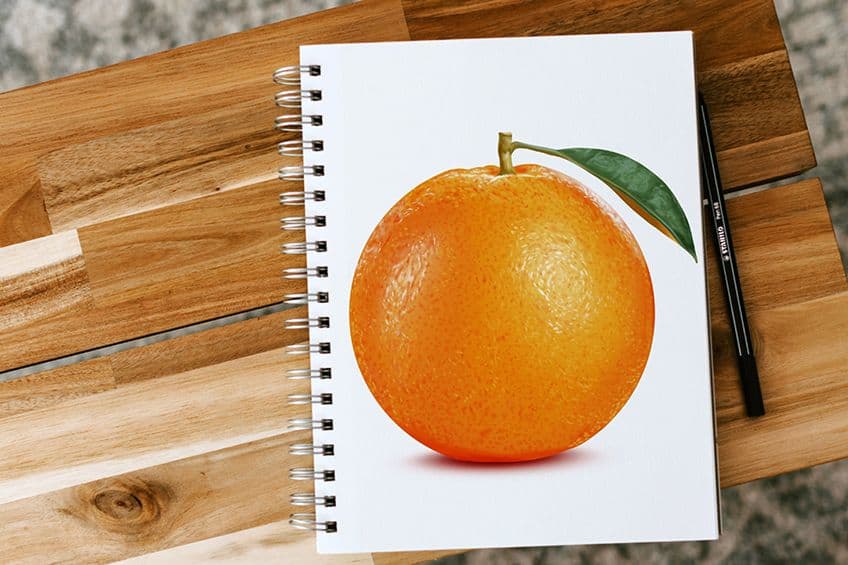
Creating beautiful art is possible for all! Just pick up a pencil or paintbrush and you can begin having fun! In today’s tutorial, we will show you how to draw an orange citrus fruit, and together we will create a realistic orange drawing! This citrus illustration is so life-like you can smell the scent of oranges just by looking at it. The humble orange may seem like a basic art subject, but don’t be fooled! This juicy fruit has dimensions and texture that must be acknowledged to bring out its realism on paper! Let’s get started with our orange outline drawing!
Table of Contents
- 1 A Step-By-Step Guide on How to Draw an Orange
- 1.1 Step 1: Creating the Foundation Shape of Your Orange Drawing
- 1.2 Step 2: Adding Realism to Your Realistic Orange Drawing
- 1.3 Step 3: Drawing the Stem of Your Orange Sketch
- 1.4 Step 4: Adding a Leaf to Your Orange Drawing
- 1.5 Step 5: Applying the Base Coat to Your Orange Drawing
- 1.6 Step 6: Applying a Base Coat to the Stem of Your Orange Drawing
- 1.7 Step 7: Applying a Base Color to the Leaf of Your Orange Fruit Drawing
- 1.8 Step 8: Creating the Proportions of Your Orange Sketch
- 1.9 Step 9: Adding Highlights to Your Realistic Orange Drawing
- 1.10 Step 10: Applying Texture to Your Orange Sketch
- 1.11 Step 11: Adding Highlights to the Skin of Your Orange Fruit Drawing
- 1.12 Step 12: Completing the Details on the Stem of Your Orange Drawing
- 1.13 Step 13: Adding Texture to the Leaf of Your Realistic Orange Drawing
- 1.14 Step 14: Adding the Finishing Touches to the Leaf of Your Orange Drawing
- 1.15 Step 15: Applying a Shadow to Your Realistic Orange Drawing
- 1.16 Step 16: Adding the Last Touches to Your Orange Fruit Drawing
- 2 Frequently Asked Questions
A Step-By-Step Guide on How to Draw an Orange
Welcome to the beginning of our how-to-draw-an-orange tutorial. Study the steps in the image below to grasp the complexity of a realistic orange drawing. As you can see, this guide has been broken into 16 steps. These include the foundation lines, structure, color, and shading. Luckily, the orange fruit is the color of its name, so it will be easy to follow the color guide!
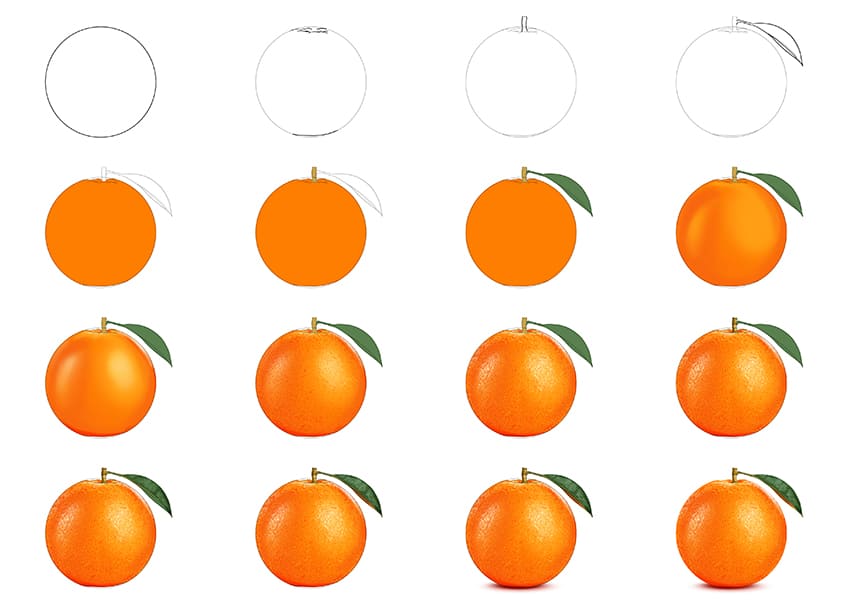

This how-to-draw-an-orange tutorial has been developed for an acrylic painting medium; however, you are welcome to adapt this lesson to suit your chosen medium. Perhaps you wish to use colored pencils or a digital design tablet, the options are endless! This tutorial is completely adaptable! Grab your art tools, and let’s get this lesson started!
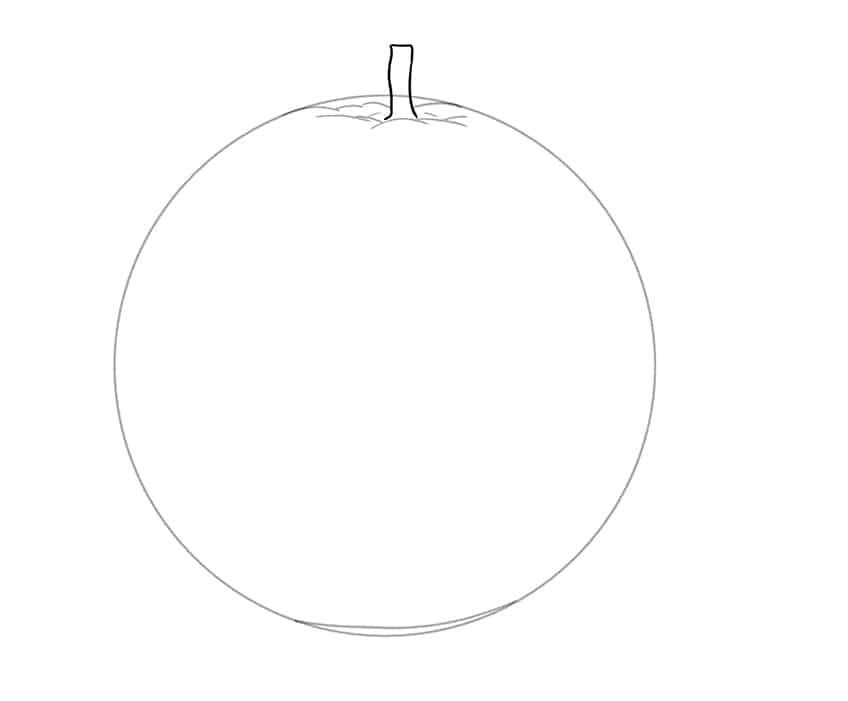
Step 1: Creating the Foundation Shape of Your Orange Drawing
First, you will begin your realistic orange drawing by creating the foundation circle using your pencil. Remember to use light pressure. Do this in the middle of your drawing pad or the center of your canvas. This is a foundation line, so this circle should be as close to perfect as possible. If you are concerned about your circle-drawing ability, feel free to trace a circle shape by using compasses or any suitably sized object like a Tupperware lid or other circular object for your orange outline drawing.


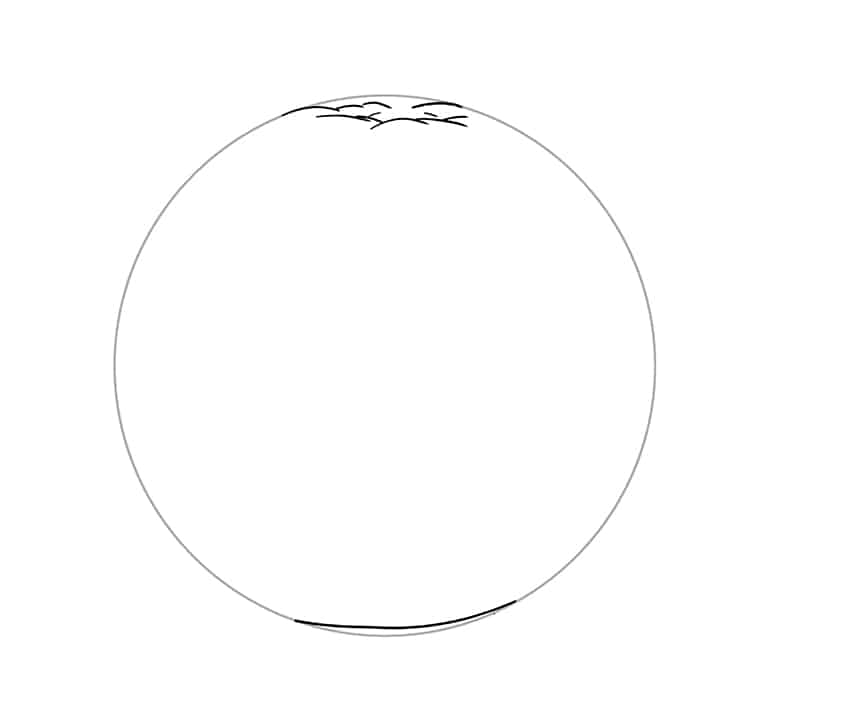
Step 2: Adding Realism to Your Realistic Orange Drawing
To add realism to your orange drawing, you must first create some depth to the structure. At the top of the circle, make a few creases and stretch lines. Imagine the stem protruding from the top of the orange. Next, draw a curved line at the bottom.
This added realism will mean that your orange will no longer have a perfectly round shape, because nothing is a perfect circle in nature, yet everything in nature is perfect!

Step 3: Drawing the Stem of Your Orange Sketch
In this step, you can draw the stem of the orange sketch. Begin by drawing two short stem lines at the base of the top of the orange. This step should create a form between the crease lines you created in the previous step. Square the stem at the top. Imagine that your orange has just been picked, fresh from the tree!

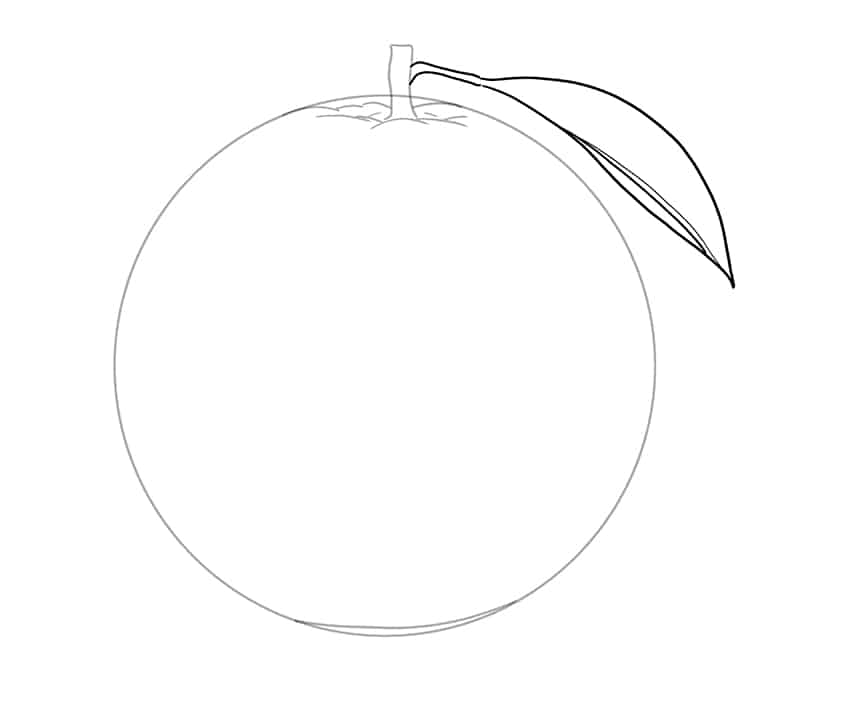
Step 4: Adding a Leaf to Your Orange Drawing
In this step, you will draw a single leaf outline on the right-hand side of the stem. You can begin the leaf in the center area of the stem.
Make the tip of the leaf curve downwards and add a line in the middle.

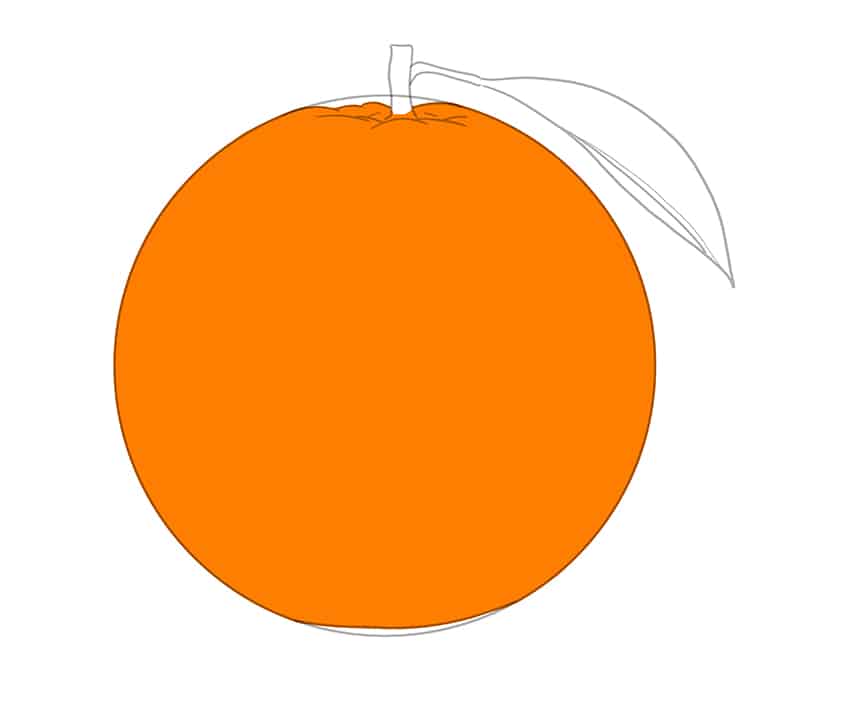
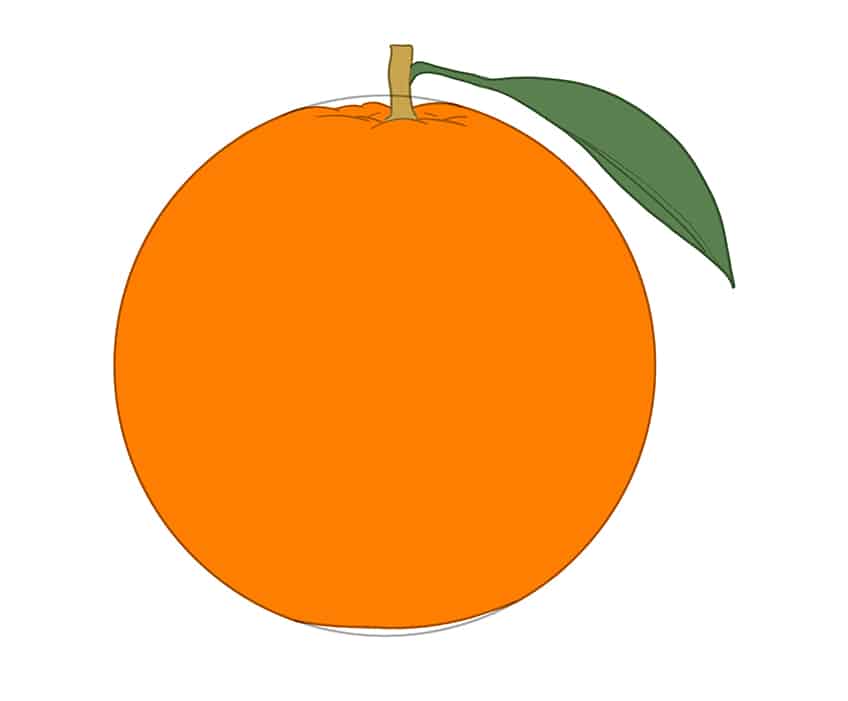
Step 5: Applying the Base Coat to Your Orange Drawing
The painting fun can begin as you have completed the sketching stage of your orange drawing! Take a regular paintbrush and orange paint and gently add a base coat to the orange’s body. Leave the stem and leaf without color at the stage.

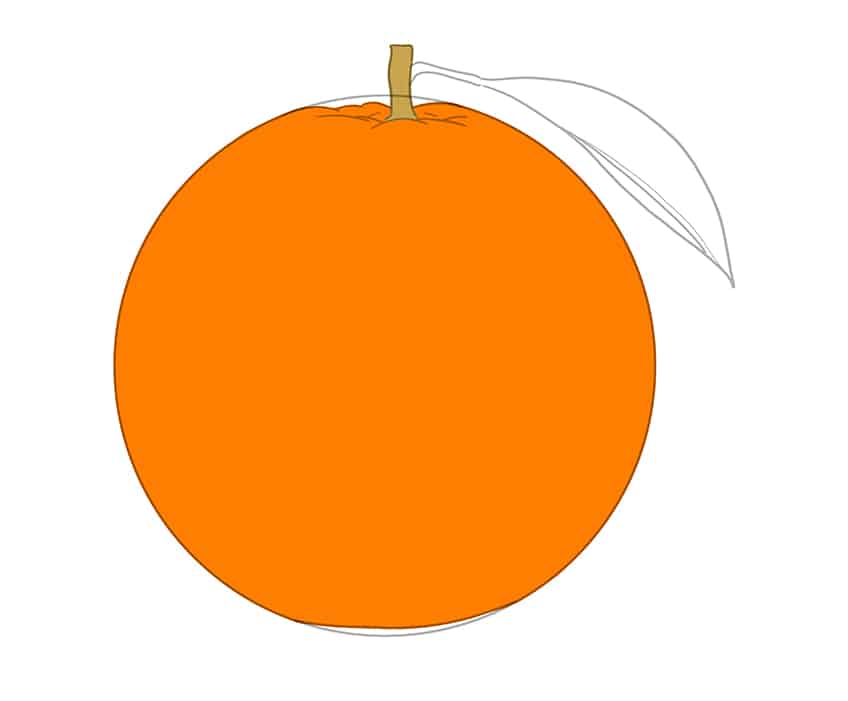
Step 6: Applying a Base Coat to the Stem of Your Orange Drawing
This is a very simple step! All that you need to do is coat the stem in caramel brown paint using a regular paintbrush.

Step 7: Applying a Base Color to the Leaf of Your Orange Fruit Drawing
As you did in the previous steps, where you began coating the orange sketch in a base color, you will do the same to the leaf of your realistic orange drawing.
Take a shade of dark green and coat the leaf using a regular paintbrush.

Step 8: Creating the Proportions of Your Orange Sketch
By now, your orange fruit drawing should be two-dimension and flat. This is a good thing! At this point, you will begin adding texture and building proportions to create a life-like orange sketch. To make your orange drawing look realistic, you will need to add shadows and highlights. Take a blending paintbrush and a darker shade of orange paint, gently add shadows along the edges of the orange and apply brushstrokes to the center of the fruit.
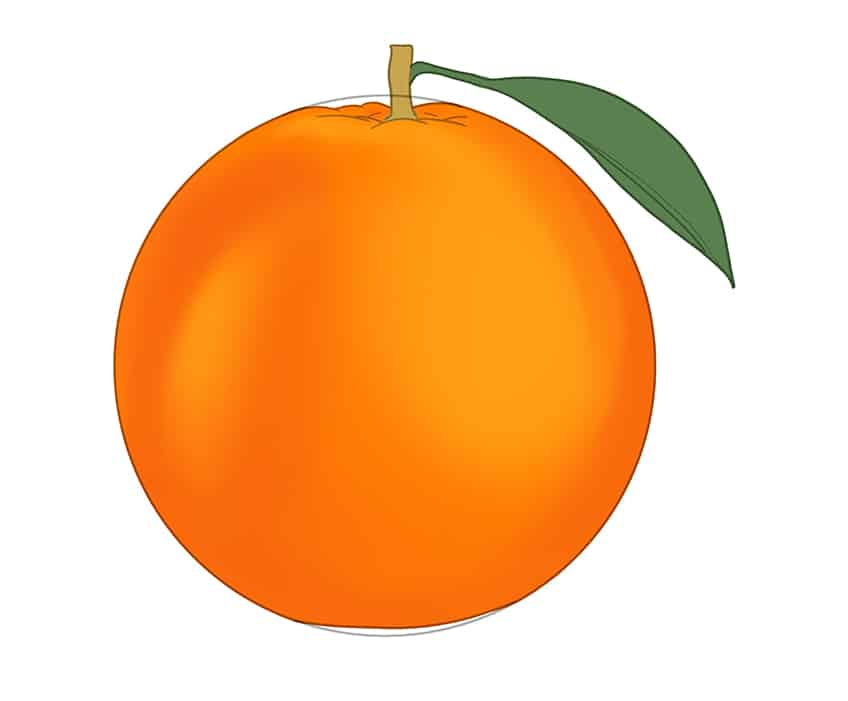

Step 9: Adding Highlights to Your Realistic Orange Drawing
In step eight, you added a shadow to your realistic orange drawing. Next, you will build on that shadow by adding a darker shade of orange and using a small blending brush to create an extra layer of shading. Begin applying soft brushstrokes and blend the colors around the edges and center. Then you will add white paint highlights to your orange sketch in the areas where natural light could fall onto your orange.
Once you have completed adding the highlights, you can use a small blending paint brush and soften any visible brush strokes.


Step 10: Applying Texture to Your Orange Sketch
Your orange sketch should be starting to look really good! You have added shading, shadows, and highlights to your realistic orange drawing. The next step will be to create texture on your orange fruit. To do this, you will need to add tiny textured dots to mimic the orange skin. Take a fine paintbrush and dark orange paint and dab tiny dots over the orange. If you are using a digital design tablet, use a rough brush tool with a high spread and apply the same technique as if you were using paint and a brush.


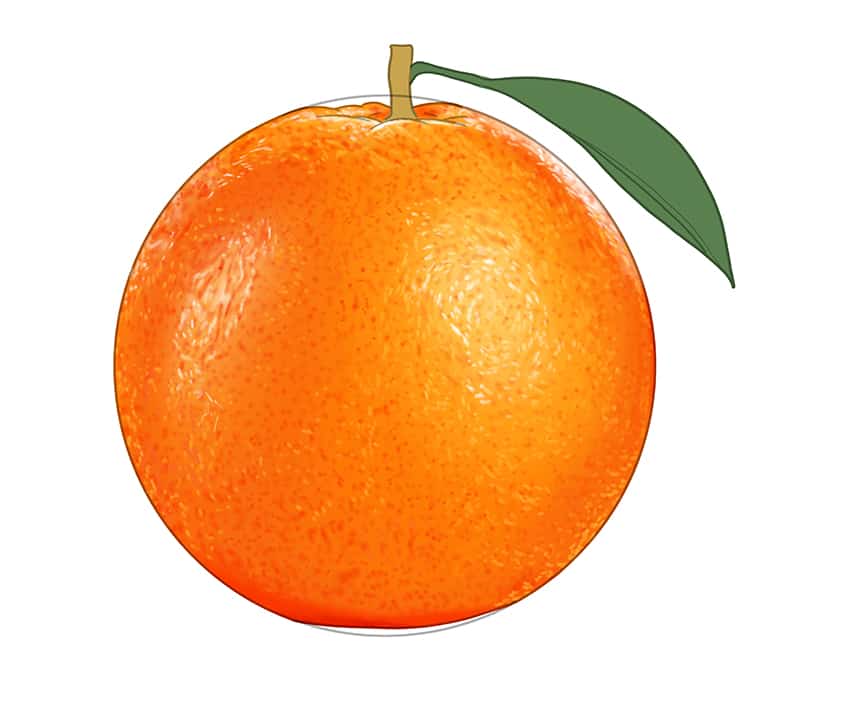
Step 11: Adding Highlights to the Skin of Your Orange Fruit Drawing
For this step, you will add highlights to the skin of your realistic orange drawing. Begin to add some fine streaks and dots to the texture you created in the previous step by using white paint and a small blending paintbrush. Remind yourself of how tough an orange peel is on the outside. An orange fruit’s skin will also have some shine.
You should try to replicate this sheen when you are adding the highlights to the bright spots of the orange.

Step 12: Completing the Details on the Stem of Your Orange Drawing
To complete the detailing of the orange stem, you can add a darker shade of olive-brown paint with a soft paintbrush to add depth to the top and bottom edges of the stem by using small brush strokes. Take a small blending brush and smooth out any visible lines.


Step 13: Adding Texture to the Leaf of Your Realistic Orange Drawing
Keeping the base coat of the leaf visible, you can begin adding the same olive brown paint you used for the stem. Use a soft blending brush and gently shade the middle line of the leaf.
Using a touch of black paint, you can add some texture lines to your orange outline drawing.


Step 14: Adding the Finishing Touches to the Leaf of Your Orange Drawing
To add the finishing touches to your realistic orange drawing, you can use a small blending brush and white paint to gently add color to the side of the leaf. Next, use a hint of orange paint to make the orange seem like it is reflecting onto the side leaf. This is an added touch to create realism.


Step 15: Applying a Shadow to Your Realistic Orange Drawing
To add a shadow to the base of your orange fruit drawing, you can use a soft paintbrush and a dark shade of orange to create a shadow that would be cast from the orange.
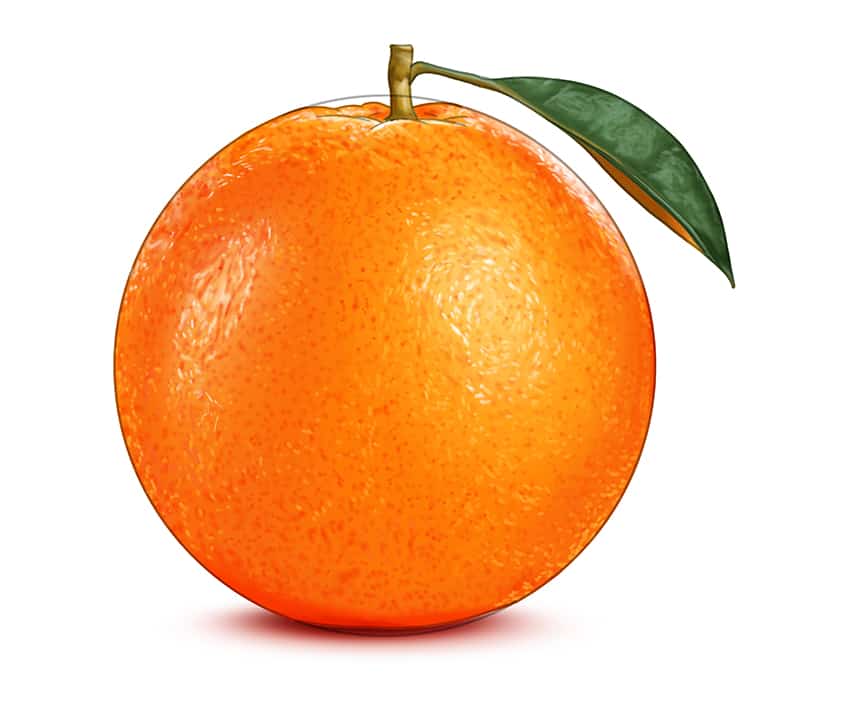

Step 16: Adding the Last Touches to Your Orange Fruit Drawing
You have reached the last stage of our how-to-draw-an-orange tutorial! To conclude this step, you must take a sharp paint brush and the corresponding paint color as you trace over the outlines of your orange, stem, and leaf. Remove any stray and lingering pencil lines by erasing them.
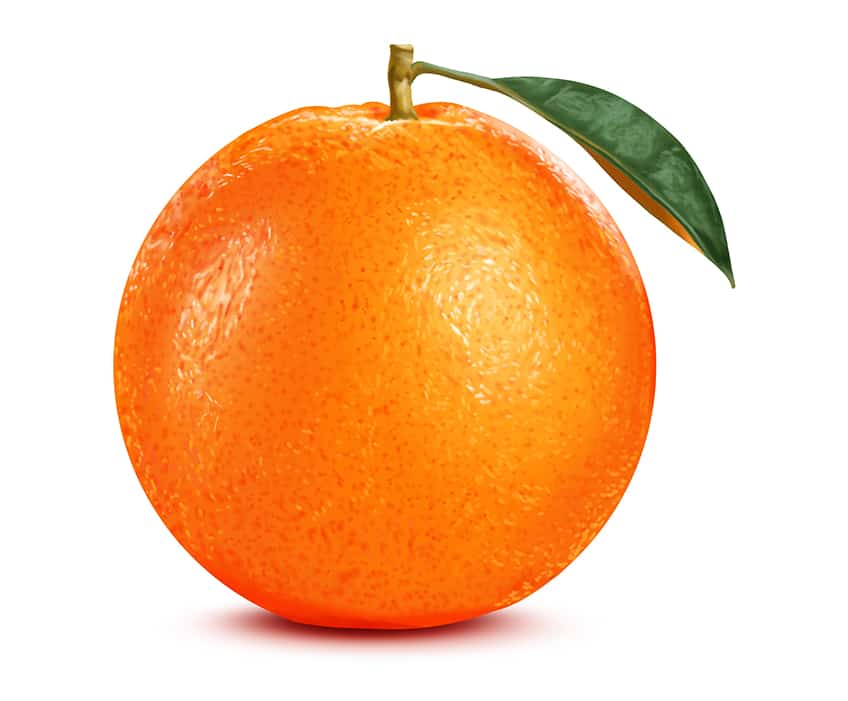

Congratulations! You have completed this simple 16-step guide on how to draw an orange. Hopefully, you have enjoyed this tutorial and are excited to learn how-to-draw other types of fruit to add to your realistic orange drawing! If you are interested in drawing fruits we recommend having a look at this fruit of the spirit printable.
Frequently Asked Questions
What Are the Steps Needed to Create a Realistic Orange Drawing?
Drawing a realistic image can be tricky, but the key is to get the foundation of your structure correct, and the rest will fall into place. The beginning steps are simple to follow, so don’t be scared to jump right in. First, you will create the foundation lines, and then you will begin to add detail, color, highlights, and shading to your orange drawing.
Is It Difficult to Sketch an Orange Fruit Drawing?
Our drawing tutorials have been specially designed for beginners, but advanced artists can use them too! Realistic images may seem overwhelming to create in the beginning, but fear not! Our how-to-draw-an-orange tutorial has been developed with easy-to-follow steps and stages to ease you into creating an orange masterpiece!