Sanding Epoxy Resin – Everything You Need to Know
This post may contain affiliate links. We may earn a small commission from purchases made through them, at no additional cost to you.
Epoxy resin has become a very popular medium in the DIY and arts and craft sectors. While epoxy requires a bit of a learning curve to use, its durability and versatility more than make up for it. When using epoxy, your attention will largely fall on ensuring that the resin is mixed and poured correctly, that all bubbles are eradicated, and that it cures properly. But that may not be the end of the process. Once your resin item has been cured and hardened completely, you may notice that the piece possesses an uneven, cloudy finish that is nothing like the glossy surface for which this material is famous. Fortunately there is a fix for that. This article provides techniques and tips on how to properly sand epoxy resin so that you can give your epoxy piece the sheen it deserves!
Table of Contents
Is it Better to Sand Epoxy Resin Dry or Wet?
When faced with a piece of cloudy resin, you may be tempted to pick up a dry piece of sandpaper and start smoothing it out. However, we strongly recommend that you wet sand epoxy as opposed to dry sanding. There are a number of reasons why wet sanding is the best choice:
- Waterproof sandpaper tends to last longer when wet sanding than normal sandpaper in dry sanding.
- This technique removes smaller uneven areas straight away.
- The moisture of the sandpaper allows for less dust to be produced.
- As the dust collects in the water, you will be able to see the surface you are sanding more clearly, thus giving you an accurate gauge as to the progress you have made.
There are a few instances, however, where dry sanding resin is the more suitable option:
- Dry sanding is recommended for resin pieces that contain wood or other materials that are susceptible to the effects of moisture.
- Wet sanding can cause stains and may even result in the wood developing an odor.
In most cases, wet sanding is the most appropriate choice for sanding epoxy resin. Water acts as a lubricant and a coolant during wet sanding, and is usually used when you want to achieve a very smooth finish on a material that is prone to scratching and/or heat friction damage. We have found that dry sanding resin usually causes more harm than good:
- Dry sanding your piece with a random orbital sander, or even by hand, creates a lot of heat due to the friction between the two surfaces. Resin is resistant to heat only up to a degree, and if it gets too hot the surface structure changes and will develop an unsightly matte finish.
- The scratched, matte surface of the resin as a result is nearly impossible to reverse. Wet sanding produces much less heat, making it the safer choice to protect the finish of your piece.
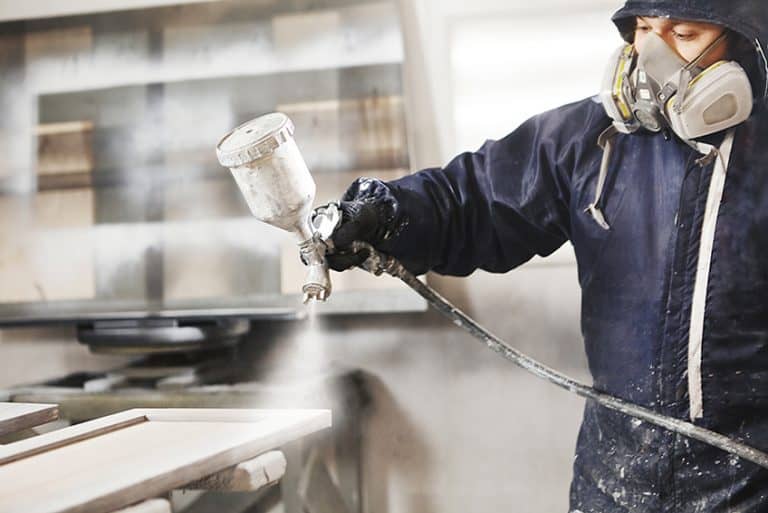
- Dry sanding produces a great deal more dust that is blown into the air. Not only are these particles carcinogenic, but they will cover the surface of your piece and make it difficult to ascertain your progress. If you are dry sanding, we recommend wearing either a dust mask or respirator.


Potential Complications of Sanding Resin
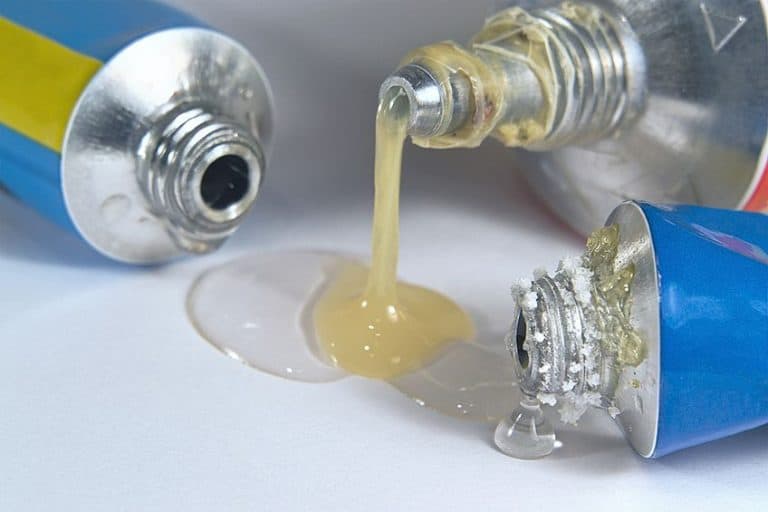
Epoxy resin is comprised of two components: a resin and a hardener. When these two liquids are mixed together, the chemical reaction that ensues results in the solution hardening to become a solid. The epoxy resin will reach its most solid and durable state once it has cured for an appropriate length of time.
Epoxy forms quite a hard surface that can be quite difficult to sand. This is especially so when you attempt to sand epoxy without the benefit of a lubricant. The the tough resin surface will wear down your sanding paper really quickly. You will therefore need to clean or replace the sanding paper frequently. Wet sanding will therefore not only ensure that you end up with a super smooth finish, but it will also reduce the amount of sandpaper you need to use to achieve that finish.
Keep in mind that you should never sand your epoxy item until has been completely cured. This process takes a minimum of 48 hours after casting your resin. Resin can appear and feel hard even while it is still curing, so always follow the manufacturer’s guidelines when it comes to the length of the curing period.
A Guide to Wet Sanding Epoxy Resin
In most cases, wet sanding resin is the best choice for smoothing and evening out the surface of your piece. We have compiled a useful guide on how to sand epoxy resin with water-resistant sandpaper.
Pros of Wet Sanding
Cons of Wet Sanding
- As the dust particles will mix with the water, you will need to wipe away this dusty water frequently to preventing staining or any other damage.
- This technique of sanding is not suitable for epoxy resin pieces incorporating wood or similar porous materials, as this may cause swelling.
Features of Water-Resistant Sandpaper
For wet sanding epoxy resin, you will need a particular kind of sandpaper that is resistant to water. Comprised of a silicon carbide layer, this waterproof sandpaper is available from a minimum of 60-grit to a maximum of 4000-grit. The coarser grits are not advised for sanding resin, as they will leave behind scratches that can be hard to remove.
We recommend beginning with a 120-grit piece of sandpaper and then gradually increasing this grit to one that is finer (the higher the grit count, the finer the sanding paper). You can also apply an epoxy polishing paste to your resin after sanding to give it an even glossier finish.
Important Information About Wet Sanding Epoxy Resin
You may wonder whether you can sand epoxy with a machine or if it should be done by hand. We suggest that you wet sand your resin piece by hand, as using a machine can result in an electric shock if it comes into contact with the water. If you are working on an especially large surface, you can use an air disc sander, as these work on compressed air.
You can use a hard rubber sanding block to help you in the process of wet sanding. Using this block will help you to control the sandpaper for smoother, more controlled movements. Curved surfaces will require you to use an appropriate backing. Alternatively, you can hold the sandpaper yourself.
Water-resistant sandpaper tends to be quite stiff and tough to manipulate. The rigidity of the sandpaper can prove to be an issue when you want to sand awkward areas and irregular shapes. You can get around this difficulty by using a waterproof sanding pad to reach these tougher spots.
Keep a relatively large amount of water nearby while you work. You can also use hot water if the room temperature is too cold, as resin is sensitive to temperature. It is important to wet sand in circular movements, frequently dipping the sanding paper into the nearby water. You should only switch to a finer grit once the previous grit has been completely removed from the surface of the resin.
You do not need to fully-immerse the sandpaper in order to wet it sufficiently. You can even fill a spray bottle with water to frequently spritz and moisten the sandpaper surface.
The surface water will retain all dust residue, so it is important to wipe this away regularly. By doing this, you will be able to see the surface of your piece and how much progress you have made. You should ensure that you clean the surface of the resin properly before switching to a finer grit, as the old, rougher grains of the old sandpaper can create scratches.
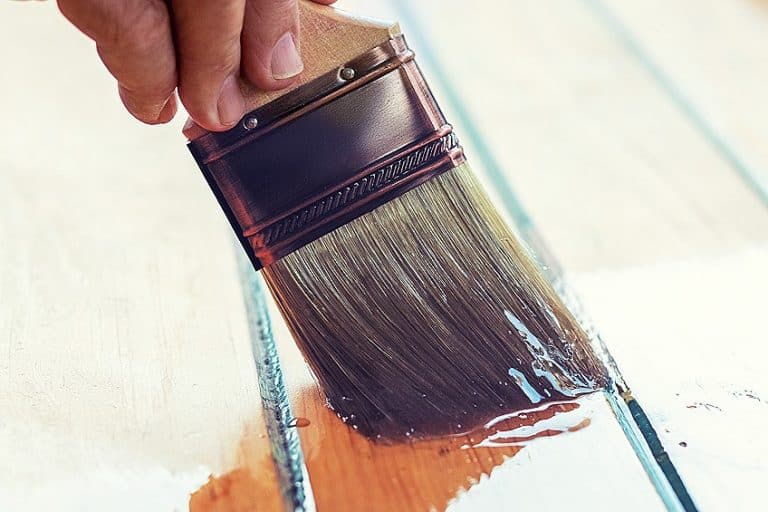
Once you have finished sanding your piece, you can use a paper towel to dry the surface. Any loose particles left behind can be wiped away with this towel or swept off with a fine brush. Do not use a cloth for drying the surface, as this can create unwanted streaks. You can use an electrostatic dust cloth to remove the finest dust particles if you are planning on painting your piece after sanding.
Tip: Use a paper towel to wipe away any leftover sanding residue immediately after you have finished the sanding process. Once the surface has dried, it is much more difficult to remove these grains from the resin surface.
Dry Sanding Resin
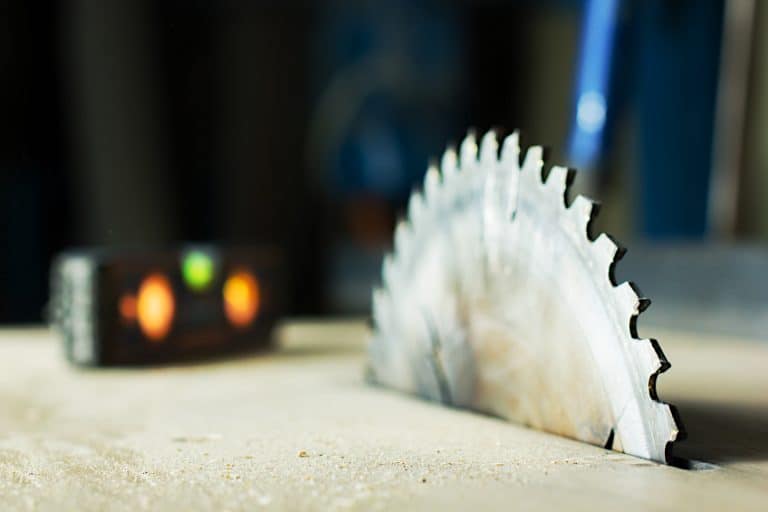
Dry sanding requires less time and effort when used over larger resin surfaces, such as tables. This technique is the most appropriate for sanding resin that has been used with wood, as materials such as wood are porous and absorb water more easily. If you choose to dry sand, we recommend using a random orbit sander.
- Before you begin dry sanding your project, ensure that you are wearing a dust mask or respirator to prevent the inhalation of the many harmful dust particles produced as a result. Work in a well-ventilated area for further protection.
- You should begin with a coarser grain of sandpaper of 200-grit and slowly increase this grit to a finer grain of 1000-grit or higher.
- Dry sanding often results in the paper becoming dull quickly due to the abrasion of the dust. You can clean the sandpaper with a specialized rubber stick to make it last longer, or clean it with your shop vacuum.
- You need to ensure that all sanding marks have been removed completely before adjusting the grit of your sandpaper.
Tip: You can only achieve a perfect glossy finish by using a fine piece of sandpaper of at least 1000-grit. Coarser grits cannot reach this level of shine.


What is Amine Blush?
Once your epoxy resin has hardened, you may notice that a sticky, wax-like layer has formed on the surface of your resin piece. This phenomenon is known as amine blush and is caused by major changes in temperature during the curing period. This layer can be difficult to see sometimes, as its appearance is liable to change.
You are most likely to notice an amine blush layer in extreme temperatures as a cloudy, greasy layer upon the surface of the resin. The resin surface beneath the amine redness is usually unaffected by this waxy layer, but removing amine blush before sanding will make the process much easier.
Removing Amine Blush
While a layer of amine blush is unlikely to have an effect on the surface of your cured resin, it is best to remove it to keep your sandpaper from dulling too quickly. Additionally, this layer cannot be present if you are planning on coating your piece with laminate resin or paint, as the paint will bind to this layer instead of the resin surface, resulting in peeling later on. You can remove amine blush from your resin surface with the following:
- Scrubbing it with some warm water, soap, and a sponge.
- Spirits can be applied to more stubborn waxy layers with a cloth.
- You can also remove amine blush by wet sanding the surface.
Sanding epoxy resin is often done when finishing off a casting. This can provide the perfect smooth shone to the end result – but if done incorrectly it could leave unwanted marks and textures. Be sure to follow the guide above for sanding resin to achieve perfect results every time.
View our How To Sand Epoxy Resin web story here.