
How to Draw an Apple – A Tutorial for Making a Realistic Fruit Sketch
This post may contain affiliate links. We may earn a small commission from purchases made through them, at no additional cost to you.
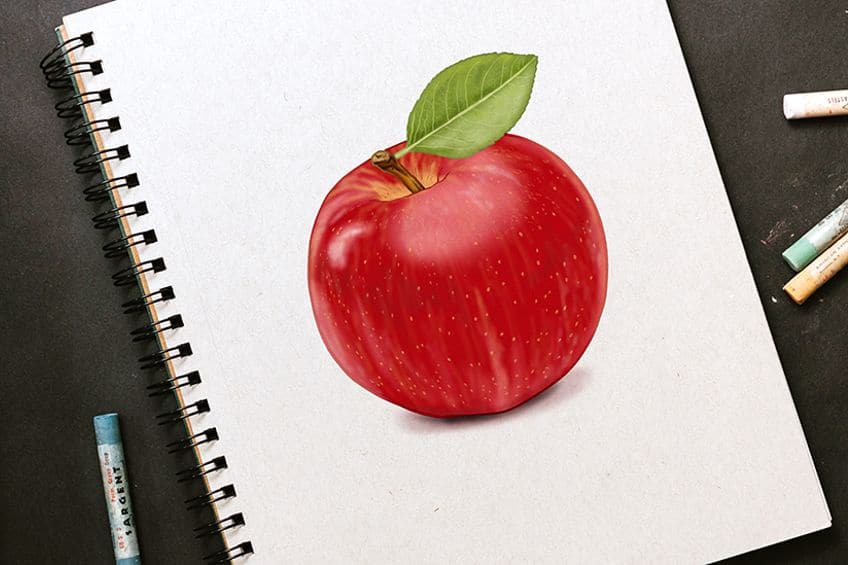
An apple is a fruit that is well-known for the variety of health benefits that it provides. Eating apples has been associated with a decreased risk of developing chronic illnesses. It is also a fruit that features in various myths and stories, ranging from the golden apple that started the Trojan War to the poisoned apple that sent Snow White into a death-like sleep. In this drawing tutorial, we’ll show you how to draw an apple from scratch using our step-by-step guidelines. Let’s take advantage of the opportunity and create our easy apple drawing!
Table of Contents
- 1 A Step-by-Step Easy Apple Drawing Tutorial
- 1.1 Step 1: Draw the Base of the Apple
- 1.2 Step 2: Draw the Apple Indent
- 1.3 Step 3: Outline the Apple Stem
- 1.4 Step 4: Draw the Leaf of Your Apple
- 1.5 Step 5: Create the Outline of the Drawing
- 1.6 Step 6: Create the Outline of the Stem and Leaf
- 1.7 Step 7: Apply the First Coat of Color
- 1.8 Step 8: Add Some Highlights
- 1.9 Step 9: Apply the Second Coat
- 1.10 Step 10: Add Texture to Your Drawing
- 1.11 Step 11: Add Final Highlights to Your Drawing
- 1.12 Step 12: Color the Leaf and Stem
- 1.13 Step 13: Add Some Shadow to the Apple Stem
- 1.14 Step 14: Shade the Leaf of Your Apple Drawing
- 1.15 Step 15: Finish Your Apple Leaf
- 1.16 Step 16: Create the Shadow Below the Drawing
- 1.17 Step 17: Finalize Your Apple Drawing
- 2 Frequently Asked Questions
A Step-by-Step Easy Apple Drawing Tutorial
Generally, drawing an apple is not a difficult procedure, but it might be confusing for novices who are unsure of where to start. These first few stages assist us in creating the fundamental outline of the apple design before we begin to add features and color to the drawing. When drawing the apple, in the first few steps, a medium that can easily be erased should be used. You should always use a soft pencil when drawing on tangible mediums. If a digital medium is used, the construction shapes of the drawing can be created with their own layer.
Below is a picture that shows an outline of our apple drawing tutorial.
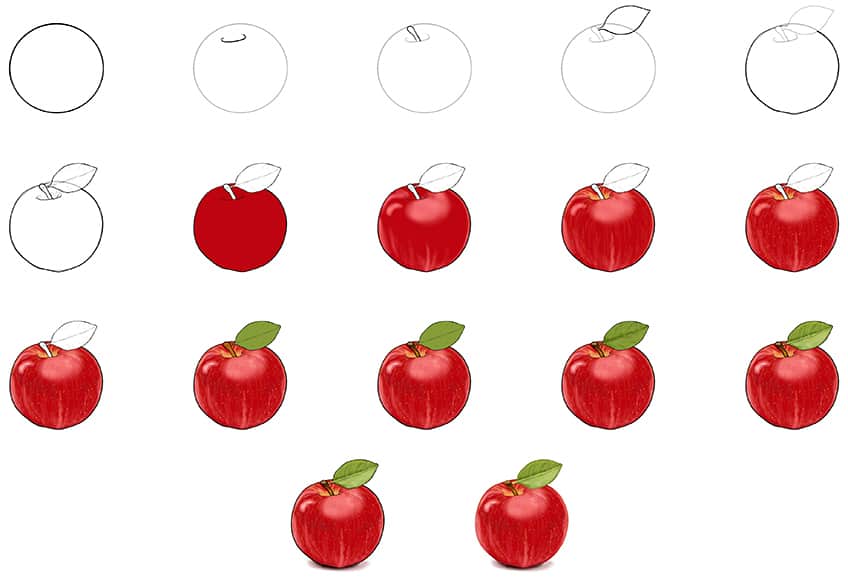

As seen above, a lot of steps involve adding realistic coloring to the sketches. Our apple drawing guide is created for painting mediums such as acrylic or gouache paint. This doesn’t mean that you cannot use other mediums. You are free to use whatever coloring medium that you choose to create your masterpiece.
Step 1: Draw the Base of the Apple
Before you start drawing the apple realistically, you start by drawing a large circular shape. This is the base of the apple illustration. More details will be added to the shape later on. With your drawing medium, draw a perfect circle shape in the middle. Make sure there is enough space around the base shape for adding elements like the leaves and stems.


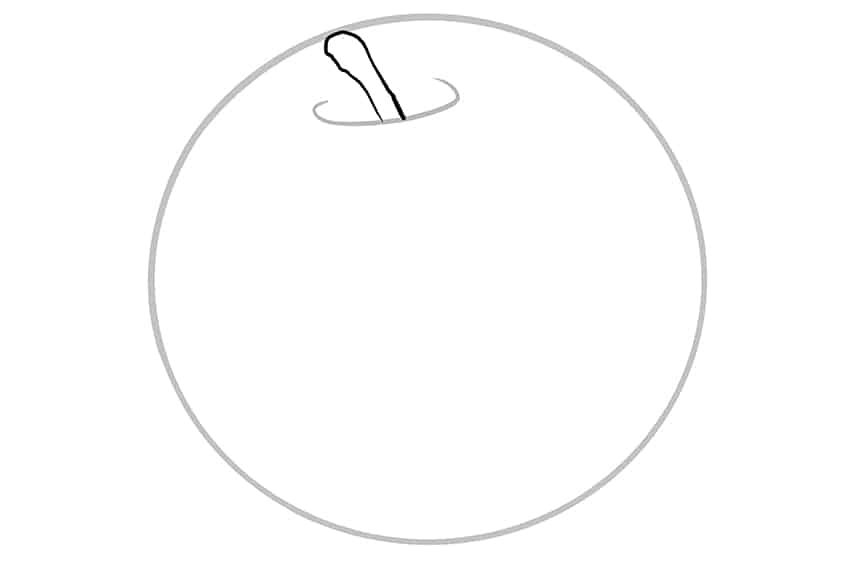
Step 2: Draw the Apple Indent
Next, create an unfinished oval shape at the top of the circle. Make sure that the shape sits closer to the left in the center of the circle. The top of the oval shape must be left blank. This form reflects the apple’s indent, from which the stem and leaf spread out.


Tip: Because an apple is not precisely spherical and symmetrical, the indent contributes to the drawing’s realistic appearance.
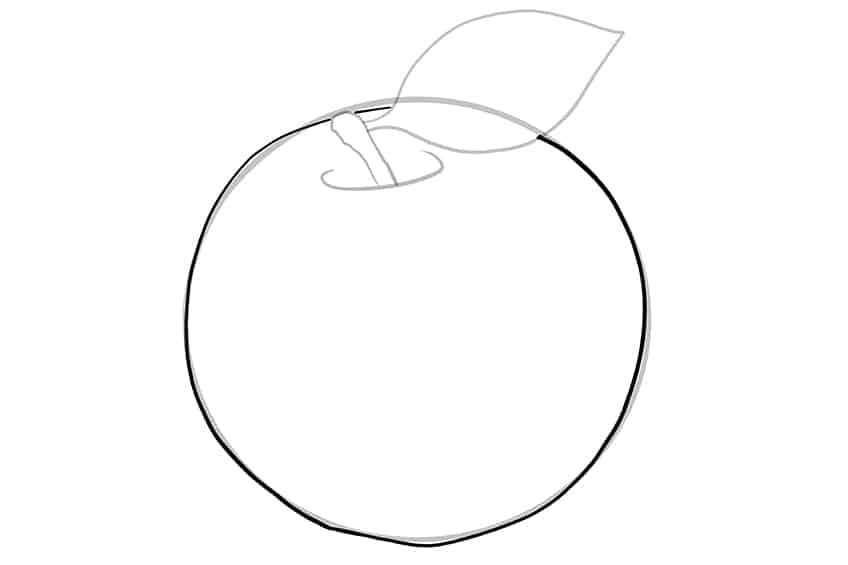
Step 3: Outline the Apple Stem
Having completed the apple’s base, you will need to add its stem to finish the drawing of an apple. The stem must flow outwards from the indent. In addition, you want to make sure that the stem of the apple is tilting slightly to the left of the drawing.

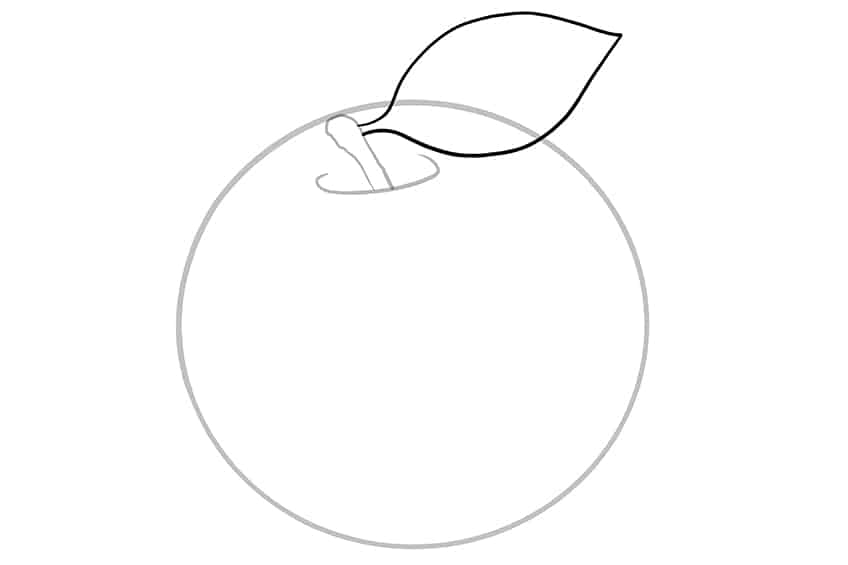
Step 4: Draw the Leaf of Your Apple
Following that, we’ll proceed to sketch the leaf for your apple illustration. This step requires that the leaf be joined to the right side of the stem that was drawn in the preceding phase. A big leaf should be drawn to the right of the apple, overlapping the top of the apple. The leaf can be drawn on either side, although we think that drawing it on the right gives a better-balanced composition.

Step 5: Create the Outline of the Drawing
This step entails making the apples outline more lifelike by adding additional details. You should be able to include some actual flaws into your drawing of an apple so that it does not seem to be perfectly round. Keep in mind, though, that the outline should not pass through the stem and leaf shapes.

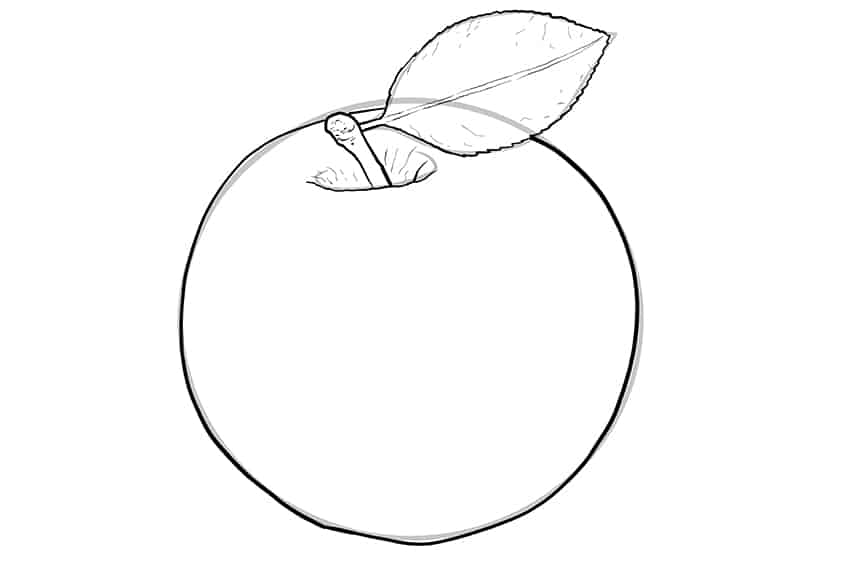
Step 6: Create the Outline of the Stem and Leaf
Outlining the leaf and the stem helps in adding little details to the indent. Follow the shape to ensure that the stem is appropriately outlined. To outline the leaf, a ragged line may be created to provide the desired effect. You should draw a centerline as well as some lines to give it a little more definition. You may also add additional lines to the indent to give it a three-dimensional appearance. The visible lines can now be erased.

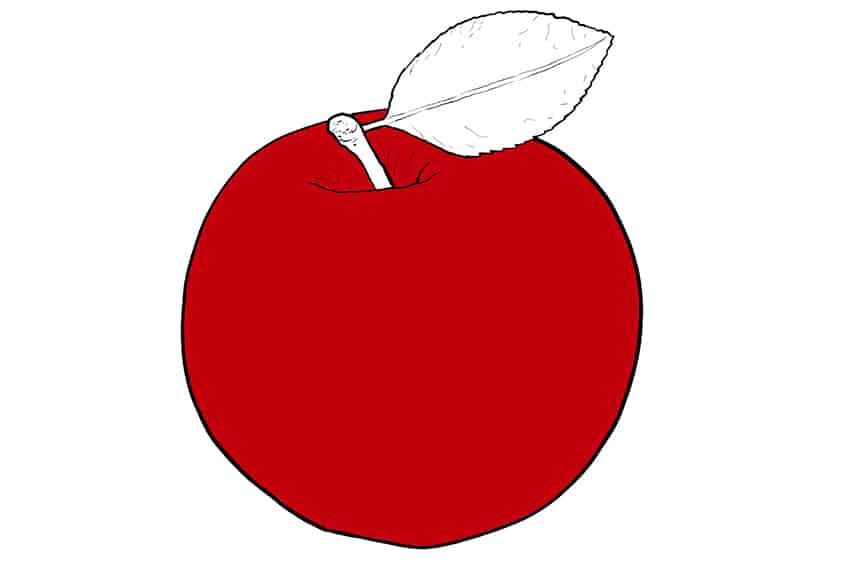
Step 7: Apply the First Coat of Color
In this step, the first coat of color is applied to our drawing. This is the first of two coats of color. Bright red will be used for this first one. Use a standard brush to fill in the drawing with color, be careful to fill it in uniformly while making sure that the stem and leaf are not coated with color at all.

Step 8: Add Some Highlights
In order to create some realistic proportions in the drawing of an apple, it is often necessary to add highlights to the sketch first. Highlights may be added below the indent as well as to the right side of the indent using a light blending brush and white paint. In addition, certain highlight streaks run from the bottom of the apple to the middle, creating a contrasting effect. You may also include a few highlight spots on the left and right sides of the sketch’s outline to make it more visually appealing. Smooth and complete the highlights by using a clean blending brush.

Step 9: Apply the Second Coat
Next, we will apply a second coat of color to the apple using a blending brush. Because no apple is completely red, we use a dark yellow tint to enhance and bring out some color from the indentation.


Tip: A blending brush can be used to create a smooth transition between the two coats of color.
Step 10: Add Texture to Your Drawing
You are now ready to introduce a little texture to your apple sketch. To begin, paint with a fine brush and some yellow paint. Next, for extra texture, start adding some random spots to your drawing. Make sure that the texture follows the curvature of your apple sketch’s outlines.
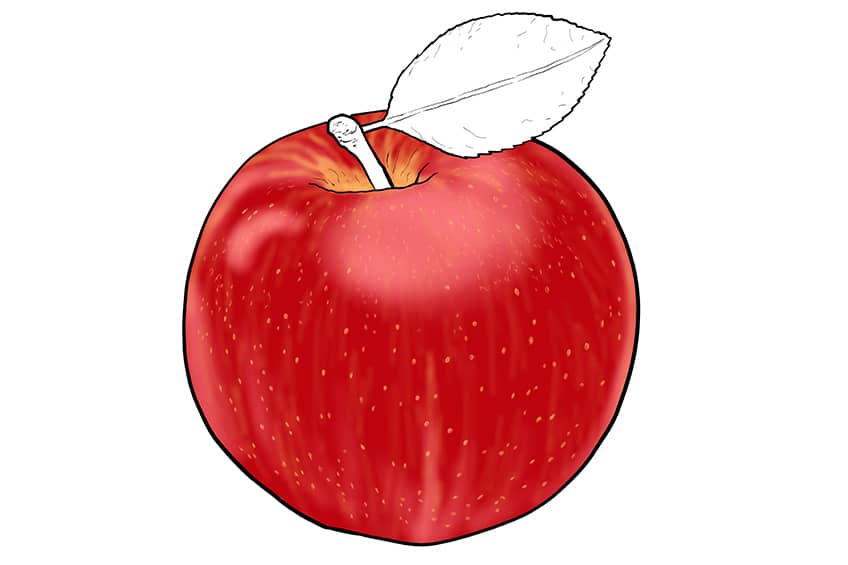

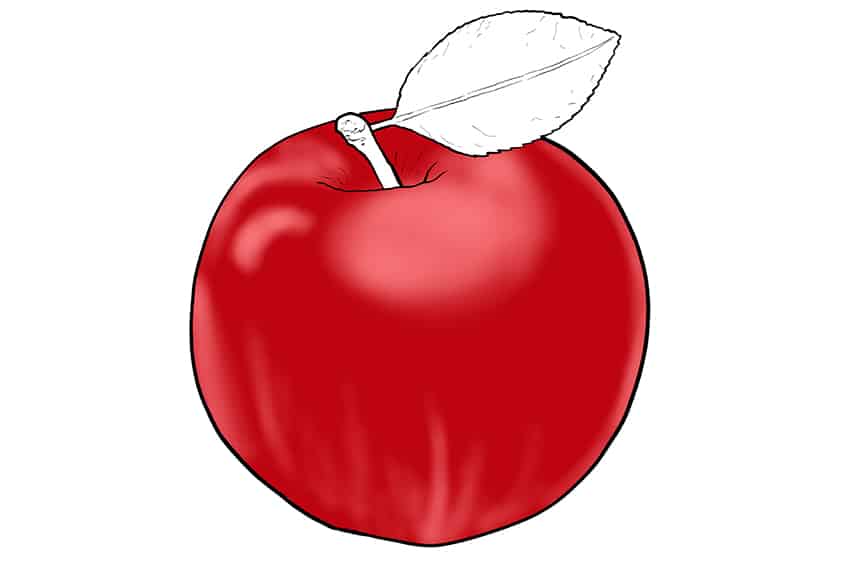
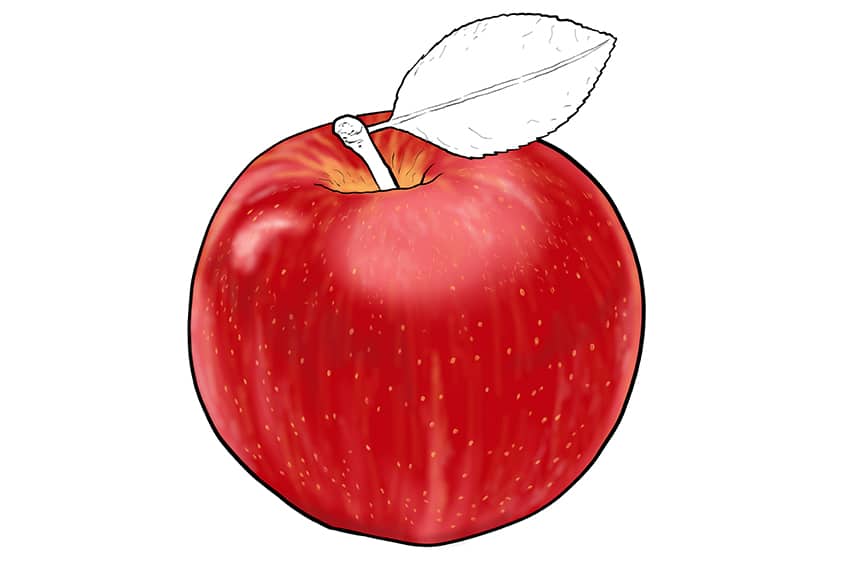
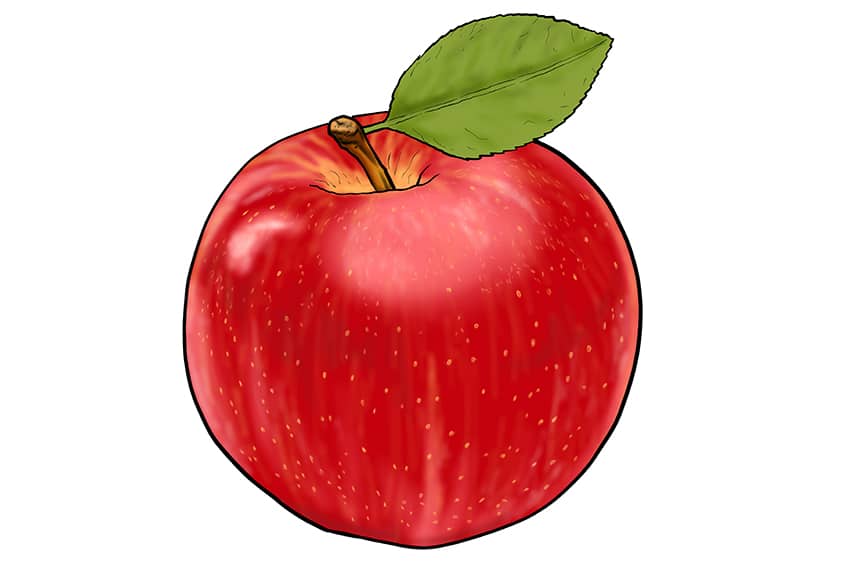
Step 11: Add Final Highlights to Your Drawing
To add final highlights to your apple sketch, start by using a fine brush and white paint to accentuate the highlights that have already been applied. Make sure the new highlights are more apparent than the previous ones. This phase must be completed with the use of a clean blending brush. You may also add some black paint and shadows all around the apple shape if you want to be more creative. To create a three-dimensional look, emphasize the shadows around the apple’s outline.

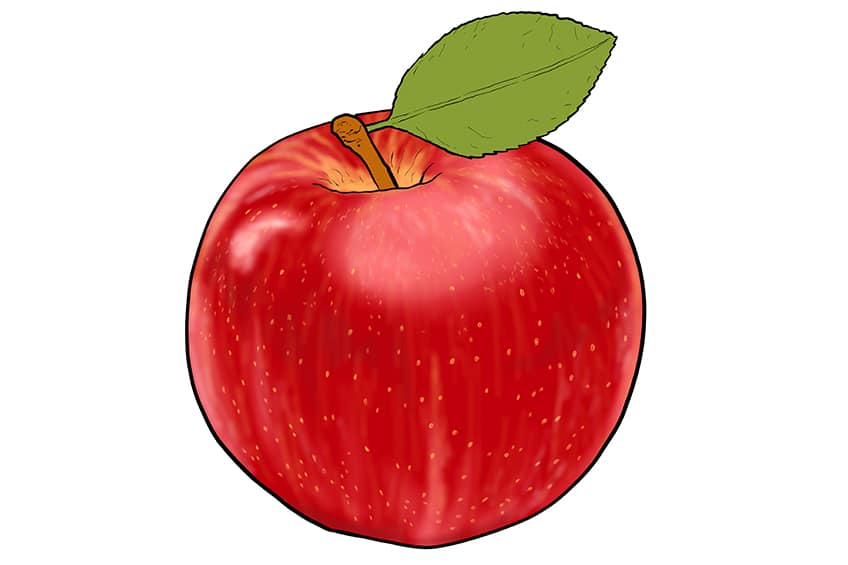
Step 12: Color the Leaf and Stem
You’re now ready to begin coloring the stem and leaf. Begin by applying a base color coat to the surface. When painting the stem, a fine brush and a light brown color are required. Alternatively, for the leaf, use a green shade of paint and a regular brush. Make absolutely sure you fill the leaf and that you apply an even coat.

Step 13: Add Some Shadow to the Apple Stem
This step involves adding some dimensions to the stem. You should use black paint and a blending brush to accomplish this. Begin by applying the black paint to the top of the stem, leaving the very top of the step lighter in color. Complete the step by bringing a few light lines of black paint down the stem.

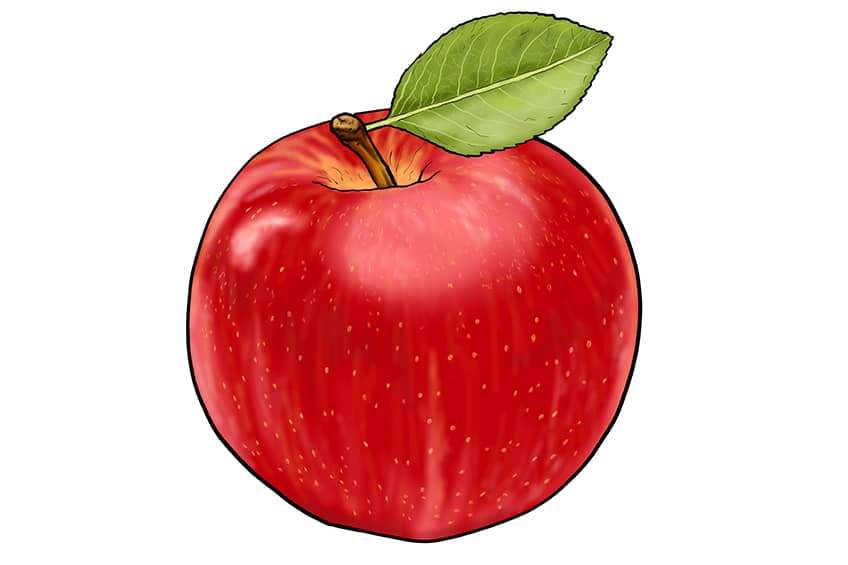
Step 14: Shade the Leaf of Your Apple Drawing
We will now shade the leaf in order to give it more genuine depth and dimension. Make the base of the leaf darker by mixing it with a blending brush and adding a little amount of black paint. Finish up by following the midline to carefully bring the shadow up.

Step 15: Finish Your Apple Leaf
In this section, we will complete the details of the apple leaf. This may be accomplished by following the veining of the leaf as well as applying highlights to it. A fine paintbrush and white paint can be used. Veins may be made somewhat squiggly in order to make them seem more natural. Use a blending brush and some white paint to draw attention to the lower portion of the leaf.

Step 16: Create the Shadow Below the Drawing
This phase involves bringing our apple drawing to life. This is performed by casting a shadow underneath the drawing. Softly shade around the bottom of the apple with a shading brush and a tiny bit of black paint. Then, using a soft and lean brush, fade the shadow out.


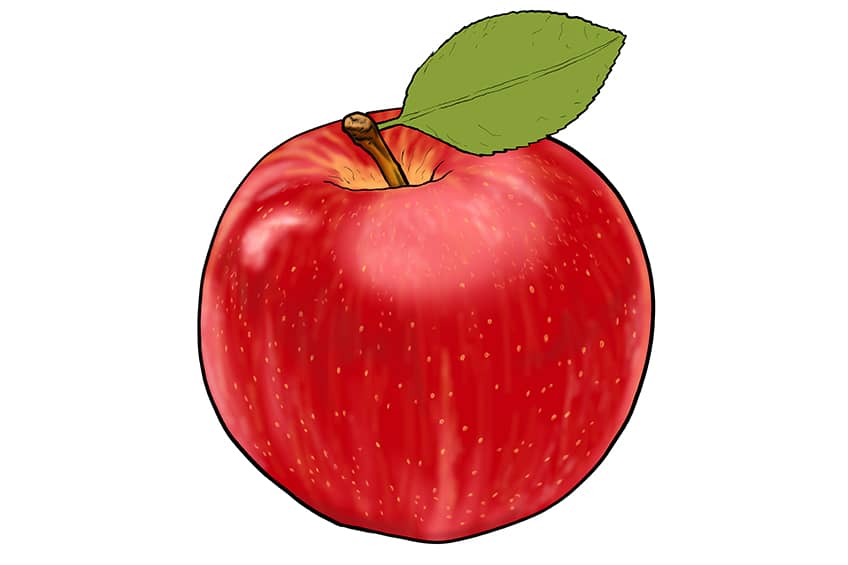
Step 17: Finalize Your Apple Drawing
To finalize your drawing, you’ll need a very fine brush. All of the points on the outline must be colored in with the appropriate color. A smooth drawing with no visible outlines can be achieved by methodically tracing over the shape of the apple as well as the leaf
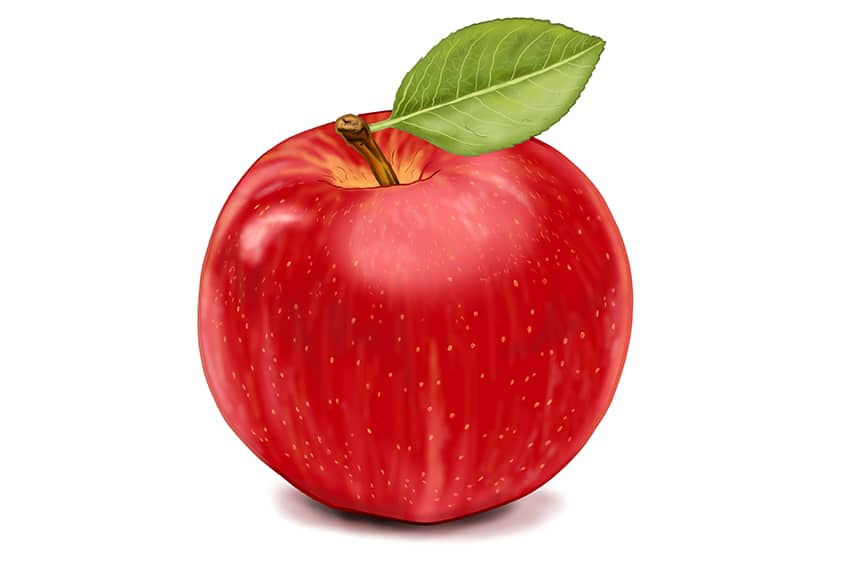

Hopefully, you found the process of drawing an apple to be enjoyable. Using just 17 simple steps, we demonstrated an easy method for making an apple drawing. You should now be able to draw an apple in a variety of colors and positions due to the skills gained from this tutorial.
Frequently Asked Questions
How to Draw an Apple?
Drawing an apple can seem to be challenging, but is a fairly simple process. In the tutorial, we have demonstrated in 17 simple steps that you can follow, how to create an amazingly easy apple drawing. We also show you how to construct, outline as well as color the apple drawing realistically.
How Do You Color a Realistic Apple Illustration?
Despite the fact that our apple lesson is centered on a red apple, red is not the only color that can be used. The red shade is simply used for creating a realistic apple shade and some yellow is added to provide definition and texture.