
Can You Stain Over Polyurethane? – How to Refinish Sealed Wood
This post may contain affiliate links. We may earn a small commission from purchases made through them, at no additional cost to you.
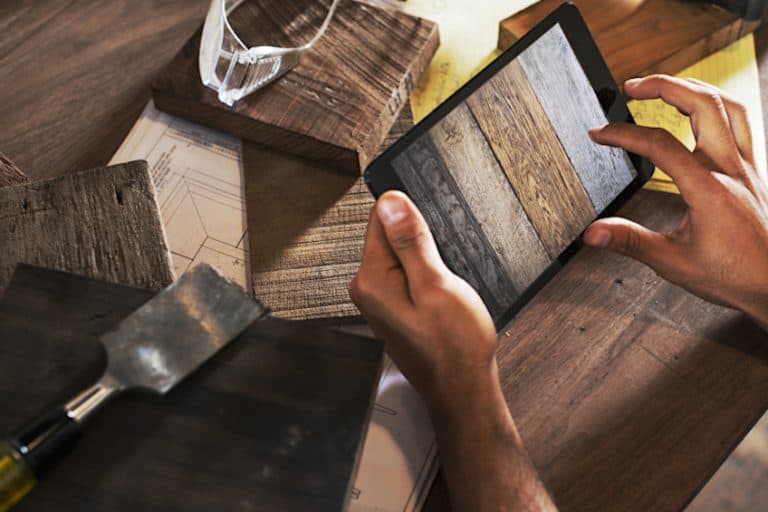
Modern materials have made it easy to protect our surfaces from things like water, impact, abrasion, and even things as simple as food stains. One of the most popular substances used to protect various surfaces from exterior damage these days is polyurethane. Polyurethane (PU) is one of the most durable and versatile substances on the face of the planet, and just like another commonly used surface coating called epoxy resin, is used in a number of industries all over the world. In the crafting industry, polyurethane is typically used to coat wooden surfaces like kitchen countertops, exterior wooden surfaces like benches and garden tables, and it can even be used to coat wooden roofing for small shelters like garden sheds. Although this is extremely useful, what happens if you decide that you’d like to stain your wood after you’ve applied a PU coating? Let’s have a look at whether or not you’ll be able to apply wood stain over polyurethane coatings, and if so, which stains work and what the best way to go about it is.
Table of Contents
Can You Stain Over Polyurethane?
Can you stain over polyurethane? Yes, it is possible to stain over polyurethane, but for you to understand how challenging this can be, it’s best if you understand what polyurethane is as a substance first. Polyurethane belongs to a group of polymers, which on a molecular level are joined together through little chains which is what provides polyurethane with its structural integrity and coveted durability.


Polyurethane coatings are essentially airtight, which means that there aren’t any pours for things like water and/or air to seep into. This means that substances like paint or wood stain typically just run off polyurethane, which is sort of the point of applying it to a surface. What if you wanted to get around this characteristic to apply wood stain though?
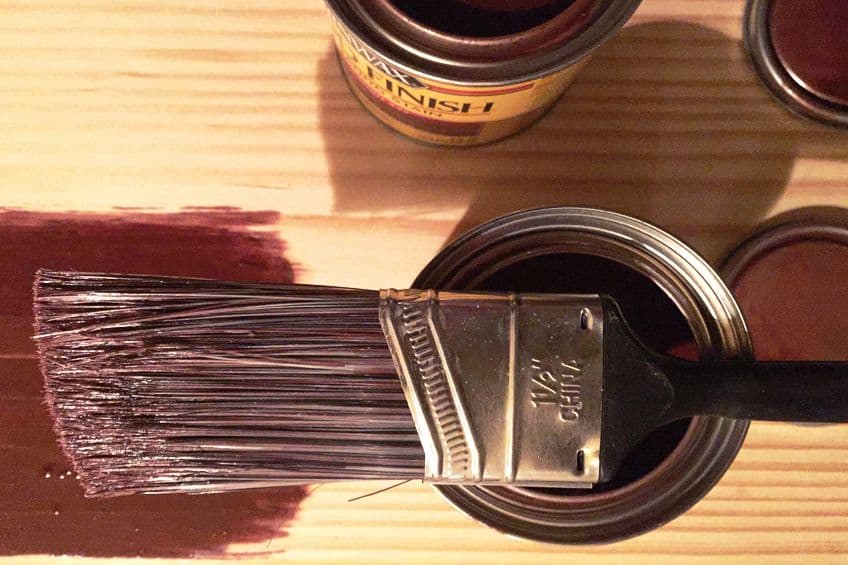
Well, you would need a particular type of wood stain, one that wouldn’t simply run off when it came into contact with the polyurethane surface, but what kind of wood stain is capable of this? The answer is gel-based wood stain! Using gel stain over polyurethane is pretty much the only choice you have if you intend to stain your wooden surface but cannot (or don’t want to) remove the existing polyurethane finish.

Using gel stain over polyurethane is easy and will ensure that your surface is adequately stained, although as you can imagine, with a layer of polyurethane between the wood and the gel stain, the effect won’t be exactly the same compared to if the wood and stain were in direct contact with one another. This being said, if you’re working on a time-sensitive project or simply don’t have the means of removing your polyurethane finish before applying your wood stain this is pretty much your only option.

Also, if you’ve decided that you’re going to go through with using gel stain on your polyurethane surface, you should keep in mind that you won’t actually be staining the wood. Polyurethane contains some of the same elements that gel stain does, so essentially all you’ll be doing is transferring the color of the gel stain to your existing polyurethane coating.
| Type of Wood Stain | Does It Work on Polyurethane? |
| Oil-Based Wood Stain | ✘ |
| Water-Based Wood Stain | ✔ (only on water-based PU) |
| Gel-Based Wood Stain | ✔ |
| Lacquer | ✘ |
| Metalized Dye Stain | ✘ |
| Varnish | ✘ |
What You Should Consider When Staining Over Polyurethane
There are a few things you should keep in mind when staining over polyurethane finishes. Remember that polyurethane is designed to protect your wooden surfaces from damage and corrosion, and you’ll essentially be trying to bypass this key characteristic to achieve your desired aesthetic. Here are a few things you should keep in mind when attempting to stain over polyurethane finishes that should ensure you always get the best finish possible.

Use a Darker Finish if Possible
Regardless of whether you’re staining over polyurethane or any other type of finish, you should always do your best to aim for a darker color. Why? Well, existing finishes typically have their own color, and you’d like the color you have selected to be the dominant one. Although polyurethane typically doesn’t have any color to speak of, the wood underneath does, so the goal here is to overpower the existing color with your gel stain.

This doesn’t mean that a lighter gel stain won’t work, but the overall effect won’t be nearly as impressive. Using a darker stain won’t only ensure that your color stands out either, using a darker shade of gel stain will also assist in the hiding of any imperfections present on the surface of your workpiece, which is great if the polyurethane surface you’re working with has taken some damage over time.
Avoid Using a Power Sander
Although this might seem a bit counterproductive to the task at hand, using a power sander in this instance won’t work to your advantage. Power sanders (belt sanders in particular) are typically used to remove a surface coating completely, and while you might think this is a good idea, when staining over polyurethane you do not want to remove all of it.
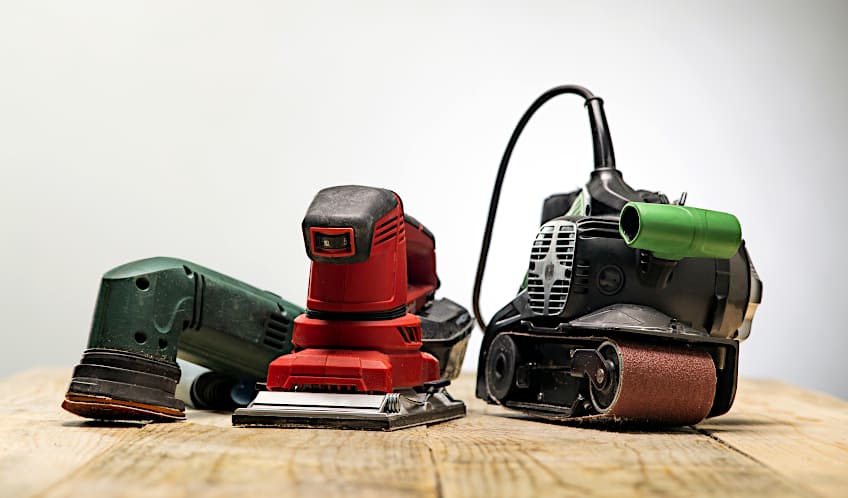

Why? Removing all of the polyurethane coatings might actually make your workpiece harder to stain because of the way the polyurethane seeps into the grain of the wood. The goal here is to remove on the topmost layer and expose some of the polyurethane that hasn’t been conditioned through exposure to the environment. For this, we recommend using some sandpaper or a sanding block instead.

While we’re on the topic of sanding, you should do your best to not sand along with, as opposed to against the grain of your workpiece. This might seem obvious if you’re an avid woodworking enthusiast or seasoned crafter, but it’s an easy mistake to make if you’re new to working with these materials. Sanding against the grain will likely leave scratch makes that will protrude through your new stain.
Apply Your Stain Conservatively
If you’ve used stain previously then you know that applying as much stain as your workpiece can handle won’t really improve the quality of the finish. In fact, this could saturate the wood fibers and give you an entirely different finish to the one you were hoping for. The same principle applies when you’re staining over polyurethane.


When staining over a polyurethane finish you should do your best to apply your stain conservatively. Over-application will result in longer drying times which means that you’ll have to wait for quite a while to figure out if more stain is needed or not. Secondly, over-application often results in really botchy, inconsistent finishes.
Ensure That Your Wood Is in Acceptable Condition
While we don’t say it out loud, it doesn’t matter how well you maintain your wooden workpieces, they will eventually age, crack, and fall apart? Depressing? Definitely, but it’s a reality that we all need to accept, especially if you’re considering resurfacing a wooden workpiece. Why is this important? Well, if you’re sanding or staining over an existing stain and your wood is all but falling apart, it won’t do much good.

If the grain of your wood is worn is beginning to split, attempting to stain over it could simply exacerbate the decay, and you’ll find yourself essentially putting loads of your time, effort, and money into what is soon to be scrap wood. This being said, give your workpiece a thorough once-over before you begin the staining process to ensure it’s a good shape.
How to Stain Over Polyurethane Finishes
Using gel stain over stained wood or wood coated with a polyurethane finish can be tricky, thankfully we’ve created a short tutorial for you to follow to ensure that you’re left with the best finish possible. Remember that the key to working with wood treatments like stain is patience, and a bit of practice doesn’t hurt either, so if you have some spare wood to practice on, we recommend giving that a go before moving on to your actual workpiece. Here are a few things you’ll need:
- Some gel-based wood stain (obviously)
- Some gloves
- A sponge
- A microfiber cloth
- A tarp or some old newspaper
- Sanding paper or a sanding block
- A face mask
Prepare Your Workspace
Whether you’re using gel stain over stained wood or using it to stain over a polyurethane finish, you’ll need to prepare your workspace. Remember that wood stain contains volatile organic chemicals that can cause serious discomfort if inhaled or if they come into contact with your skin or eyes. This being said, always wear your gloves, face mask, and eye protection when working with chemicals like these.
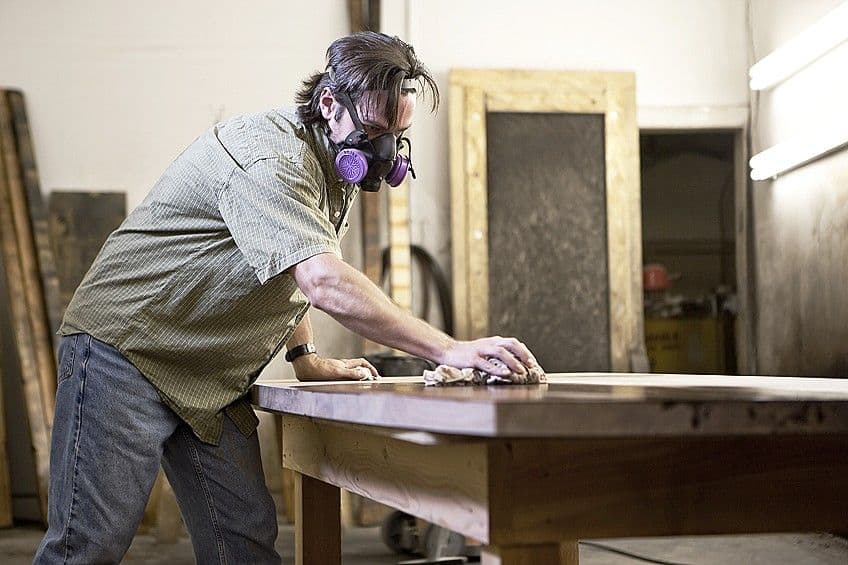

When it comes to your workspace, you want to do your best to prepare for any spills or splatter. How do you do this? All you need to do is lay down a tarp or some old newspaper on the floor of your work area and on the surface of your work table. You can secure these coverings with some painter’s tape to ensure they don’t move around while you work.
Finally, ensure that your workspace has adequate ventilation. Preferably, you’d like a nice consistent flow of air to ensure that any fumes are dissipated as quickly as possible. Once you’re happy with your workspace, ensure that you have all of the aforementioned tools ready before moving on to the next step in the process.


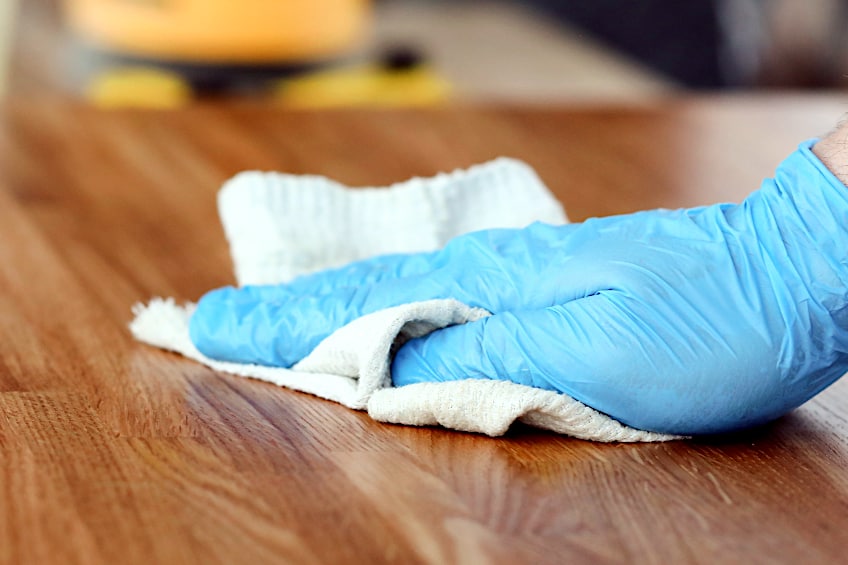
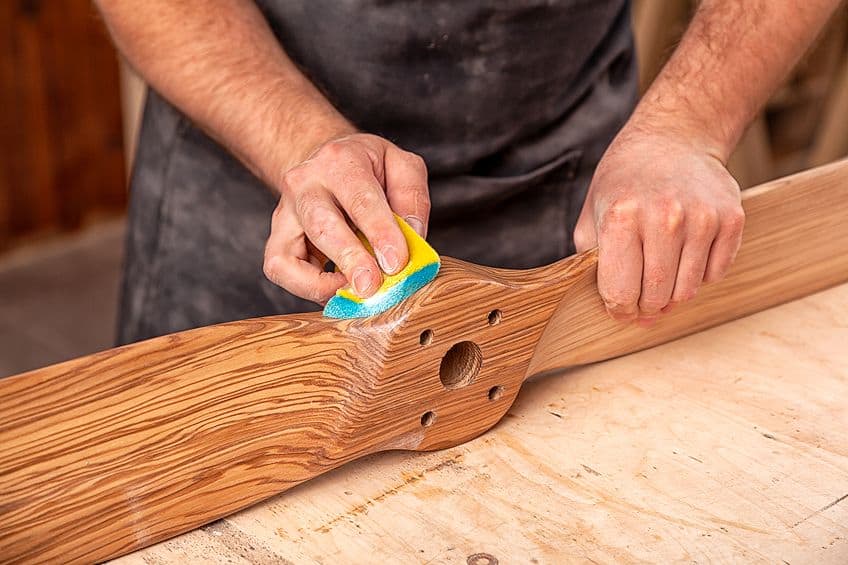
Clean Your Workpiece
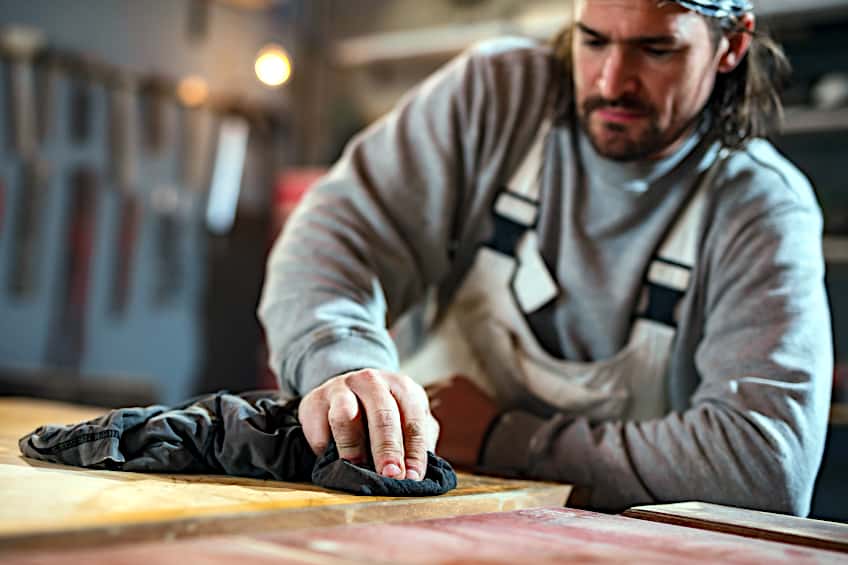
When staining any wooden workpiece, you need to ensure that it is as clean as possible. Any dirt or wood dust can contaminate your stain and ruin your finish, so it’s best to ensure that your workpiece is as clean as possible. Since you’re staining over polyurethane though, this part of the process will take far less time. How do you clean your polyurethane surface you ask?
The best way to clean polyurethane is with a combination of denatured alcohol and some water. Mix these two together thoroughly and get your hands on a clean cloth. Next, dip your cloth into your cleaning solution and give your workpiece a good once over, making sure to get any dirt or grime trapped in cracks or recesses along the way.
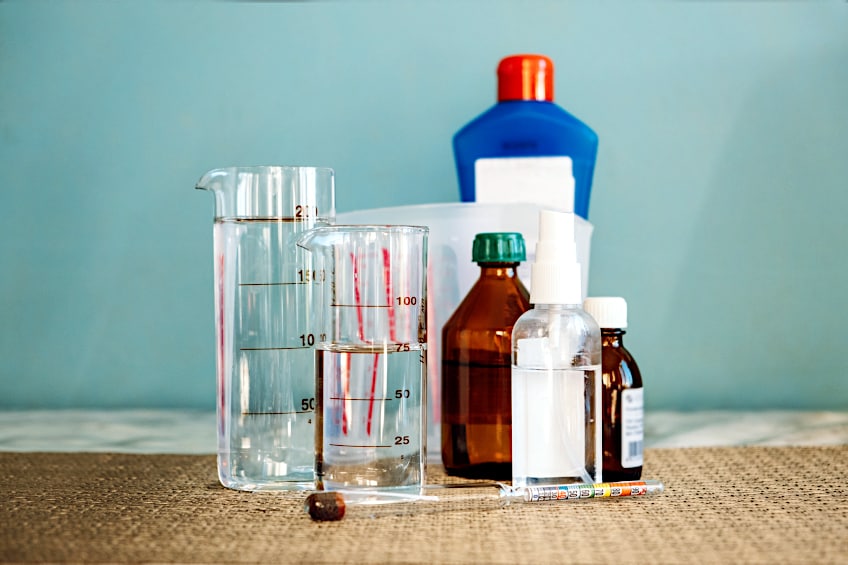

If you don’t have any denatured alcohol (or simply don’t have the time to get some) feel free to use regular soap and water to get the job done. Once you’re satisfied with the job you’ve done cleaning allow your workpiece to dry completely before moving on to the next step in the process.

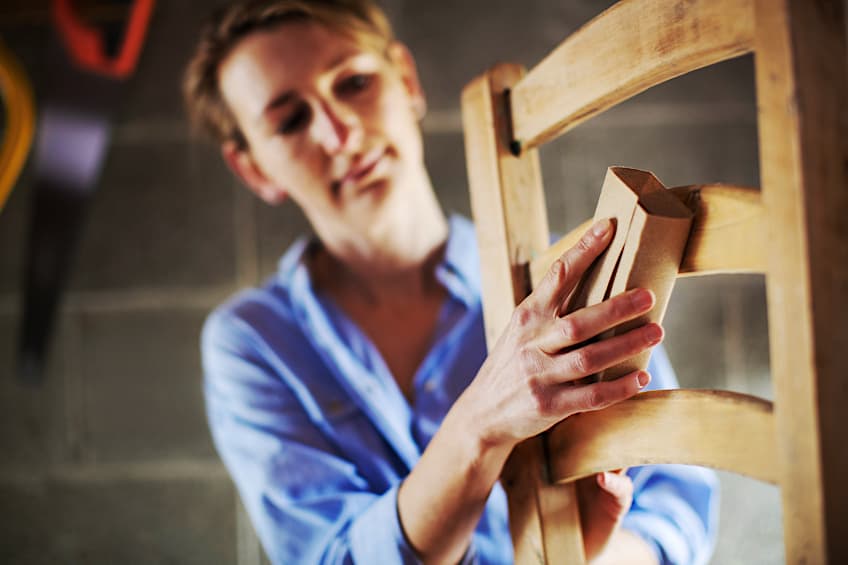
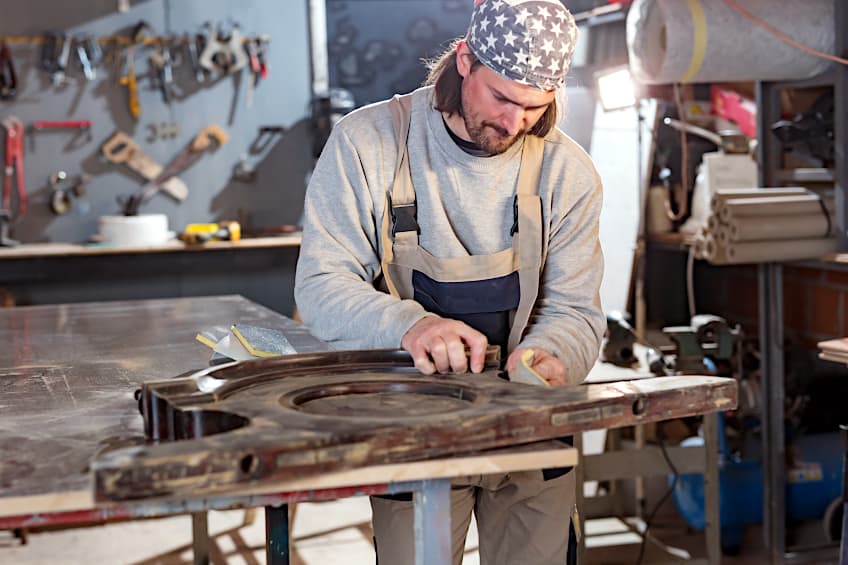
Sand the Surface of Your Workpiece
As you can imagine, after being exposed for so long your polyurethane surface may have some scratches and dents in it. Not to worry though, after all this is what it’s there for! These dents and scratches will affect your ability to apply the gel stain to your workpiece though, so it’s best to get rid of these before you start staining your workpiece.


When sanding your polyurethane, you should use fine-grit sandpaper, anything between 250 and 300 grit should do just fine. The goal here is to remove any scratches and dents while creating a surface with enough surface friction to facilitate the application of your new gel-based wood stain. Polyurethane is designed to be a smooth surface finish and therefore won’t allow your gel stain to adhere if it’s not scuffed up a bit.
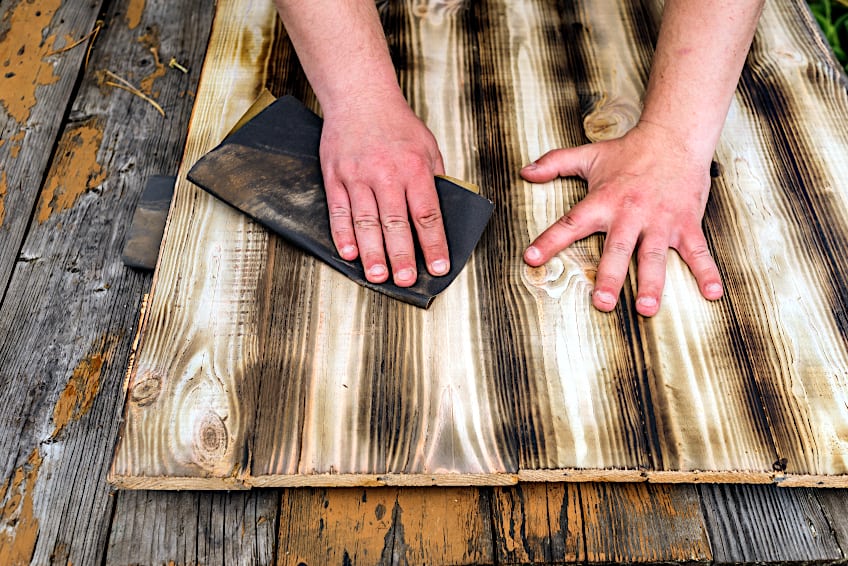

While you can use sandpaper for this portion of the preparation process you might be better off using a sanding block or sponge to get the best coverage possible. This doesn’t mean that sandpaper would do a poor job in this application, but it might have you dolling out some more elbow grease than you would with the sanding block.
Ensure that you sand with the grain of your wood and that and polyurethane dust produced during the sanding process is removed from the surface before you move on to the next step in the process. Also, ensure that you do not inhale any of these particulates as they can cause considerable discomfort if they get stuck in your respiratory system.
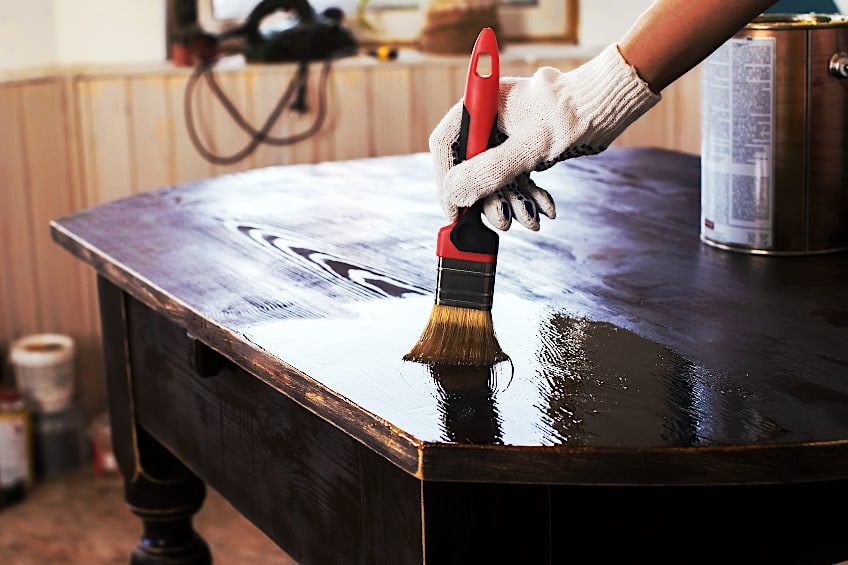
Apply the Gel Stain to Your Workpiece
Now that your workpiece is ready it’s time to apply your gel stain. For your first coat, dip your brush into the stain container and apply a thin, even layer of stain to your freshly sanded surface. Make sure that you don’t over- or under-apply for your first coat of stain as this will set the tone for the rest of the process.
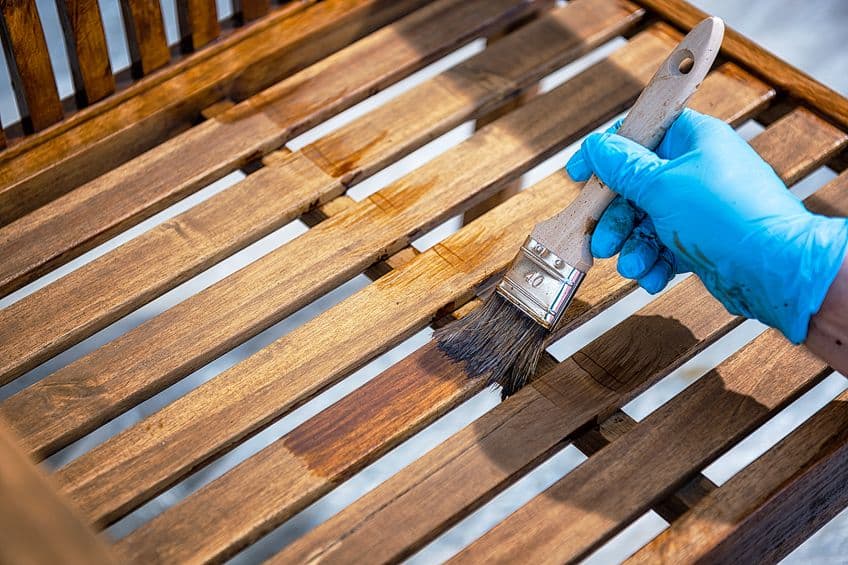

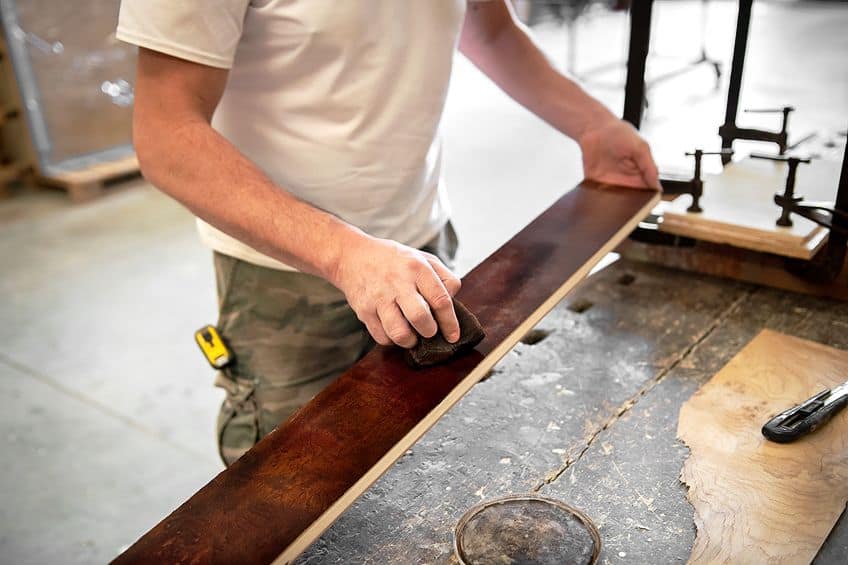
Around the edges of your workpiece, you’ll likely come across some excess stain. Use a clean cloth to wipe away any of the excesses on the edges and do the same thing on the surface of your workpiece. This part of the process is important because it will determine the overall texture of your finish, so feel free to take your time to ensure that you end up with the best finish possible.
Not sure how to go about this? One of the best ways to ensure that your workpiece has the gel stain applied adequately is to use your cloth to spread the stain in a circular motion, the same way an orbital sander would work away at a piece of the wood board. Once equally spread out, use the same cloth to wipe along the surface of the board following the grain, this helps make the application look a bit more natural.

Gel stain usually takes between three to five hours to dry completely but since no two products are completely the same be sure to follow the manufacturer’s instructions. Once dried, feel free to apply as many coats as you’d like to achieve your desired color, just ensure that you allow each coat to dry completely before you apply another.
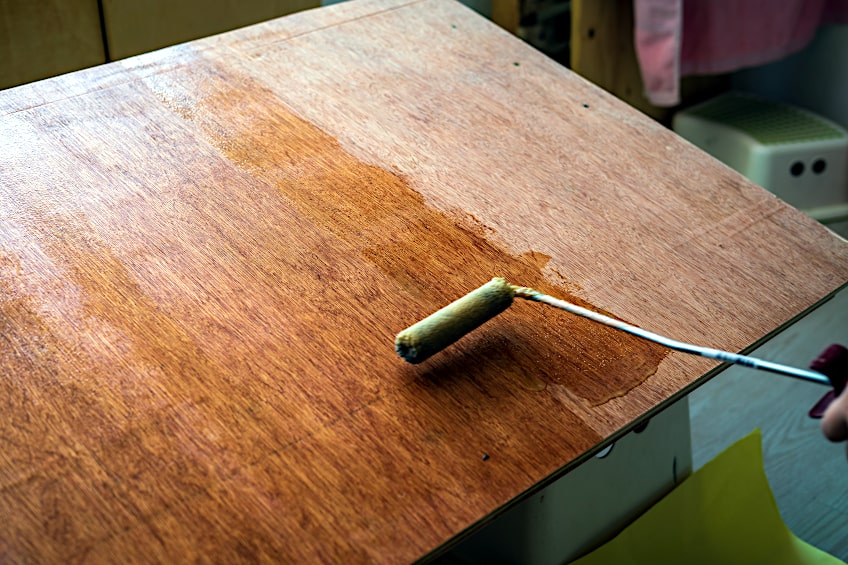

Seal Your Stain
Unlike oil-based stain gel stain is nowhere near as durable. Because of this, it’s a good idea to ensure that your stain is properly sealed to protect it from things like impact, abrasion, heat, and moisture damage. What is the best way to seal a gel-based stain you ask?
Well, you could use an aerosolized clear coat to get the best coverage, but a conventional clear coat should do a decent job too. Remember that the reason you’re staining your workpiece is to achieve a certain look or color, therefore you probably shouldn’t use a sealer or clear coat that has a color of its own.
Stain and Polyurethane in One
Wondering if you can get your stain and polyurethane in one? You can! The Minwax team has developed their unique Polyshade technology which acts as both a polyurethane coating and as well as a potent wood stain. This means that you get the best of both worlds in terms of protection for your workpiece and aesthetics.

Minwax offers a variety of finishes for a variety of wood types, all of which provide you with the highest quality color finishes in addition to long-term durability. It’s also a lot easier to use when compared to the effort needed to stain polyurethane, so why not give it a try? It’s relatively inexpensive and can be purchased both in-store and online for your convenience.
Now that you know that it is possible to stain over polyurethane, which types of stain can be used to stain over polyurethane, and the best way to go about doing so, it’s time for you to put your new-found knowledge to the test. Remember to always work in a well-ventilated area and to always wear the appropriate personal protective gear when working with wood stain.
Frequently Asked Questions
How to Use Gel Stain Over Old Stain?
Wondering how to use gel stain over old stain? Well, since gel stain can be applied to virtually any finish you will essentially follow the same process. After cleaning your existing finish thoroughly, sand away the majority of it and remove any residual material. Apply your gel stain evenly and allow it to set in and cure for the manufacturer’s recommended time period.
Is Gel Stain as Good as Regular Stain?
Gel stain is pretty versatile and can be used to cover or correct practically any existing finish on the market. Is it as good as other stain types though? Well, this depends on the application. While oil-based stains seep into the wood’s fibers to protect it both internally and externally, gel-based stains only protect the exterior of the wood, so it’s not as durable or robust as other stain types.
Do You Have to Seal Gel Stain?
As we mentioned previously, gel-based stains are nowhere near as durable as more conventional stain types. This being said, if your workpiece will be situated outdoors or in heavily trafficked areas it’s always best to seal it to ensure that no harm comes to your finish. Sealing a gel-based finish is easy and doesn’t take much time either.