
How to Draw a Donut – A Sweet Treat Drawing Guide
This post may contain affiliate links. We may earn a small commission from purchases made through them, at no additional cost to you.
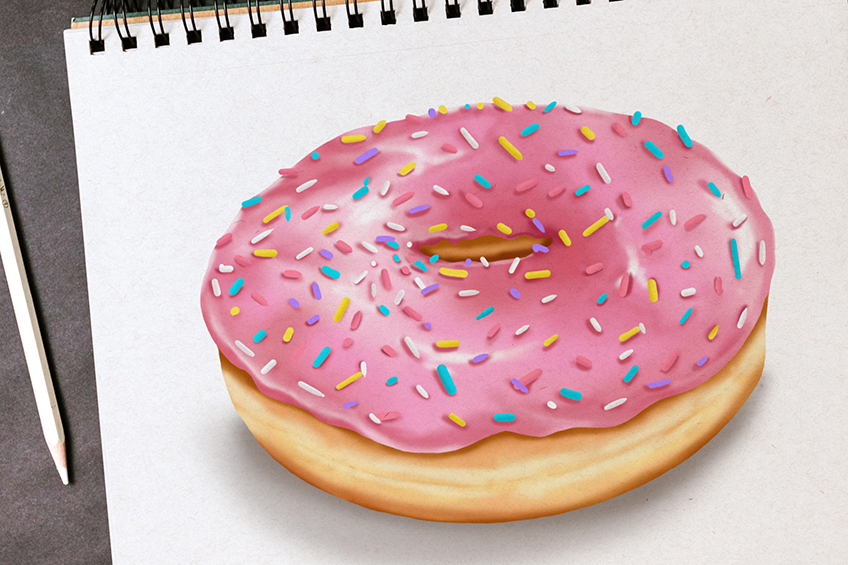
Delicious donuts topped with icing and sprinkles will put a smile on anyone’s dial! In this fun and easy-to-follow guide, we will be showing you how to draw a donut. Donut illustration is quite popular in pop culture, and today’s donut image is very similar to the ones seen on the famous television series The Simpsons. Donuts come in all shapes and sizes, but for today’s drawing challenge, you will create a donut with pink icing and rainbow sprinkles. By the last page of this lesson, your sugar cravings will be kicking in, so be sure to take a small break for tea and a donut, of course!
Table of Contents
- 1 How to Draw a Donut in 17 Easy Steps
- 1.1 Step 1: Creating the Foundation Outlines of Your Donut Drawing
- 1.2 Step 2: Making the Center Hole of Your Donut Outline
- 1.3 Step 3: Sketching the Final Outline of Your Donut Drawing
- 1.4 Step 4: Adding the Final Foundation Line of Your Donut Drawing
- 1.5 Step 5: Begin to Add the Color Coat to Your Donut Outline
- 1.6 Step 6: Applying the Base Color to the Icing of Your Donut Drawing
- 1.7 Step 7: Contouring and Adding Definition to Your Donut Drawing
- 1.8 Step 8: Defining Your Donut’s Outline
- 1.9 Step 9: Creating the Sprinkles of Your Easy Donut Drawing
- 1.10 Step 10: Shading the Icing of Your Easy Donut Drawing
- 1.11 Step 11: Add Highlights to the Icing Layer of Your Donut Sketch
- 1.12 Step 12: Shading the Outline of Your Donut Illustration
- 1.13 Step 13: Adding Definition to the Sprinkles of Your Donut Illustration
- 1.14 Step 14: Removing the Foundation Outline of Your Donut Sketch
- 1.15 Step 15. Enhancing the Highlights of the Sprinkles
- 1.16 Step 16: Shading the Inner Part of the Donut Sketch
- 1.17 Step 17: Completing the Final Step of Your Donut Illustration
- 2 Frequently Asked Questions
How to Draw a Donut in 17 Easy Steps
Any experienced artist will tell you that drawing on a page can be tricky because it is all about the dimensions. It is easy to put a pencil or paintbrush on paper, but how do we ensure that the thing we are drawing, or painting does not look two-dimensional and flat? The donut is circular and oval. You will need to draw this shape by using foundation lines in the first stages before adding color and depth. See the diagram image below for an idea of how we will break up the easy donut drawing into steps.


The coloring stage is where you as the artist can choose whatever medium you feel comfortable with. When it comes to adding color to your donut drawing, you can use paint or colored pencils. This tutorial was designed for a painting medium, but it is easily adaptable to other mediums.
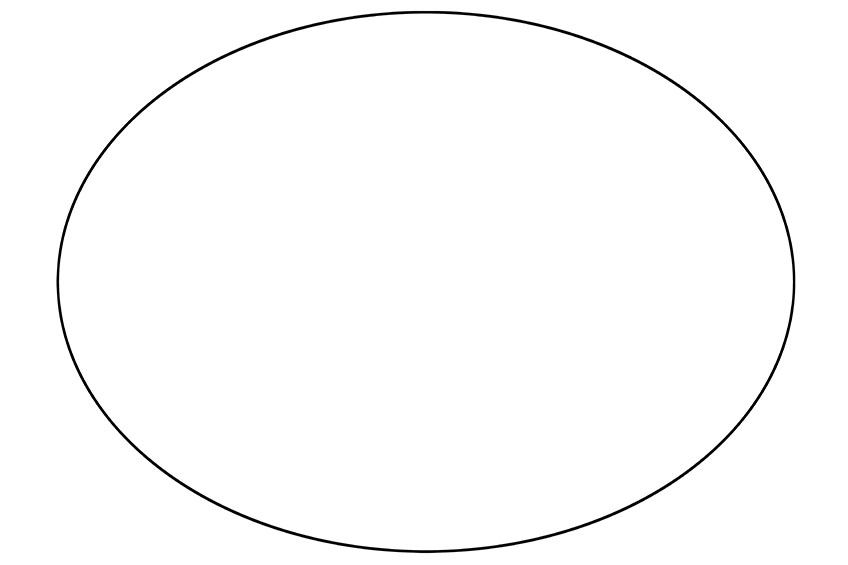
Step 1: Creating the Foundation Outlines of Your Donut Drawing
The first step of this donut drawing tutorial will be to draw a large oval shape in the middle of your page. This oval shape will be used as foundation lines for your donut outline. These construction lines will be rubbed-out at a later stage. Be sure to choose a light pencil for this beginning stage. If you chose to draw on a digital medium, use a separate layer for the foundation line so that it can be easily removed.

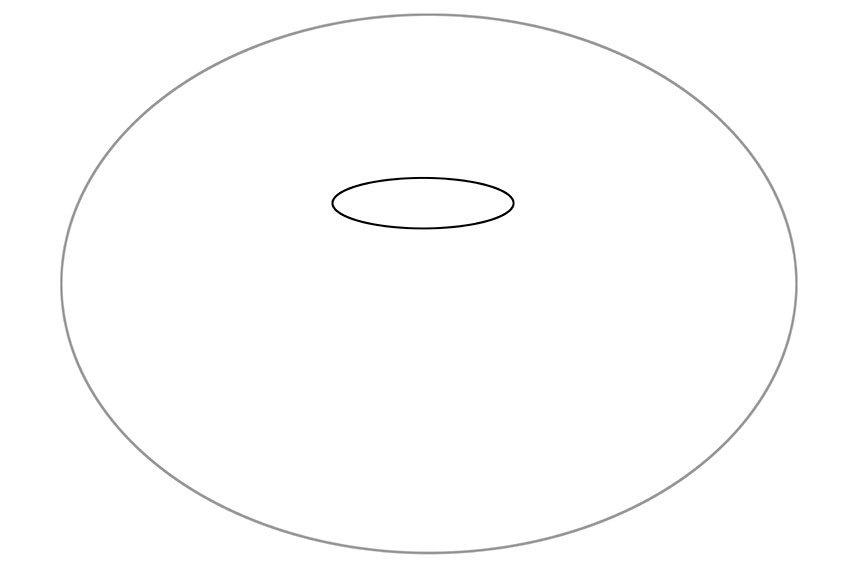
Step 2: Making the Center Hole of Your Donut Outline
In this step, you will make the donut center hole. However, that does not mean that the hole should go into the center of your oval donut shape drawn in step one. In the introduction, we spoke about dimensions, this step is important because you will be setting the foundation lines to make them seem rounder from a side angle.
To do this, you must draw a small and narrow oval shape towards the middle top of your oval donut shape from step one.

Step 3: Sketching the Final Outline of Your Donut Drawing
You now have a basic donut foundation shape in place, and it is time to draw the final donut outline. You can apply this with a darker pencil or a drawing pen. Draw a wiggly oval shape outline on the top of the foundation oval shape. This wiggly line will become your donut’s icing border. You can now sketch two small lines on either side of your oval shape. This will be the dough of the donut.
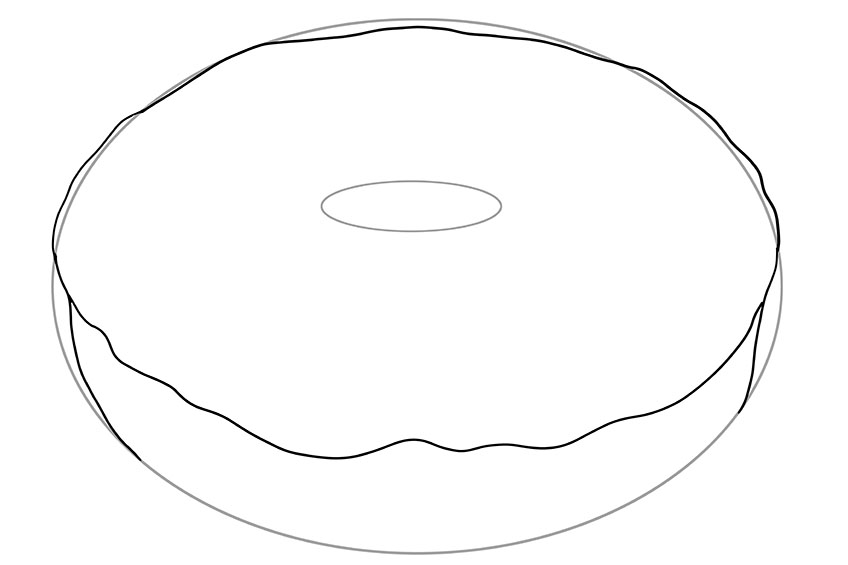

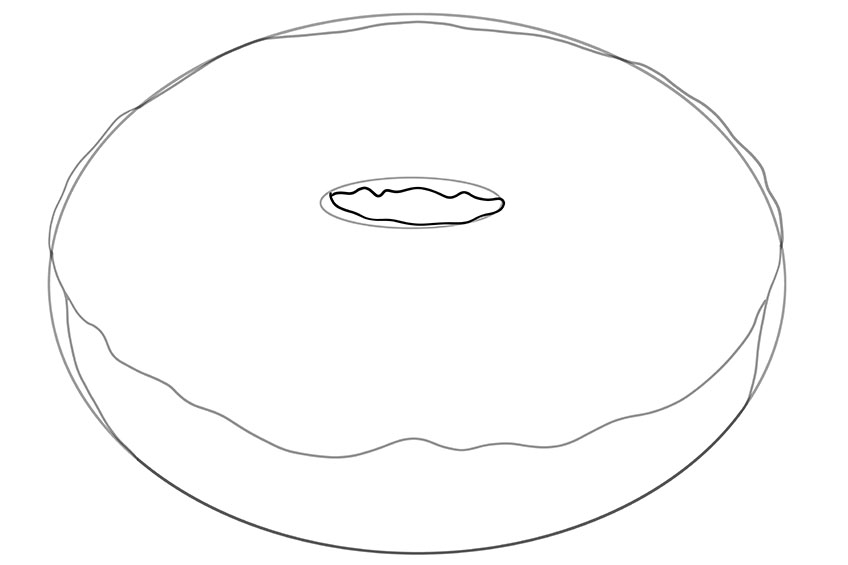
Step 4: Adding the Final Foundation Line of Your Donut Drawing
This phase has two parts. Sketch a line at the bottom part of your donut drawing by connecting the two short sidelines you drew in step three. Then, you can trace over the center oval shape and make that wiggly to match the donut’s icing lines. You may erase the foundation lines from steps one and two. Should you be using a digital design tablet, you can remove the first foundation line.

Step 5: Begin to Add the Color Coat to Your Donut Outline
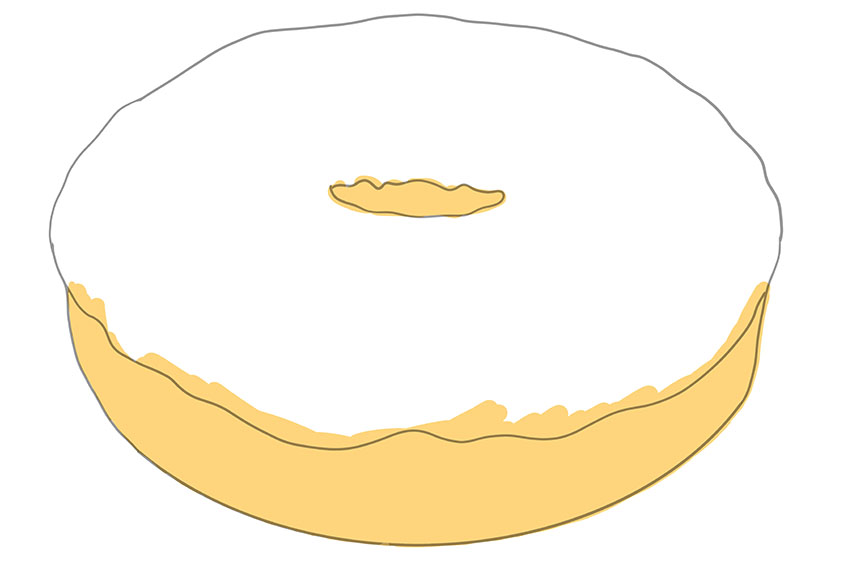
You have completed the outline phase of our how-to draw a donut tutorial. In this step, you will begin adding the color base coat to your easy donut drawing. First, you will focus on the dough of the donut. You can use a golden–yellow paint and a regular paintbrush or colored pencil. Apply a light base coat to start.
Only paint the bottom half and the center donut hole. See the image below for inspiration.

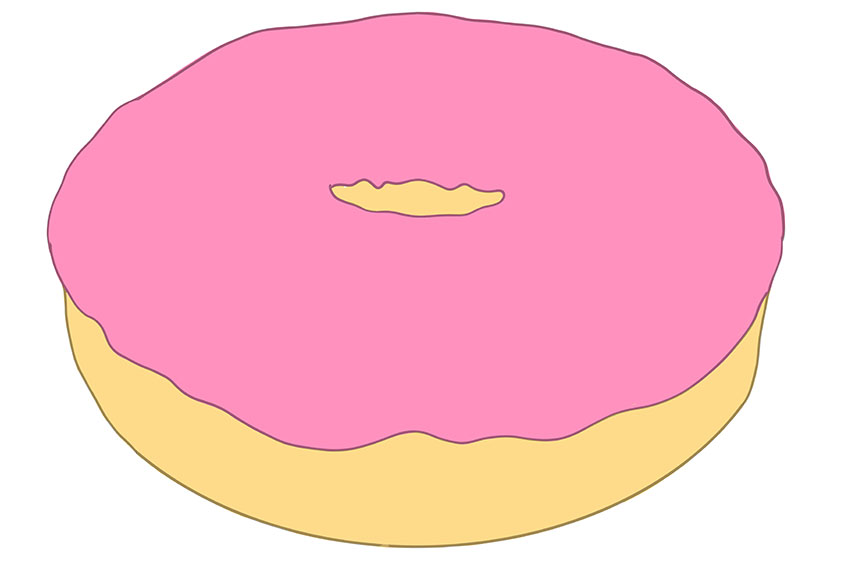
Step 6: Applying the Base Color to the Icing of Your Donut Drawing
You will now begin applying the base coat color to the donut sketch’s icing. You want to make this donut bright and fun, just like the donut from the television show The Simpsons. Take a regular paintbrush or colored pencil, then choose a shade of pink paint and apply a base coat layer to your donut drawing.

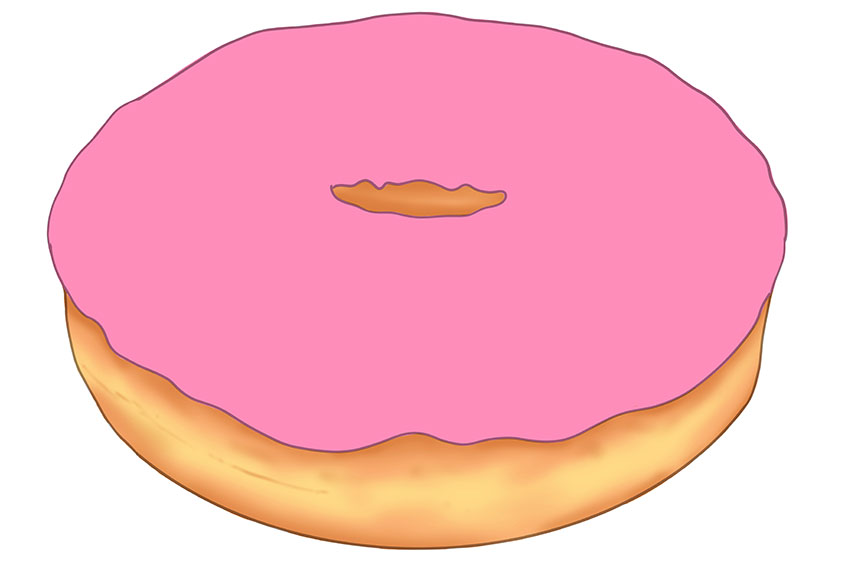
Step 7: Contouring and Adding Definition to Your Donut Drawing
Now that your base coat has been applied, it is now time to create definition and contouring to create depth. Take a caramel-colored paint or colored pencil and a small blending paintbrush. Gently blend this darker color shade on the bottom and edges of your donut outline. Then, do this again but, this time, on the edge of the donut’s icing.


Step 8: Defining Your Donut’s Outline
Your donut drawing should be starting to take shape, adding the base coats and contouring has begun, and you will add a defining outline. Take a sharp black colored pencil, pen, or sharp paintbrush and a touch of black paint. Trace around the outline of your donut, the icing, and the donut center.

Step 9: Creating the Sprinkles of Your Easy Donut Drawing
This is an exciting part of our easy donut drawing! It is time to add the colorful donut sprinkles to your donut icing. Choose the sprinkle colors you would like to use, and be creative! We suggest using purple, blue, yellow, dark pink, and white, but of course, you are the artist, and this is up to you! Take a small and sharp paintbrush or sharp colored pencils.
You will make short brush strokes or draw short lines and spots all over the top of the donut and randomly spread them out. See the diagram below for inspiration.

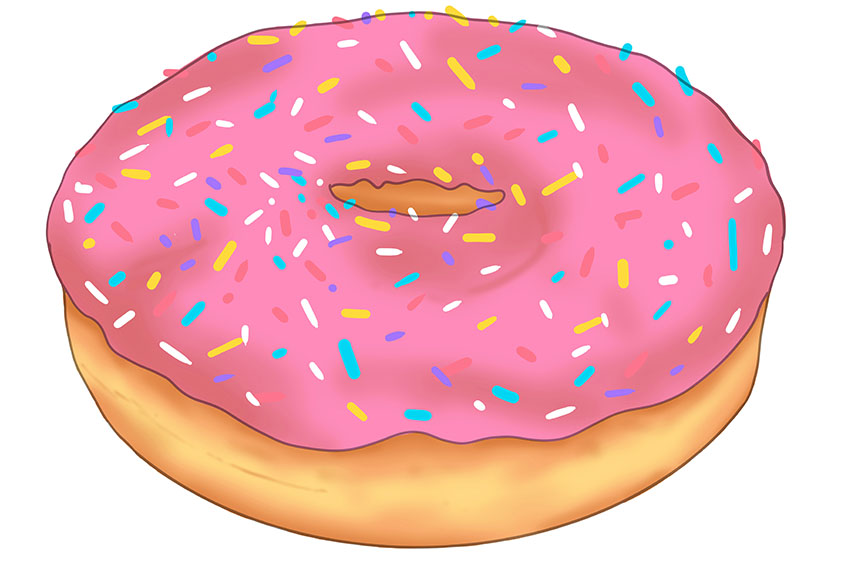
Step 10: Shading the Icing of Your Easy Donut Drawing
In this step, you will gently shade the icing of your donut. In the previous steps of this tutorial, you created shading and contouring to the dough part of your donut. You can do the same thing to the icing part of your donut sketch by taking a tiny touch of black paint and using a small blending paintbrush or a sharp black colored pencil. Gently shade around the edges of the donut’s icing and the center hole. Shading these areas will create the three-dimensional shape of your donut.

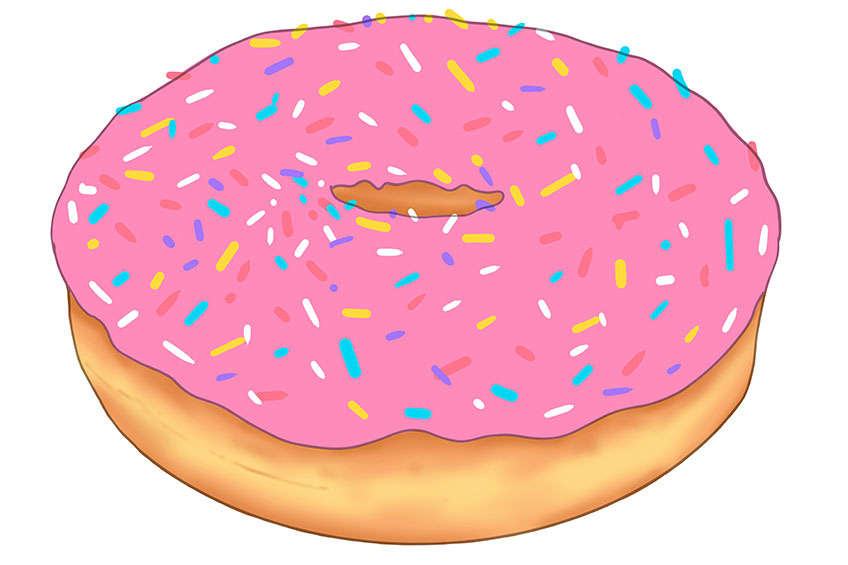
Step 11: Add Highlights to the Icing Layer of Your Donut Sketch
In this step, you will focus on adding highlights to the icing layer of your donut illustration. Take a blending paintbrush and dab it into some white paint. Gently add some highlights to the icing layer of your donut drawing. The idea is to add the highlights in the opposing spots to the contours.

Step 12: Shading the Outline of Your Donut Illustration
Take a soft blending brush and gently add shading to the outline of the edges of your donut. Use a touch of black paint to make the shadow of the edge of the icing. Less is more here, and you would rather add to the illustration as removing is very difficult.

Step 13: Adding Definition to the Sprinkles of Your Donut Illustration
This phase will require some time and patience. To create a definition for your donut sprinkles, you will need to add a tiny touch of black paint to create a shadow. Take a sharp paintbrush or a sharp colored pencil and gently add a light shadow to the one side of every individual sprinkle. This will create a three-dimensional look for the sprinkles.
Take as much time as needed with this step and try not to rush through it.

Step 14: Removing the Foundation Outline of Your Donut Sketch
To make our donut illustration look more realistic, you will need to remove the dark black outlines. For those of you using a digital design tablet, go ahead and remove the foundation lines and outline layer. For those who are painting or using pencils, just simply trace over the outline and soften them using the colors already used to create the base coat. In other words, use the pink from the icing or the caramel color of the dough of the donut.

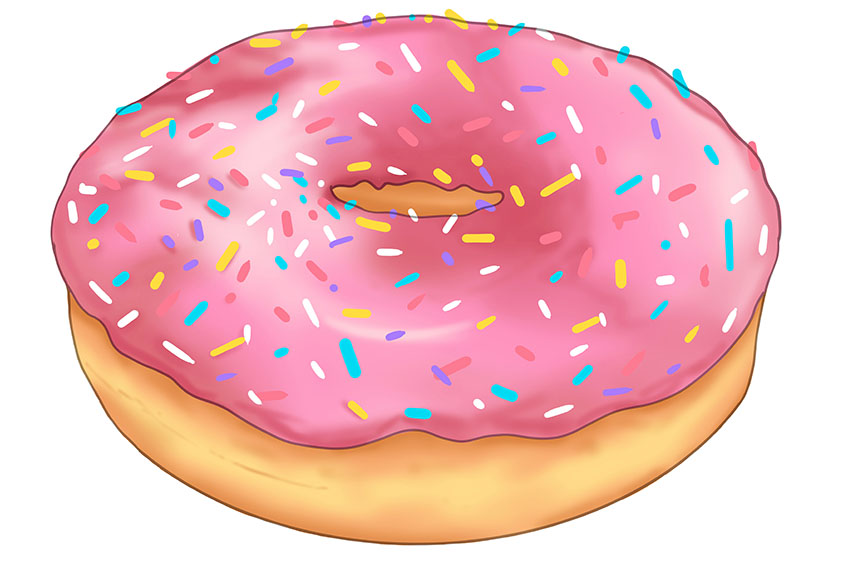
Step 15. Enhancing the Highlights of the Sprinkles
As you reach the final stages of our how-to-draw a donut tutorial, it is important to add the finishing touches. This is a method to enhance the contours and highlight the sprinkles of your donut illustration. In the previous step, you added shadows to the sprinkles by using black paint. You will now do the opposite and use white-colored paint or a sharp white colored pencil.
Add a tiny strip of highlight to every individual sprinkle. This will make them stand out and have a three-dimensional look.

Step 16: Shading the Inner Part of the Donut Sketch
You will shade the final part of the donut. Take a small soft paintbrush and a touch of dark brown paint and apply them to the bottom part of the donut and the inner donut hole.

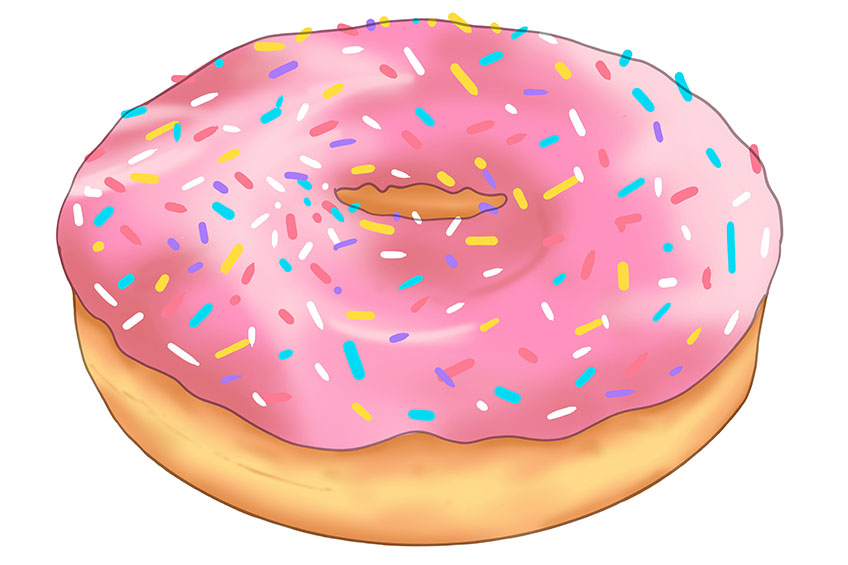
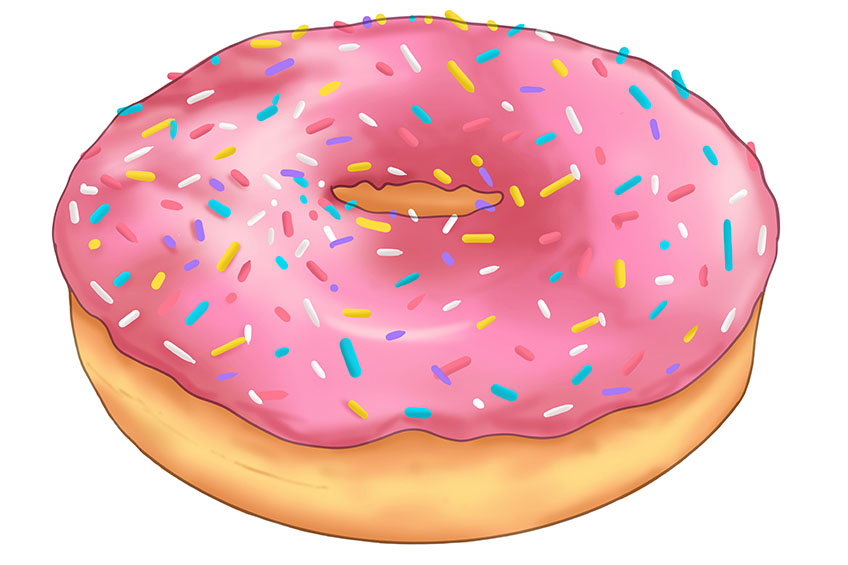
Step 17: Completing the Final Step of Your Donut Illustration
To finish our how-to-draw a donut tutorial, you can take a small soft paintbrush and white paint or a sharp white colored pencil. Gently add some highlights onto the top layer of your donut icing. Lastly, add a darker shade using a small blending paintbrush to shadow the bottom of your donut sketch.

Well done and congratulations! You have come to the end of our easy donut drawing step-by-step guide. We hope you learned a lot from this easy how-to draw a donut guide and that you will join us again for more fun, easy-to-follow step guides to drawing. On completion, you should be able to create the outline, add color, and shade the dimensions to illustrate a realistic donut. Are you in the mood to eat a donut now?
Frequently Asked Questions
How Do You Create a Realistic Donut Sketch?
In art and painting, the main ingredient to creating a realistic illustration is to master the concept of contouring and highlights. In this how-to-draw a donut tutorial, we look at the method of shading, highlighting, and contouring the icing, sprinkles, and donut.
What Is the Most Challenging Thing About Donut Illustration?
The challenging aspect of any illustration is getting the foundations and creating the correct perspectives and proportions right from the get-go. This donut drawing tutorial shows the donut from a side angle, and we will go through the methods of planning the correct outline to achieve the best result.