
How to Draw a Tulip – Catch Tulip Drawing Fever
This post may contain affiliate links. We may earn a small commission from purchases made through them, at no additional cost to you.
If you want to learn how to draw a tulip, you have come to the right place, because this national flower of Holland is the subject of today’s lesson. While this beautiful bulb had long been prized and cultivated in Turkey, traders introduced tulips to the Netherlands in the 17th century, sparking an absolute mania for these flowers that permanently fused the image of the tulip with its adopted country. We will start this simple 17-step guide with the tulip outline and develop foundation lines. We will also guide you on how to create texture and apply color to your image. This realistic tulip drawing guide was designed for beginners, but artists of any level will find this botanical drawing tutorial enjoyable.
Table of Contents
- 1 How to Draw a Tulip in 17 Easy Steps
- 1.1 Step 1: Draw the Stem of Your Tulip Outline
- 1.2 Step 2: Create the First Petal of Your Tulip Sketch
- 1.3 Step 3: Outline the Second Petal of Your Tulip Drawing
- 1.4 Step 4: Continue Adding Petals to Your Tulip Outline
- 1.5 Step 5: Complete the Petal Outline of Your Tulip Sketch
- 1.6 Step 6: Sketch the Central Leaf of Your Tulip Illustration
- 1.7 Step 7: Add the Second Leaf to Your Tulip Drawing
- 1.8 Step 8: Apply Texture to the Leaves and Petals of Your Tulip Drawing
- 1.9 Step 9: Create an Even Base Coat for Your Tulip Drawing
- 1.10 Step 10: Apply Color to the Stem and Leaves of Your Tulip Illustration
- 1.11 Step 11: Shade the Leaves and Stem of Your Tulip Drawing
- 1.12 Step 12: Add Highlights and Blend the Leaves of Your Realistic Tulip Drawing
- 1.13 Step 13: Apply Highlights to the Petals of Your Tulip Drawing
- 1.14 Step 14: Continue Applying Color to Your Realistic Tulip Drawing
- 1.15 Step 15: Remove the Outline of Your Tulip Sketch
- 1.16 Step 16: Shade the Outline of Your Tulip Illustration
- 1.17 Step 17: Complete Your Realistic Tulip Drawing
- 2 Frequently Asked Questions
How to Draw a Tulip in 17 Easy Steps
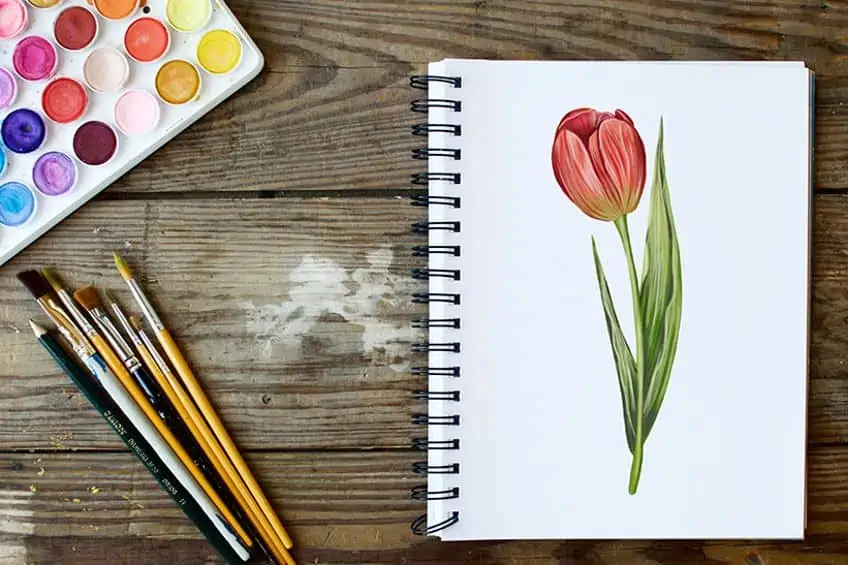
Before we begin this how-to-draw-a-tulip tutorial, have a look at how this guide illustrates the 17 steps that you will be instructed to follow. To create a realistic tulip drawing, you will need to start by drawing the foundation tulip outline and then move on to apply the base color and add shadows and highlights. Your realistic tulip drawing will have a three-dimensional look by the time your illustration is complete.
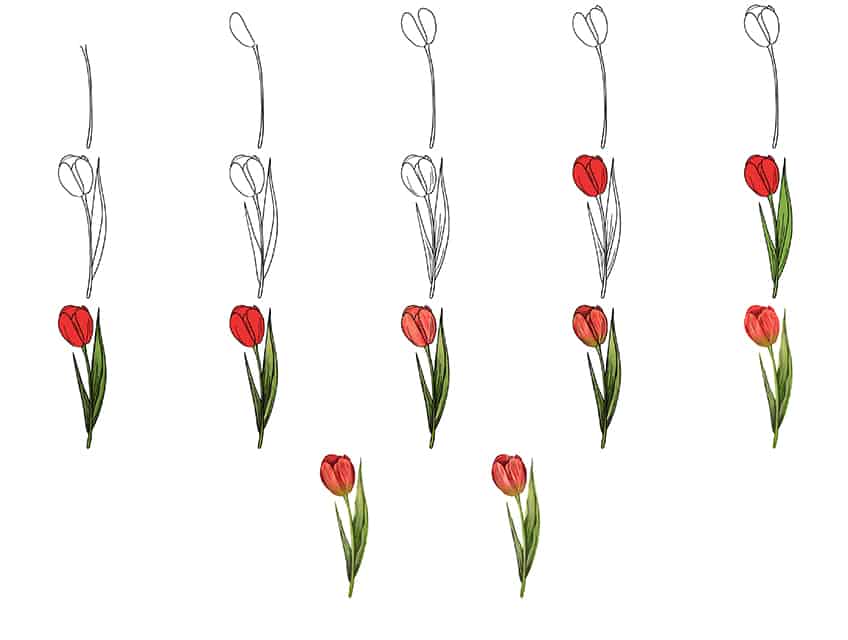

This easy how-to-draw-a-tulip tutorial is suitable for any medium. So, if you wish to use a digital design tablet or colored pencils instead of using paint, just adapt the steps to suit your preferred medium. Gather your art supplies and let’s start with the first step.
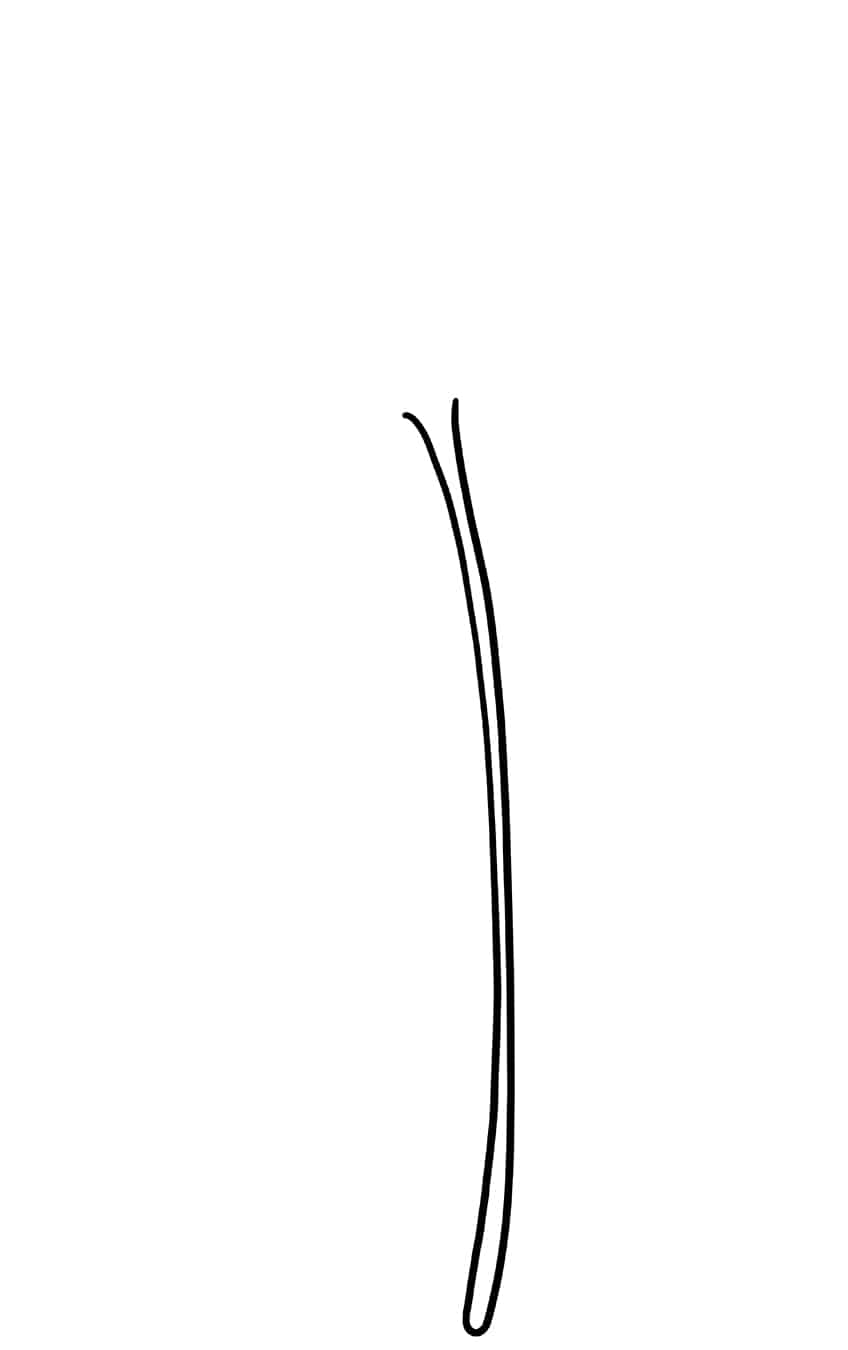
Step 1: Draw the Stem of Your Tulip Outline
To begin, you will need to draw the stem of your tulip outline. The tulip stem is thick and defined, unlike other flowers. Find the center of your drawing pad and draw a gently curving line from the top of your page. Loop this line at the bottom and continue back to the top. This should be in one movement.

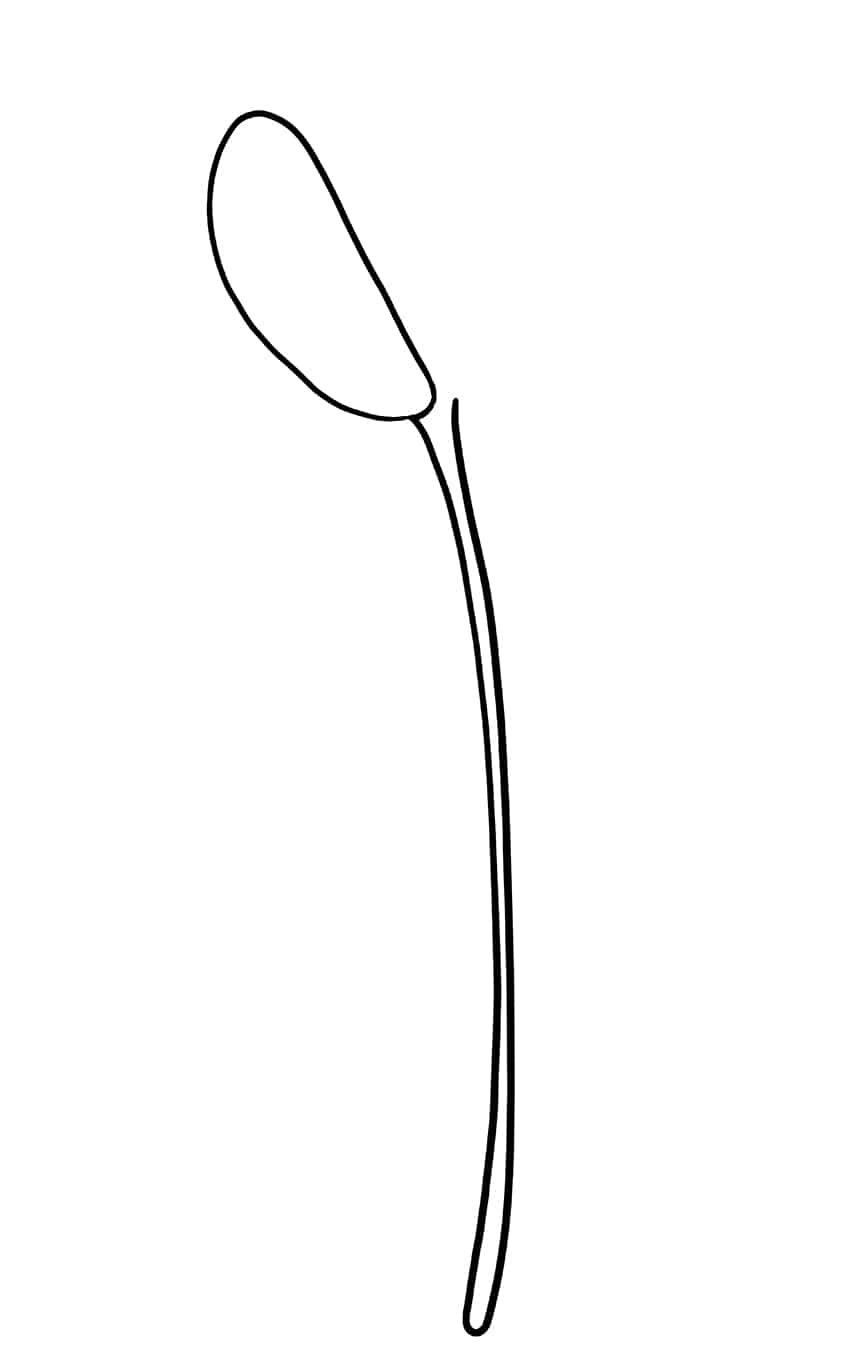
Step 2: Create the First Petal of Your Tulip Sketch
Draw the tulip petal on the left side. The shape is similar to a slice of orange without the peel, it is a strange shape for a petal, but it will make sense soon.
The right-hand side of the tulip petal should be slightly flat and curved downward.

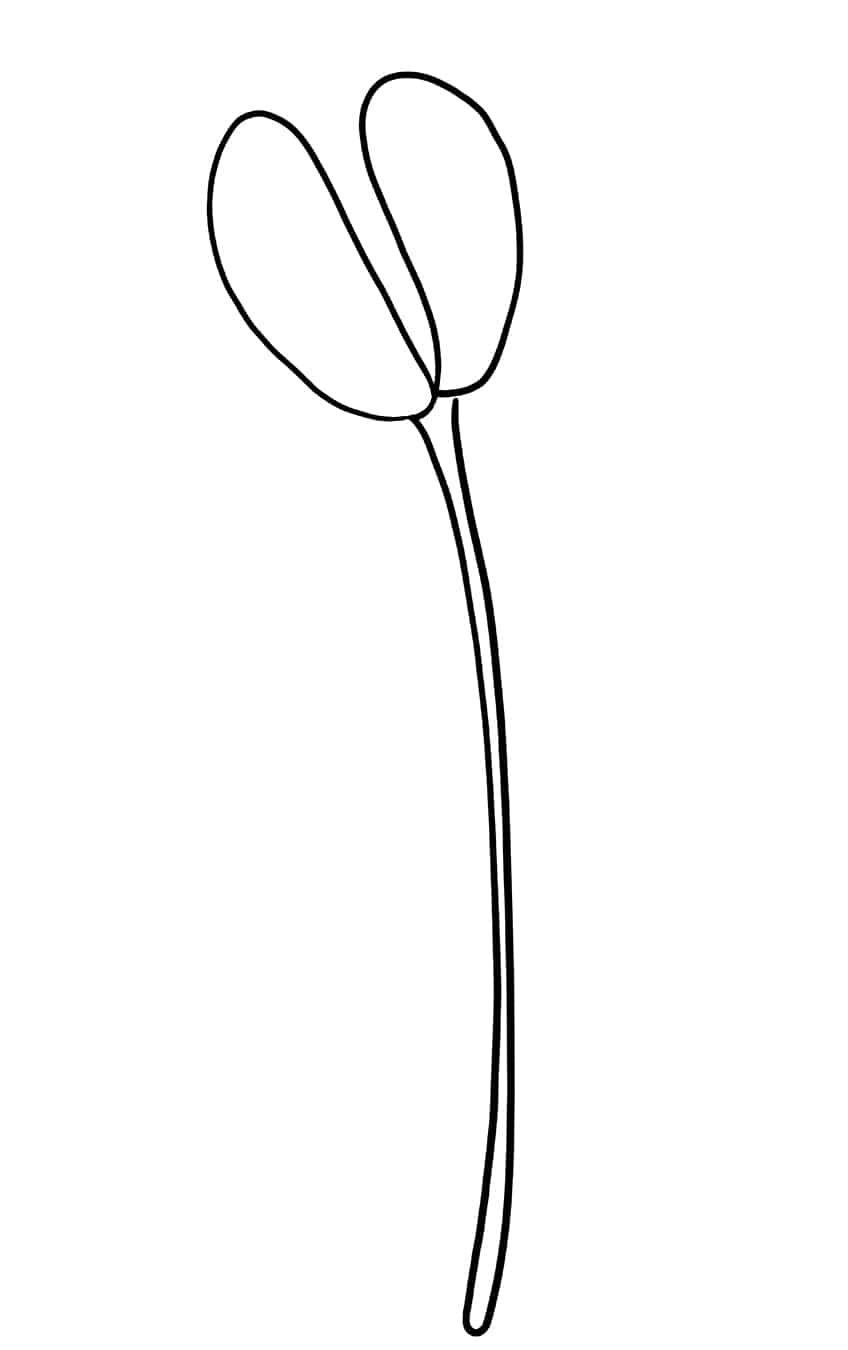
Step 3: Outline the Second Petal of Your Tulip Drawing
You will now sketch a second petal outline. This petal should be drawn on the opposite side of the first petal you drew in step two. You should have a space between the tulip petals.

Step 4: Continue Adding Petals to Your Tulip Outline
Continue adding petals to your tulip outline by drawing the obscured petals of the flower. Draw an inner petal between the two main petals you drew in the last step.
To complete this stage, you can add a little petal peeking from behind the top of your main petals.
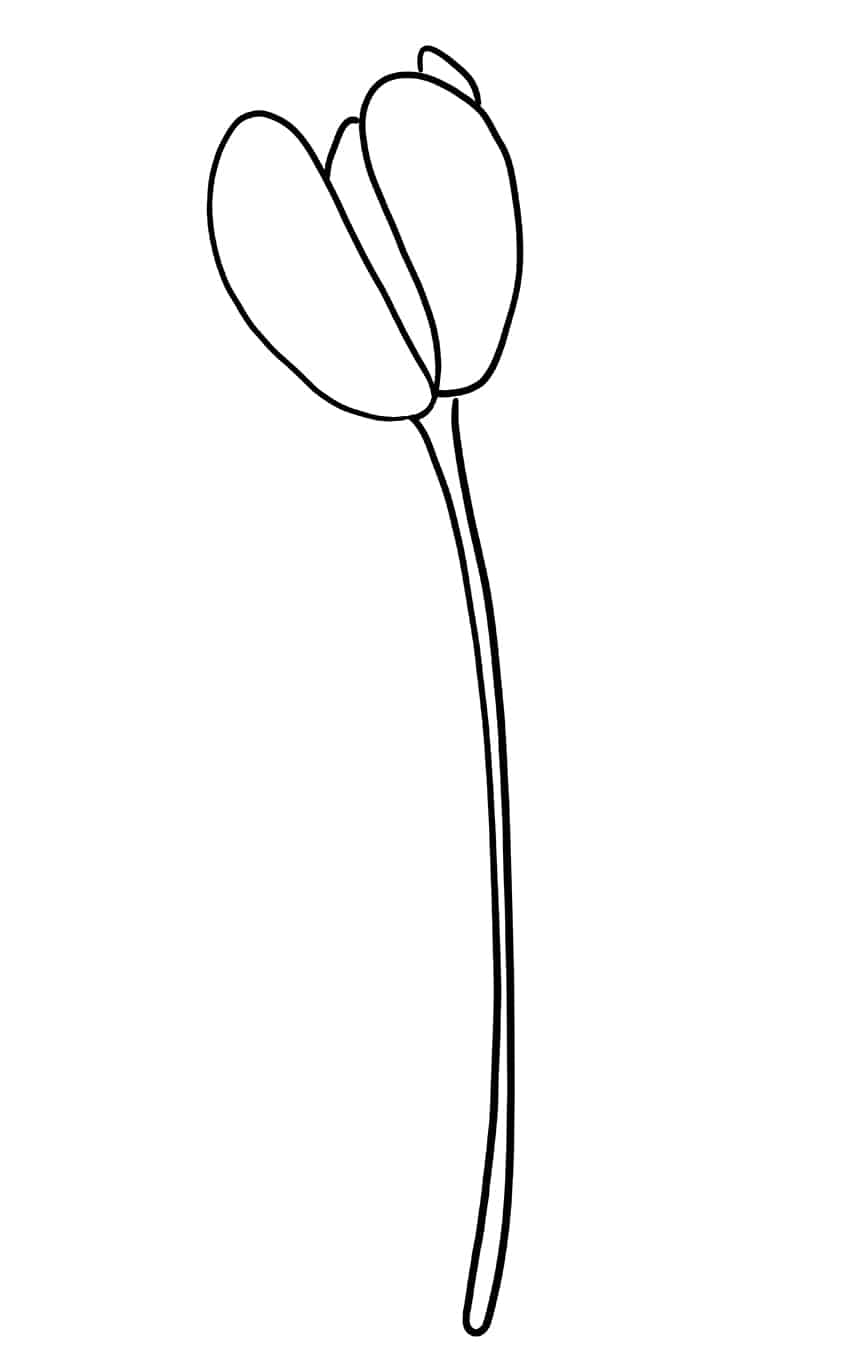

Step 5: Complete the Petal Outline of Your Tulip Sketch
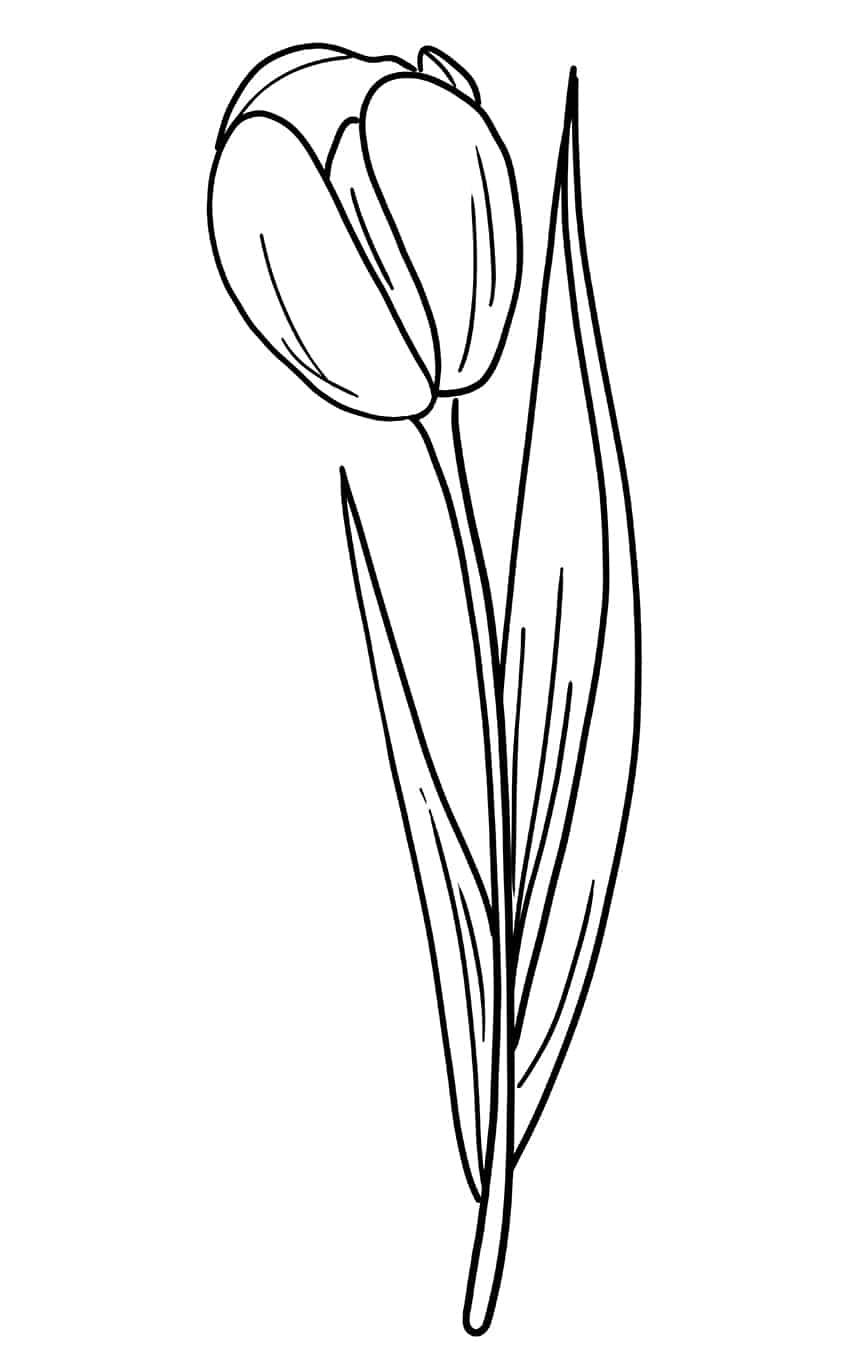
To complete drawing the tulip outline, you must finish the tulip petal shape. Sketch the last large petal behind the two main tulip petals. Joined to the front petals, make a big, curved petal shape. Add an inner line on this large petal and the small petal that is peeping from behind.
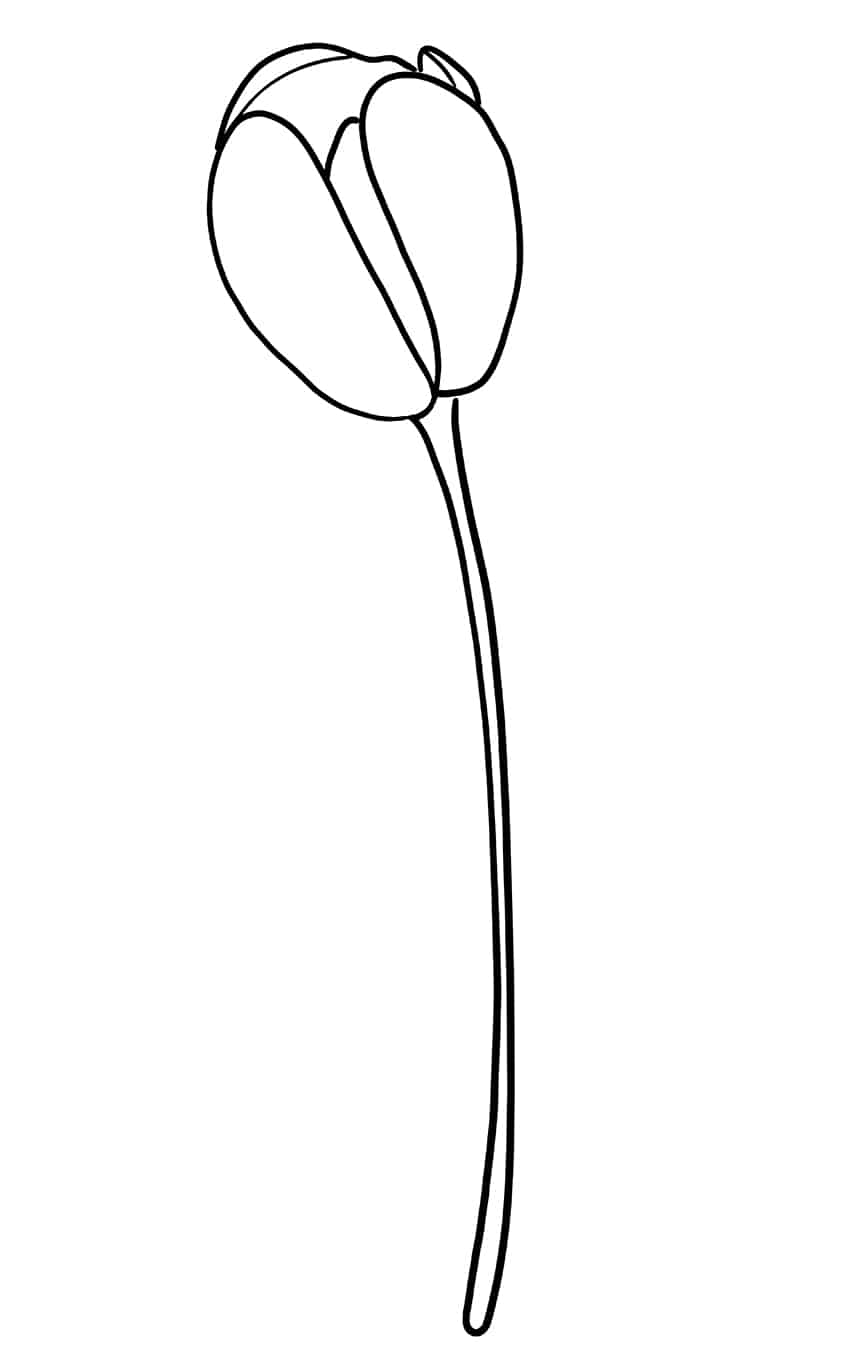

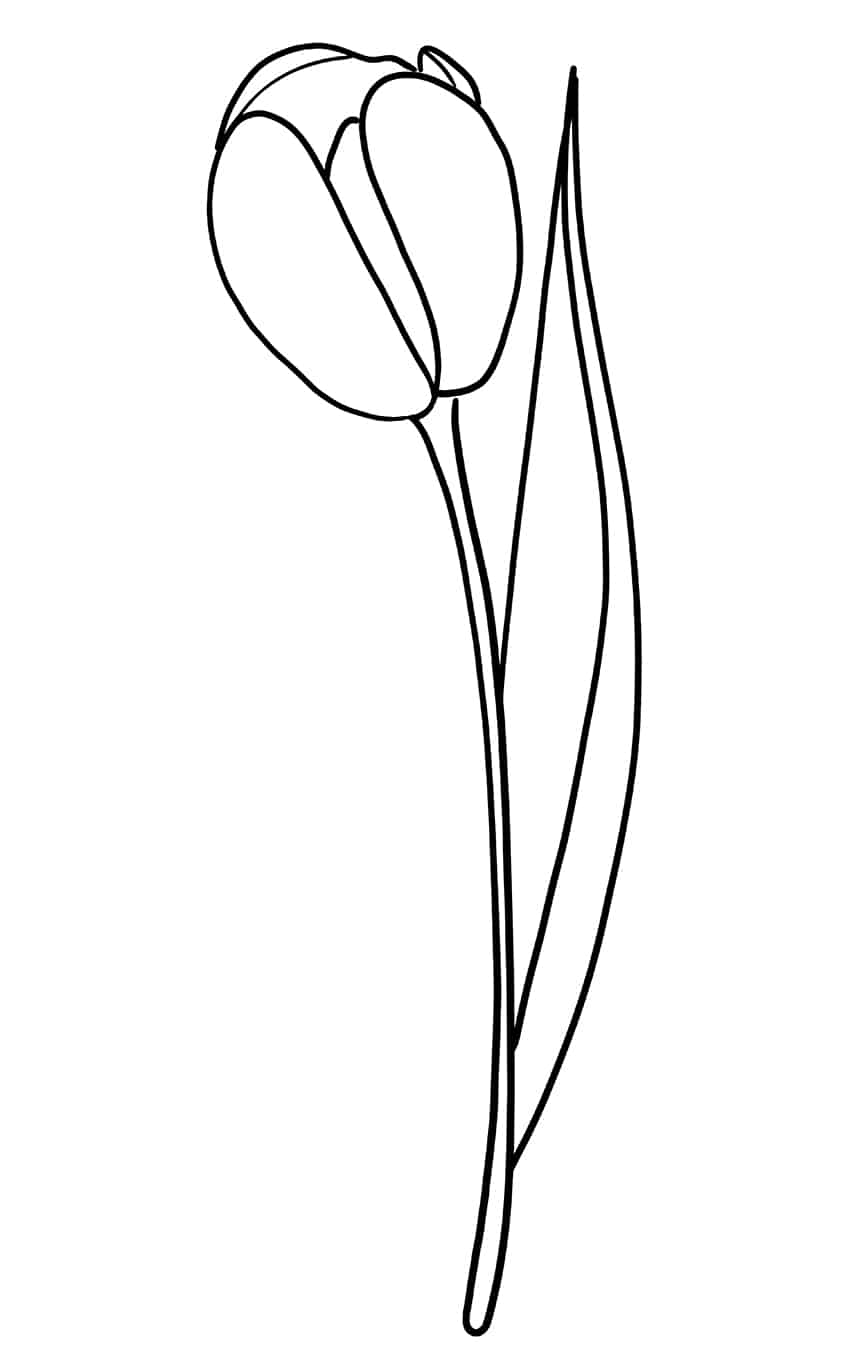
Step 6: Sketch the Central Leaf of Your Tulip Illustration
Draw a long curving leaf shape connected to the right-hand side of the tulip stem, including an inner leaf. Start the leaf outline from the bottom area of the tulip stem to the top of the tulip drawing.

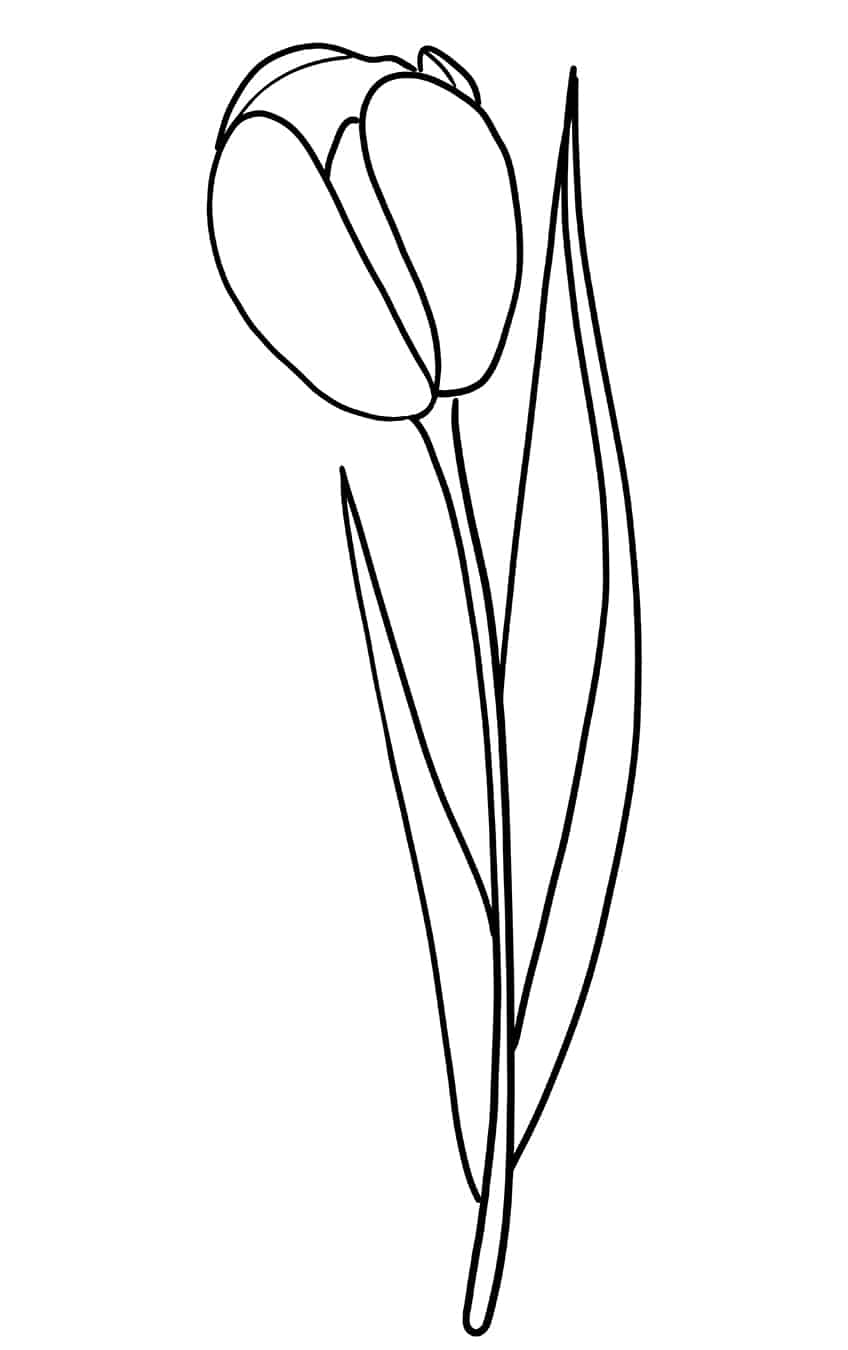
Step 7: Add the Second Leaf to Your Tulip Drawing
Continue creating the leaves of your tulip drawing. Draw the second leaf attached to the left-hand side of the tulip stem. This simple leaf will seem smaller which is due to the perspective at which we are viewing the tulip in our drawing.

Step 8: Apply Texture to the Leaves and Petals of Your Tulip Drawing
It is now the time to apply the texture to the petals and leaves to make it a more realistic tulip drawing. Draw lines on the tulip leaf from the base of the leaf extending upwards.
Do the same to the observable tulip petals.

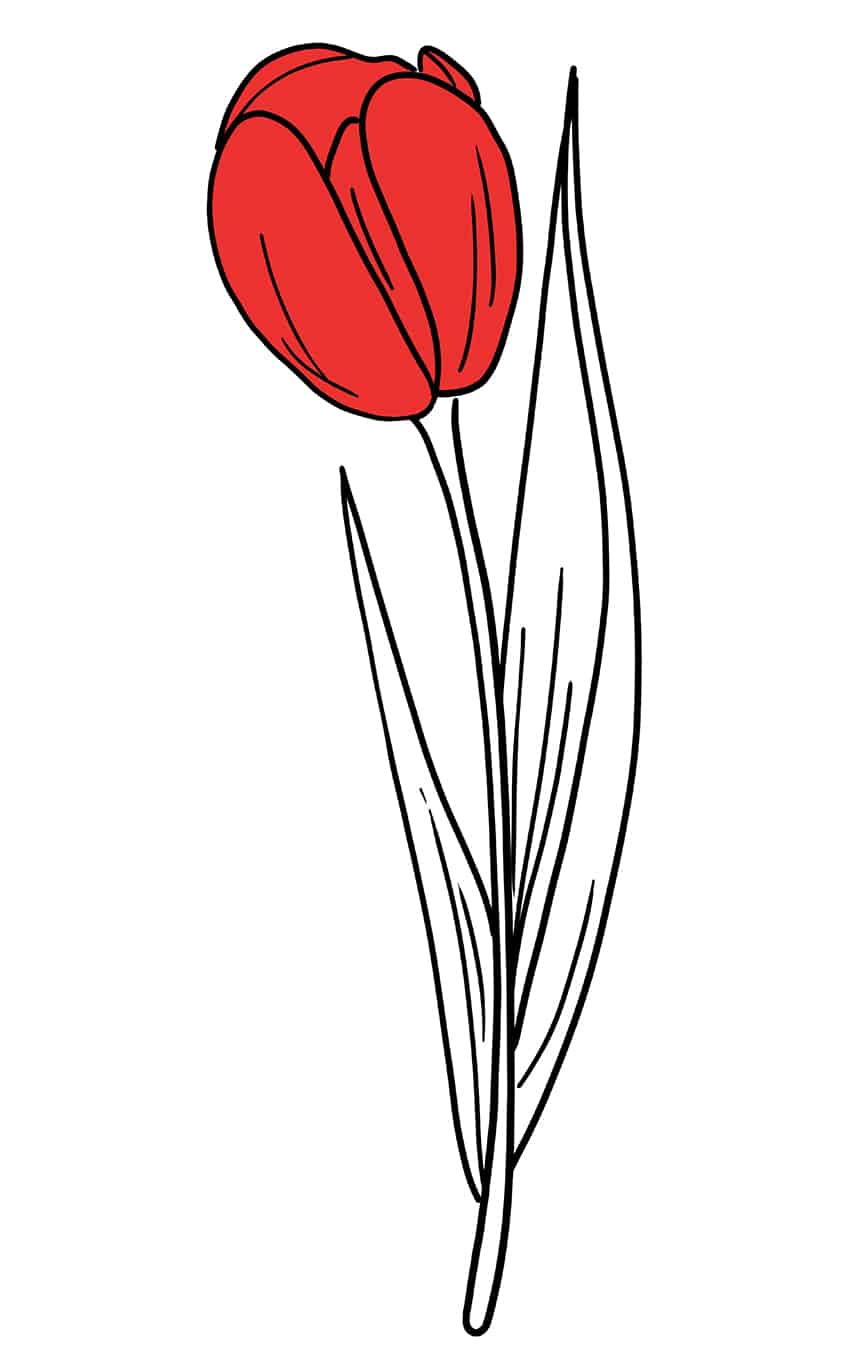
Step 9: Create an Even Base Coat for Your Tulip Drawing
To start the coloring phase of our how-to-draw-a-tulip tutorial, you must begin by applying a base coat to your tulip flower. Use vibrant red paint and a regular paintbrush and apply an even base coat. Cover each of the tulip flower petals.

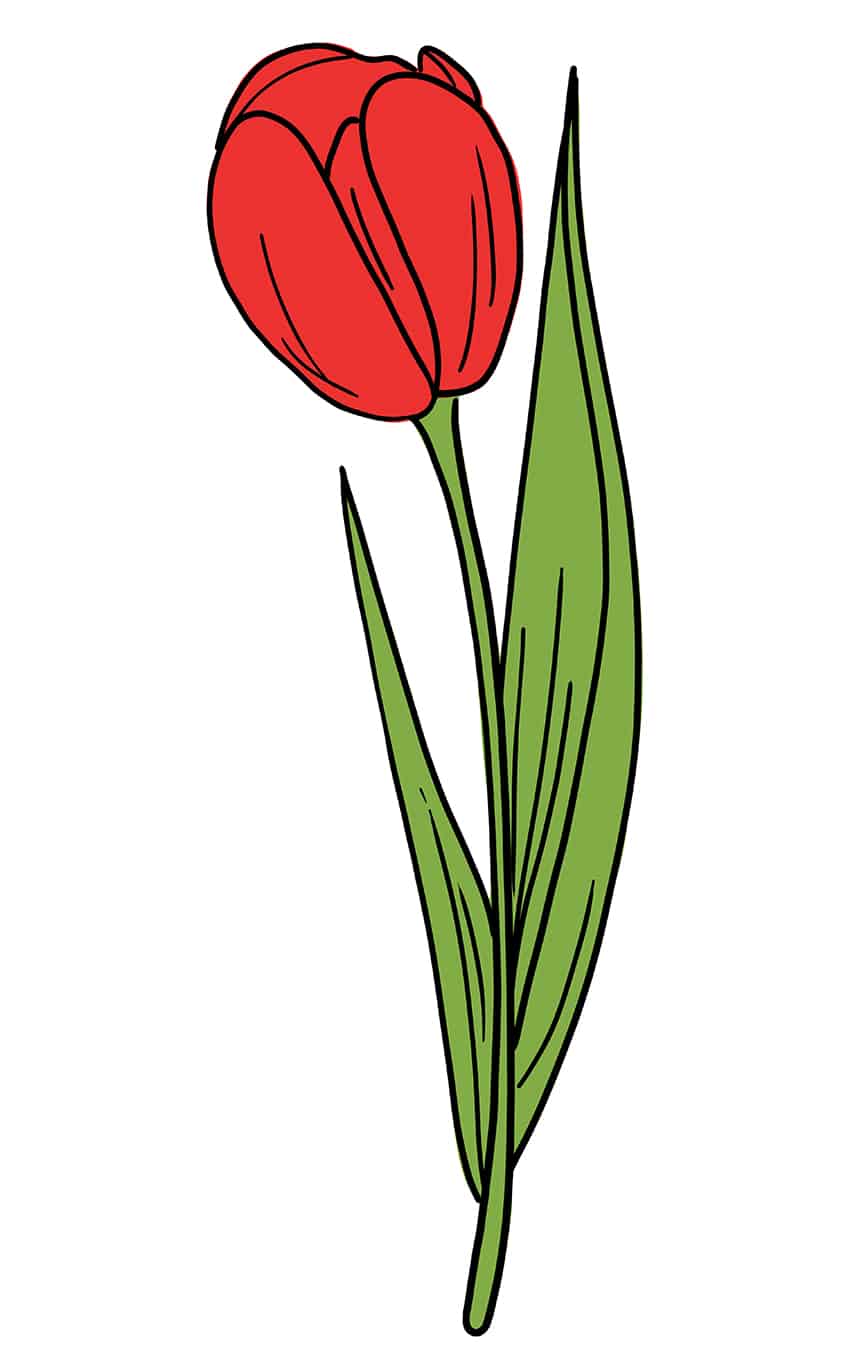
Step 10: Apply Color to the Stem and Leaves of Your Tulip Illustration
Continue applying the base coat of color to your realistic tulip drawing by filling the leaves and stem with bright green paint.
You can use a regular paintbrush.

Step 11: Shade the Leaves and Stem of Your Tulip Drawing
To create depth and dimensions on the leaves and stem of your realistic tulip drawing, you will need to add shadows. Using a little bit of black paint and a small blending brush, gently apply the shadow to the stem and leaves outline. Concentrate on the base of the leaves and stem because these will be the darkest areas. Don’t forget to trace the texture lines.
A tip: when using black paint, work slowly and add layer upon layer to the tulip illustration.

Step 12: Add Highlights and Blend the Leaves of Your Realistic Tulip Drawing
In the previous step, we added shadows to your realistic tulip drawing. You will now do the opposite and add a few highlights to the leaves. To create the leaf highlights, you will need to use light green paint and add some highlights to where you made the shadows. Use a small blending paintbrush and start dabbing color to the top of the stem and leaves, then gently blend the light green into the base coat green. Use the same action on the stem.
Take a clean blending brush and carefully blend the colors to finish.
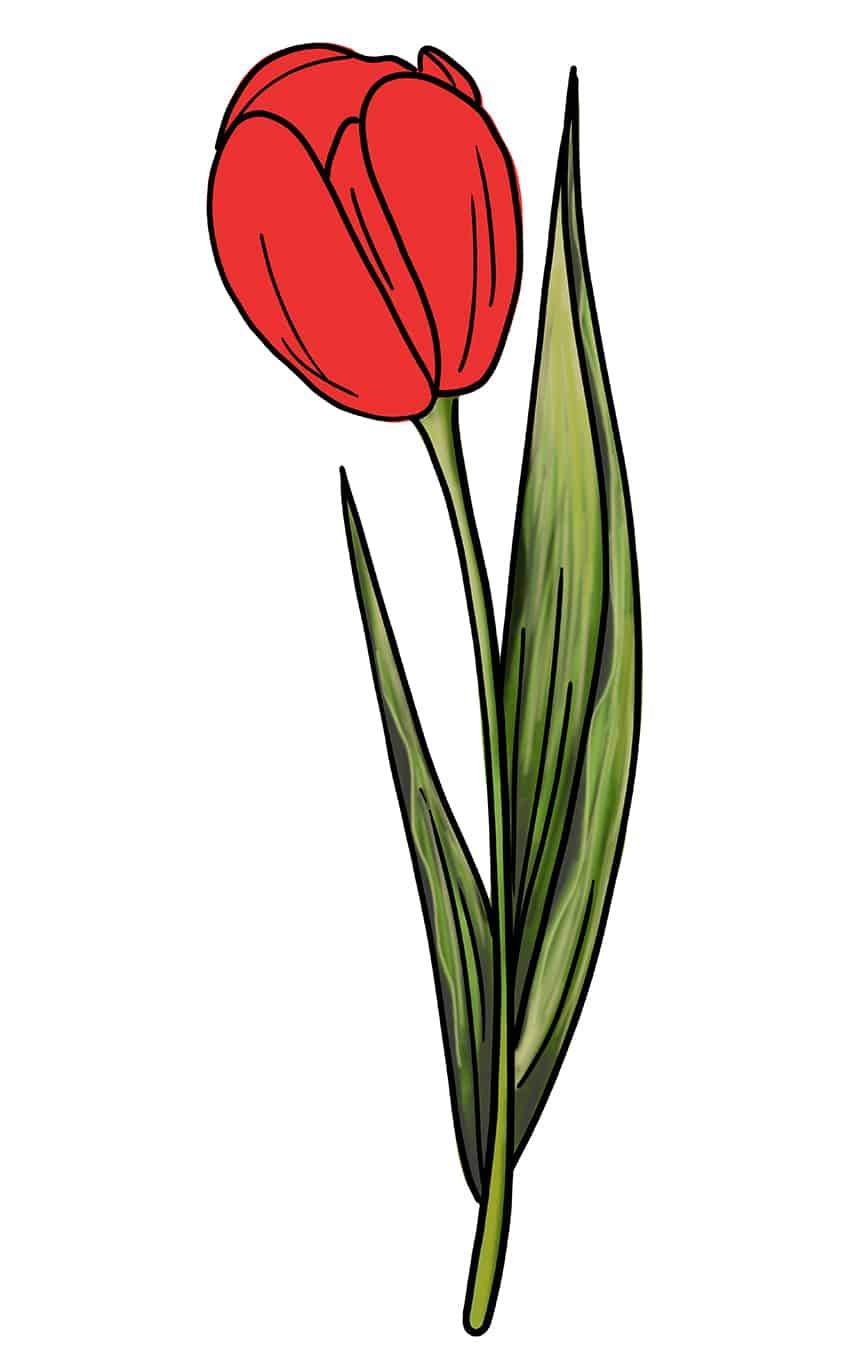

Step 13: Apply Highlights to the Petals of Your Tulip Drawing
In this phase, you will move your focus to the tulip flower petals to create the texture and add highlights. Using a touch of light orange or white pigment, select a small blending paintbrush and carefully apply texture lines and blend the colors on the tulip petals.
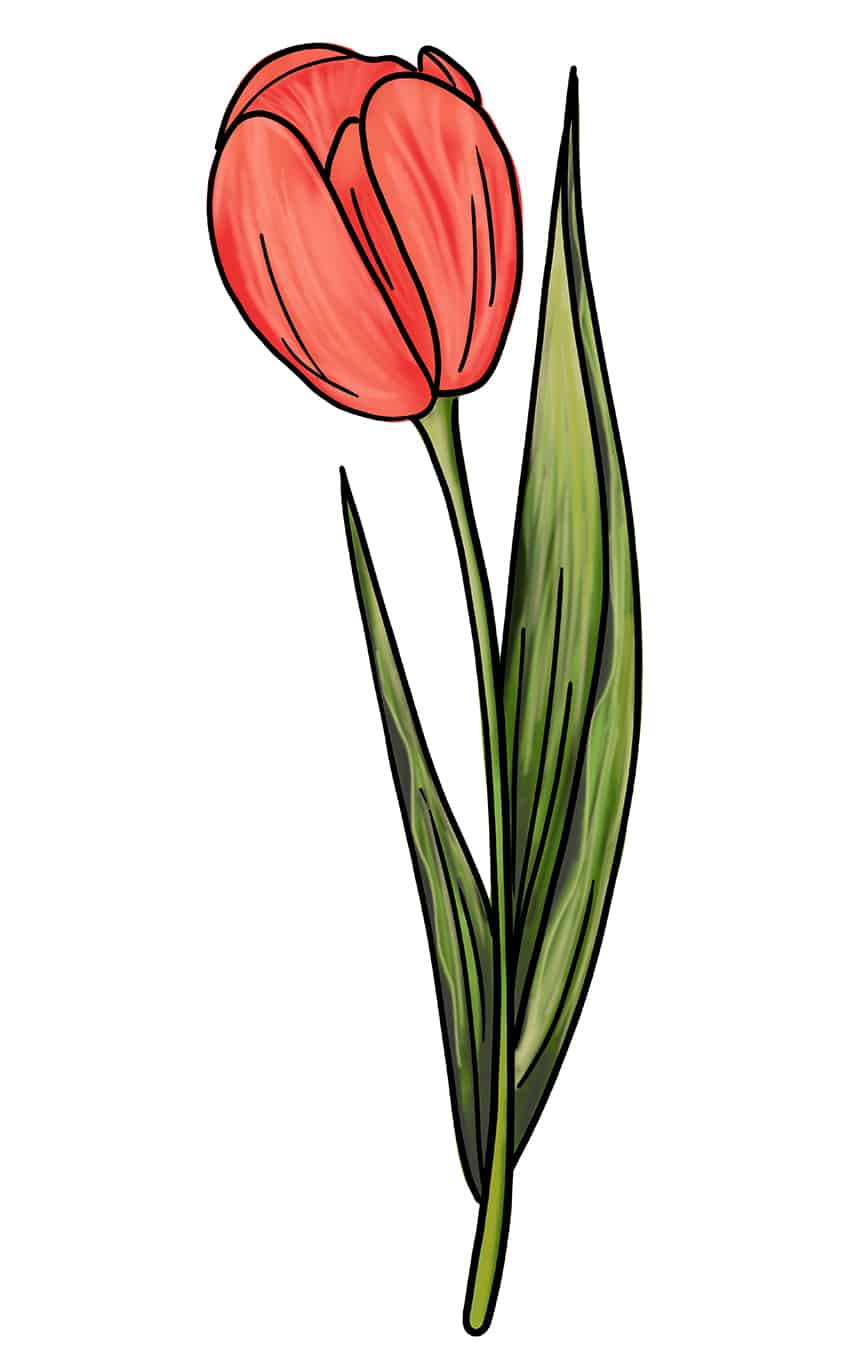

Step 14: Continue Applying Color to Your Realistic Tulip Drawing
In this stage of our how-to-draw-a-tulip tutorial, you will continue applying color. By now, your tulip flower should have a lovely blend of colors. It’s time to define the shading between the tulip flower petals. You can use light green paint and apply this color to the base of your tulip flower using a small-tipped blending paintbrush. Then continue with a sharp paintbrush and a touch of black paint and trace the inner gaps of the flower petals.
Repeat this step using light gray paint.
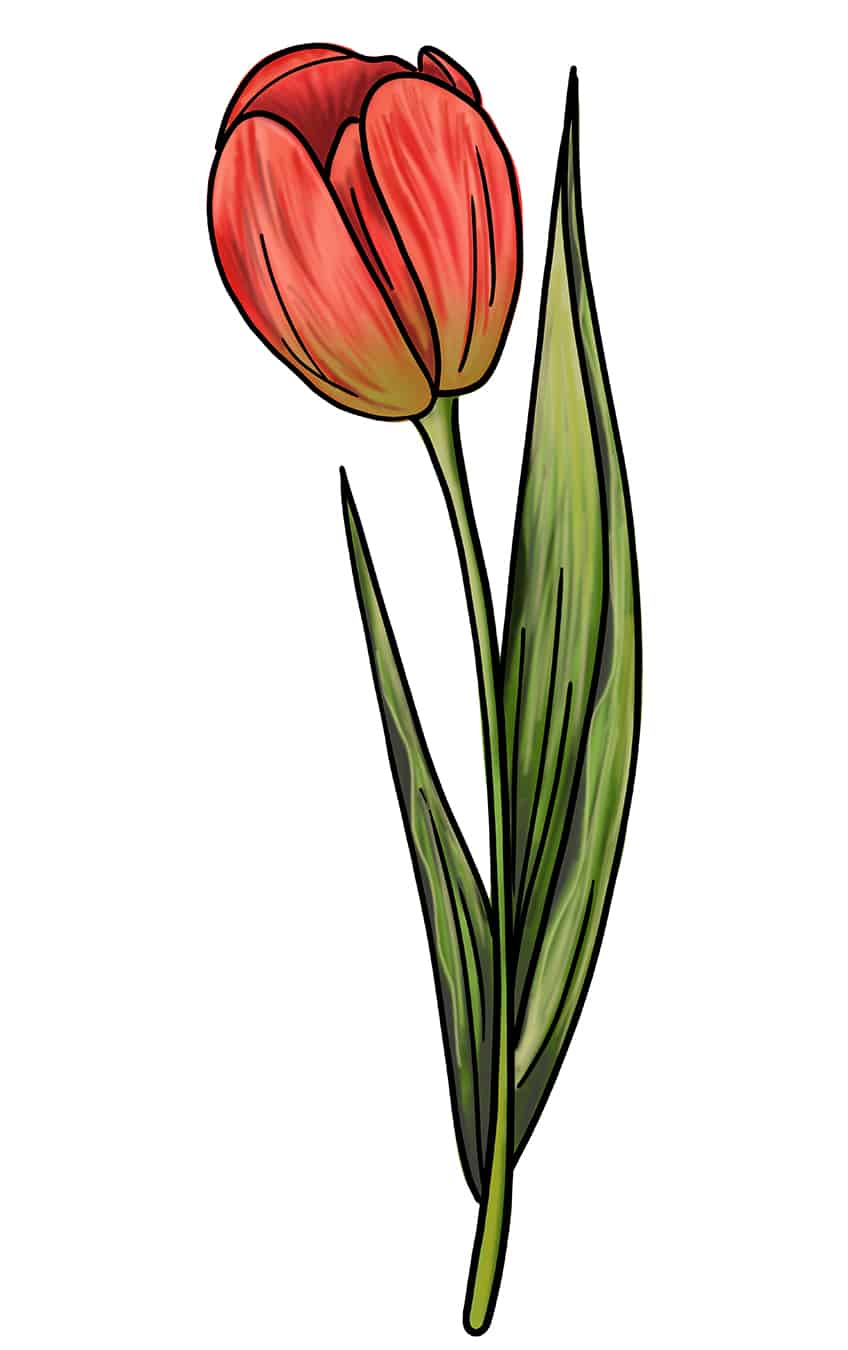

Step 15: Remove the Outline of Your Tulip Sketch
You are reaching the final phase of our realistic tulip drawing lesson. You will need to remove any dark lines on your tulip outline. Using a sharp paintbrush and tracing over the tulip outline using matching colors, gently tidy any areas of the entire tulip sketch.


Step 16: Shade the Outline of Your Tulip Illustration
Add a soft layer to the edges of your tulip outline using dark red paint. Create texture streaks using the darker shade of red. This will add depth to your realistic tulip drawing.
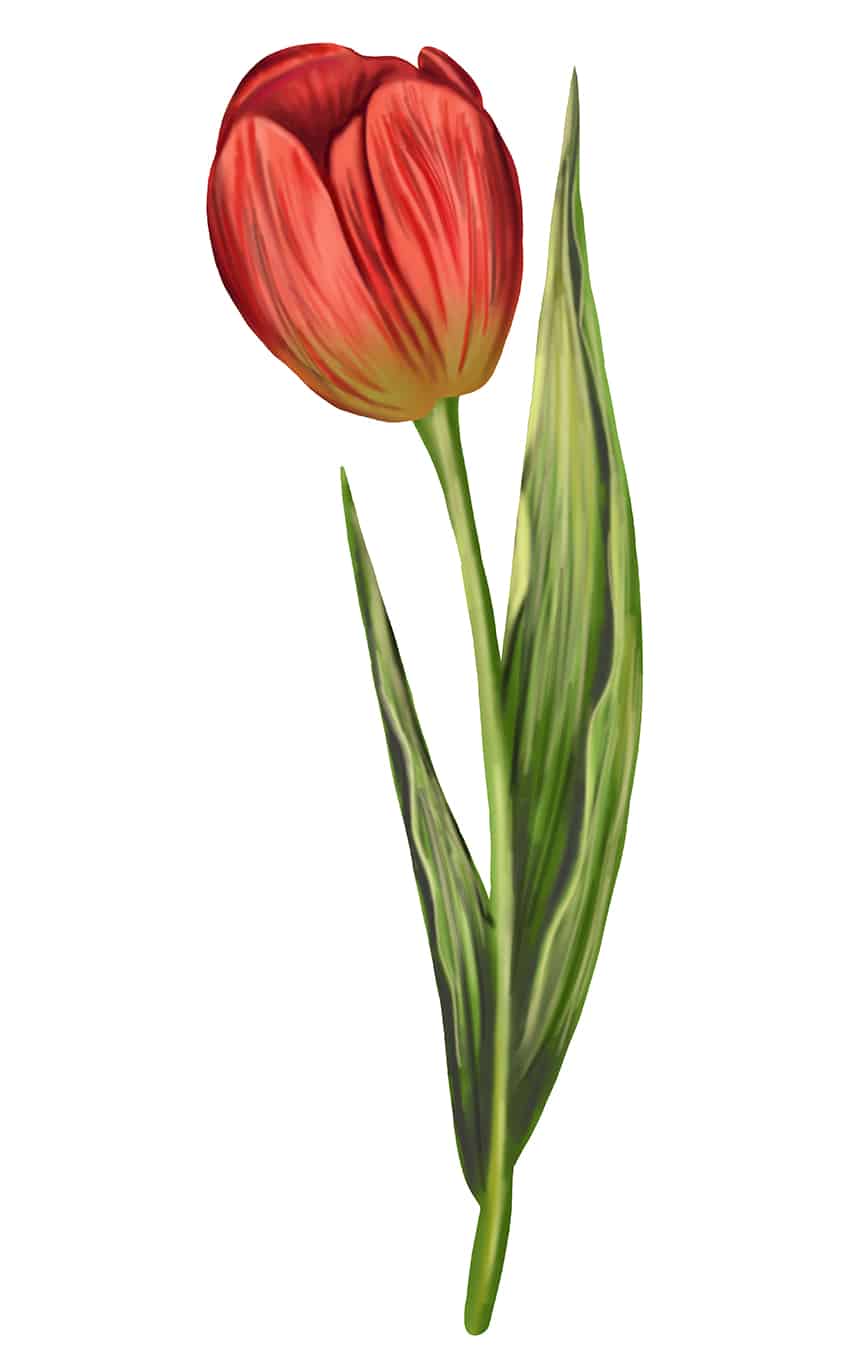

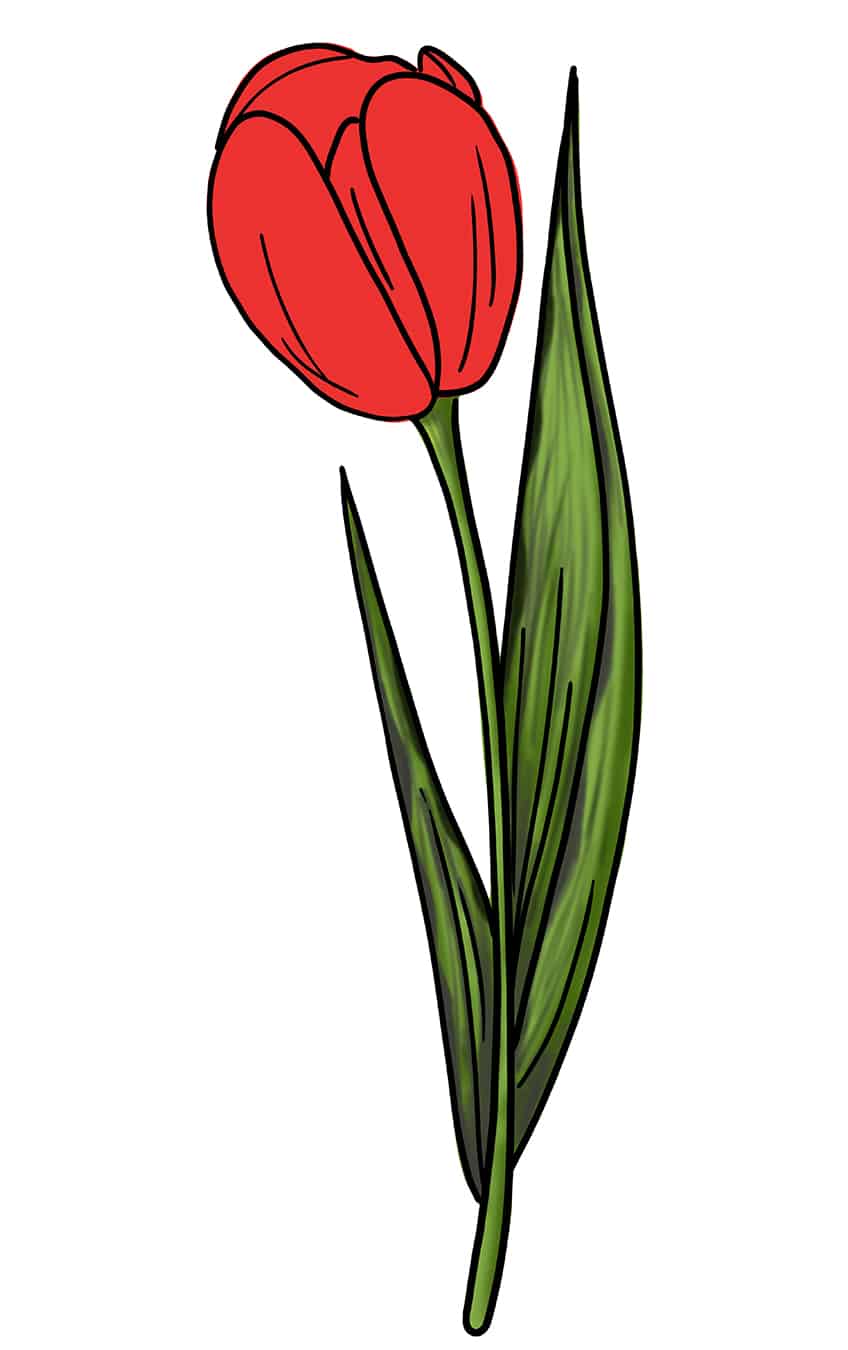
Step 17: Complete Your Realistic Tulip Drawing
To add the finishing touches to your tulip illustration, you can use white paint and a fine paintbrush to create fine line highlights to the texture lines of your tulip drawing.
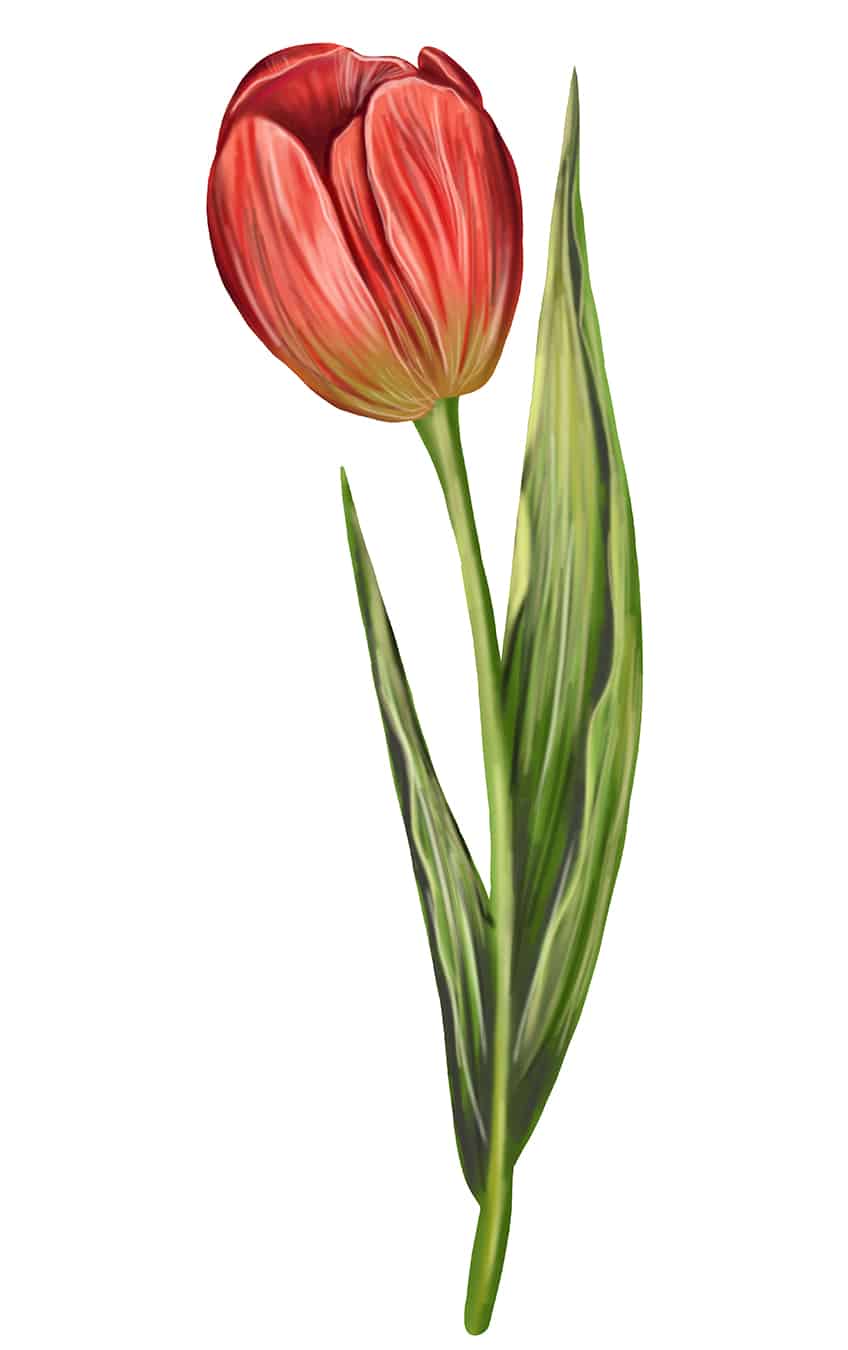

Congratulations! You have completed our fun and easy how-to-draw-a-tulip tutorial. Who would have thought you could create a realistic tulip drawing in just 17 easy-to-follow steps? You are now equipped with the knowledge of how to create a tulip drawing’s outline, and how to apply color and add texture, shading, and highlights. We hope that you have enjoyed this tulip drawing lesson!
Frequently Asked Questions
Is It Easy to Make a Tulip Illustration?
Yes, creating a realistic tulip drawing is easy when you follow a tutorial such as this one! In this how-to-draw-a-tulip tutorial, we will go through the basic steps to construct the tulip outline and then develop the tulip illustration using shading techniques and highlights.
Which Colors Are Suitable for a Realistic Tulip Drawing?
The tulip flower blooms in an assortment of colors. These include orange, pink, blue, and red. However, this is your tulip illustration, and there are no set rules! Feel free to use any color you want for your tulip image.