Pastel Painting – Helpful Guide on How to Use Pastels
This post may contain affiliate links. We may earn a small commission from purchases made through them, at no additional cost to you.
Pastel painting combines various aspects of painting with those of drawing. You use either pure pigments, pastel chalk, or pastel pencils. The most popular painting surface is handmade paper, as it has a rough surface on which the pigments adhere. In this article, you will learn how to draw with pastels, which techniques to use, and which material you need.
Table of Contents
The Basics of Pastel Painting
To paint with pastels, you apply the paints or pigments directly onto the paper without using brushes, painting knives, or any special painting tools. The pastel paper has a rough surface, which means that the color pigment sticks to the protruding areas. Therefore, for pastel painting, it is imperative that the work of art is sealed with a fixative after completion so that the fine color dust adheres permanently.
So, you use pastel chalk or pastel pencils directly and apply them to the paper. You can change the color shade, for example, by rubbing different colors together directly on the paper. Also, creating gradients are very possible with some practice.
One of the aids is a paper wiping pen, also called an estompe. This is a hard object in the form of a cigar, which makes it easier to rub pastels on paper.
Pros and Cons of Pastel Drawing
Drawing with pastel has its advantages and disadvantages, just like every art form or painting technique.
Pros
- Pastel painting is intuitive through the direct application of the color pigments
- You need less material: paper and pastel chalk are sufficient for the beginning
- The cloudy appearance of pastel paintings has something unique
- With a little practice and talent, even beautiful photorealistic works can be realized
Cons
- Pastel paintings must be fixed with the help of a spray, this will change the color of your work slightly
- Very fine details are difficult to realize in pastel painting
How to Use Chalk Pastels
When you paint with chalk, the friction on the paper creates fine chalk dust. For the sake of your health, you should not simply blow it away. There is a danger that you could inhale it. You could also end up painting your home or studio with color pigments.
For this purpose, we recommend that you provide a wastebasket or trash can to brush out the accumulated dust directly over the bucket from time to time. This way, pastel painting remains a clean thing and you can paint even in the living room. The other variant is the use of an inexpensive easel. This way you can put some household paper on the shelf of the easel underneath and collect the chalk dust there.


Chalk Pastel Techniques
There are different painting techniques for painting with pastel chalk. You should take into account the hardness of the chalks: hard pastels allow you to draw details and hard lines. With soft pastel crayons, you can paint large areas very well and blur the colors with your finger. Pastel crayons are very good for drawing details and soft lines. Below are some techniques that you should master in order to paint beautiful and successful pastel paintings:
Layering
To layer pastels, you first apply a color. Then you paint with a second pastel over the already painted surface, thus mixing the two colors to a certain degree. This depends on the pastel chalk and how hard it is.
Overlapping
The opaque superimposition is especially important if you want to paint a different color into a color area, for example, to paint a pupil into an eye. Here you want the two colors not to mix. We recommend that you paint the underlying color area with a soft pastel, and then accentuate the overlying color with a very hard pastel. You can also use pastel pencils or crayons.


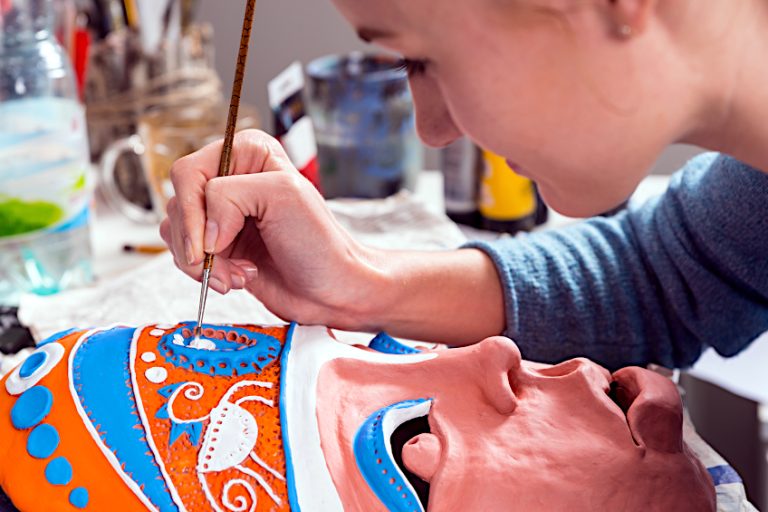
For advanced painters, with practice and talent, spectacular photorealistic painting is also possible. A combination of pastel pencils and crayons is used in the image above.
Blending
As the name suggests, two or more colors are rubbed into each other. You apply one color with another one next to it. Afterward, you can rub them together where they meet and get nice color transitions. By rubbing, the color intensity will decrease, but the color application will be much more even and two-dimensional. Of course, you can also apply two chalk colors on top of each other and then rub them together.


Blending is a very popular technique to get beautiful color gradients and color mixes.
Hatching and Crosshatching
You can also use the pastel chalks for hatching. For quick hatching, also known as parallel hatching, you apply the pastel loosely from your wrist at a 45-degree angle diagonally from the bottom left to the top right. This way you will quickly get a lightly hatched area, which is very exciting. Crosshatching consists of parallel hatches painted crosswise on top of each other. So you get a darker, densely painted area.
Stenciling
You can also work with stencils in the pastel technique. For this, you use either loose or adhesive stencils, which you apply to the pastel paper, and can paint in the desired shape. Of course, you can combine each of these different pastel drawing techniques together in one artwork.
Materials Needed for Pastel Painting
For painting with pastel colors, you only need a small amount of material. It is always worthwhile to use high-quality paints and papers. This way you can enjoy this beautiful art form for a long time.
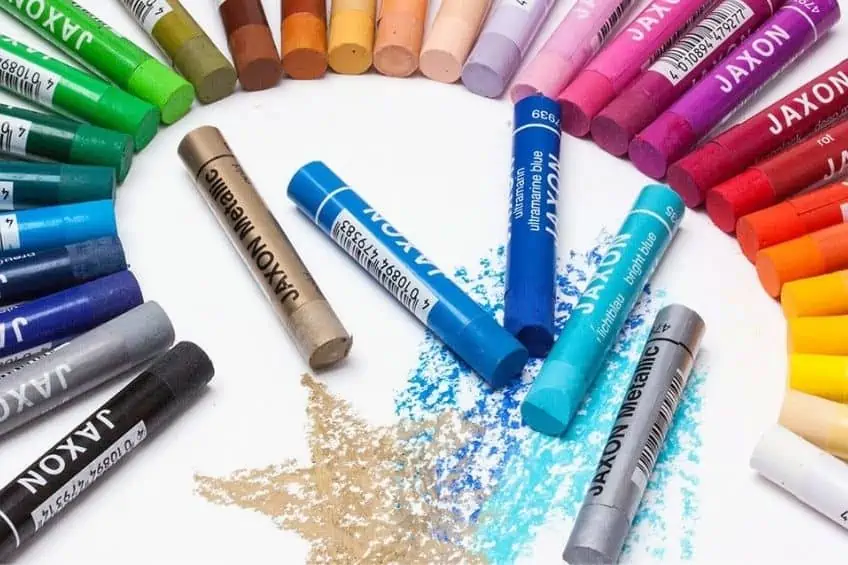
Pastels in Different Forms
Pastel Chalk
Instead of using your fingers to apply loose pigment powder, we recommend using round pastel chalks. They are easier to use and allow you to work more precisely. The pastel crayons are relatively soft and you can apply individual layers on top of each other. If these are too soft for you, there are also square, harder pastel crayons.
Pastel Crayons
These pastel pencils combine many positive characteristics: The color pigments are pressed into a color lead with a binding agent and can therefore be used as a pencil. You can draw the finest details with them and apply and mix them with pure pigments or pastel chalk. Different degrees of hardness are available, so you can paint anything from fine, soft contours to hard, color-intensive lines.
Pure Pigments
You can apply the pure pigment powder directly onto the painting surface. You do not even need a brush for this. You can start painting immediately. The application of paint is very easy and you can create color impressions and atmosphere in a simple way.
Pastel Paper as a Painting Surface
When painting with pastel colors you will need relatively rough paper. The pastels are rubbed on the paper in the form of dust, which settles in the depressions in the paper structure. We recommend extra rough sketching paper, heavy photo cardboard, clay paper, or watercolor cardboard.
Choose the paper surface to match your image content: For filigree subjects opt for smooth paper, for subjects like landscapes rather rough paper. You can achieve an exciting effect with colored drawing blocks, for example by using light shades on dark paper to create exciting contrasts.
Fixative for a Longer Lifespan
Since the pastel dust sits relatively loosely on the painting surface, you should definitely protect your finished work of art from mechanical influences. The easiest way to do this is with a fixative spray, with which you apply a thin layer. The fixative protects your paintings from mechanical stress and ensures that the colors remain brilliant even after years. It is also important that the fixative does not yellow.
Further Aids for the Pastel Technique
When you draw with pastels, there are a number of additional accessories and tools that can be utilized. These include things like easels and wiping pens to help enhance the artistic experience.
No other art medium allows you to really connect with the papaer quite like pastels. If you were wondering how to use pastels, then this guide should have covered everything you need to know. We hope you enjoy creating art through this exciting, colorful medium!