How to Distress Wood – How to Make New Wood Look Old
This post may contain affiliate links. We may earn a small commission from purchases made through them, at no additional cost to you.
If you are looking to distress wood, you will need a sense of adventure, a desire to experiment, and a little creativity. If you consider this when tackling a distressed wood project, you will achieve a stunning rustic, aged look. Your finished item will then add to the overall aesthetic of your desired design style. When you have installed your finished piece in the desired location, you will see it creates an easy-going atmosphere.
Table of Contents
What Is Distressed Wood?
Weather-beaten, distressed, old-looking wood adds the perfect old-world charm in today’s modern environment. Distressed wood creates a social and relaxed environment while being understated and in no way compromising the host’s status. As such, a piece of distressed wood furniture adds a natural, organic feel to a space that communicates comfort and warmth.


Design Value
Distressed wood is a popular design aesthetic that is often utilized by both furniture and interior designers. An item of distressed wood carries with it a certain sense of romance, whether it be a large item like a gorgeous dining room table, or something as simple as a picture frame, the presence of distressed wood creates a relaxed atmosphere. You may think that creating an authentic piece of distressed wood is a difficult task, but the process is relatively simple.
To create the weather-beaten effect and to age the wood, you will use some basic tools and have to follow some simple wood distressing techniques.
Considerations Before Starting Your Distressed Wood Project
Depending on the quality and condition of your wood and the results you are aiming to achieve, it can be quite a simple process to distress wood. We recommend that you choose wood that is already weathered and old to use. You can also distress wood that is reclaimed or wood that formed part of an existing piece of furniture that can then be repurposed.
You might not be able to find reclaimed or old wood and will then have to use new wood. If that is the case, we suggest that you use a softer wood such as pine, which is cheaper, as opposed to hardwood like maple, which is more expensive. The cheaper pieces of wood have more knots and flaws as well, which will add to the weather-beaten, authentic, rustic look.


Distressing vs. Texturing
If you were to texture your wood, you will be physically altering the geography of the wood’s surface. The simplest method to achieve this is to repeatedly batter and bash the wood using something hard like a heavy chain or a hammer. Texturing refers to the texture you have added to the wood’s surface through physical impact.
When distressing wood, you will apply and then remove partially an assortment of washes, stains, waxes, paints, and masking agents that result in the weather-beaten or worn look we are hoping to achieve. Texturing can be viewed as a step in the process of distressing wood, especially if the wood you are working with has a smooth finish and is new.
Keep in mind that depending on your preference, the outcome you are looking to achieve, and the state of your wood, texturing might not be required.
Wood Texturing Techniques
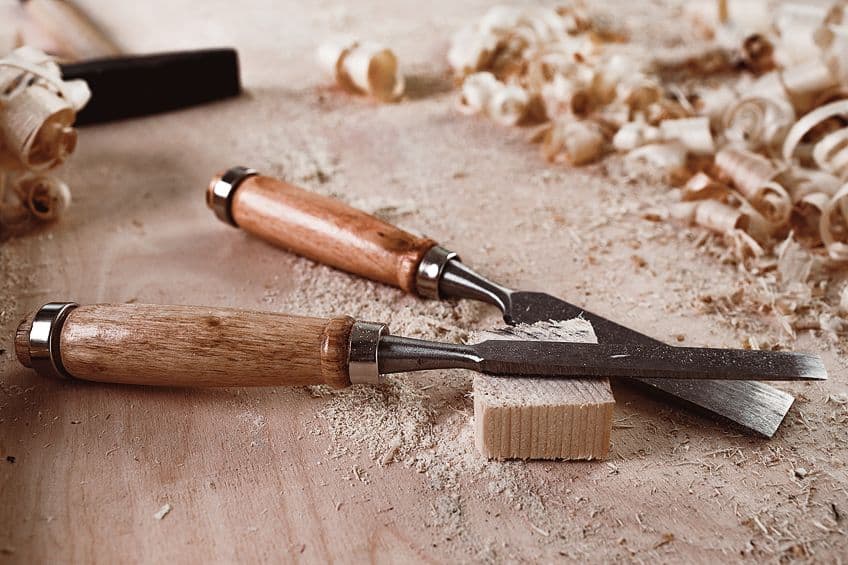
There is an assortment of techniques for wood texturing that will provide several different distressed wood finishes. To make your new wood look old, you will need to damage the wood’s surface. You can use anything hard that will impact the surface of the wood, such as chains, saws, hammers, scrapers, nails, chisels – anything which can alter the wood’s geography through force can be used.


The more unique the instrument you use to damage the wood, the better. You can use anything with a hard edge or surface such as gravel, broken stone, sand, steel brush, rusty screws, or a wire scourer. When texturing wood, you want to achieve inaccurate and random marks, as this is an advantage. The process of texturing wood is quite fun and does not require any precision or focus.
Remember that any pattern that exists on the implement you are using to create texture will be mirrored onto the wood’s surface.
If the texturing technique you use is too evenly spaced and regular, you may not achieve an authentic weathered look, as you may have unintentionally formed a pattern. You want to try to be as messy and random as possible without putting too much thought into your approach, as this will result in the finish you require.
Texturing Do’s and Don’ts
If the wood you are working with is new, untreated, raw wood that has a smooth finish, it will be necessary to create some texture on the surface so that stains and paint can fill the marks, dents, scratches, and holes while appearing absent or scant on the higher, flat, and ridged areas. You can use the back and front of a hammer to create broader, more visible gouges and dents. While creating longer cuts that are sharper, we suggest using a chisel.


A technique you can try is to place a few old screws and nails into an old sock and bash the sock against the wood randomly to create a general scratchy look. Hitting the wood’s surface directly using the sock will form little scratches and holes. To form scratches in specific areas you can swipe the wood with glancing blows. We recommend that you wear rubber safety gloves when working with your hazardous sock. Each hole, dent, and scratch you create will be permanent, so work in increments.
Achieving a Truly Random Texture
To achieve random inaccuracy when texturing your wood, you can look away, squint, or close your eyes before you begin texturing the wood. By not viewing the piece, you will achieve a more organic-looking and random textured effect. This is a great solution to bypass the mind’s desire to create patterns.
You need to take care when texturing that you only work on the intended piece and in no way damage the surrounding surface and any other items in the vicinity. You can ensure this by having a defined buffer area around your item and that you are working on a work surface or backing that you will not mind getting damaged, scratched, or gouged accidentally.
Keep in mind any marks, dents, scratches, or holes you create in your work will not come out, so we suggestthat you stop texturing and check your piece regularly until you feel you have achieved the look you are going for.
A Case for Precise Texturing
When it comes to texturing, a messy approach is quite advantageous, but there are also positive aspects to using precise texturing. In certain cases, you might wish to copy the exact repetitive marks or scratches that were a result of a rudimentary way the wood was processed when everything was done by hand. Hand-hewn wood has an uneven or rough finish and, thanks to the imprecise nature of utilizing hand tools, it has a random pattern.

When sawmills were invented, wood was cut in a more regular pattern thanks to the sawmill blade’s back-and-forth motion, which formed a semi-regular, long, almost parallel set of lines. In such cases, we recommend doing some research to determine the exact look you wish to achieve and then taking care when creating a texture that is similar to your project piece. You may need to use specialized tools such as an abrasive drill bit or a gouge (a chisel that has a blade that is concaved) as well as some decent fine motor coordination.
Sand Stomping Technique
An interesting technique to try is when you cover the piece of wood in either coarse sand or gravel and then place another piece of wood on top of it. You then jump or stand on the top piece of wood to embed the sand or gravel partially into both pieces of wood. You will need to flip both pieces of wood over and repeat the process to create the effect on both sides of your wood. Remove any remaining gravel by brushing it or wiping it away so that the wood is clean and does not have any loose pieces stuck to it.
Unfortunately, you cannot use this technique if you are working with wooden items that are already made up or built, such as chairs.
Best Texturing Material
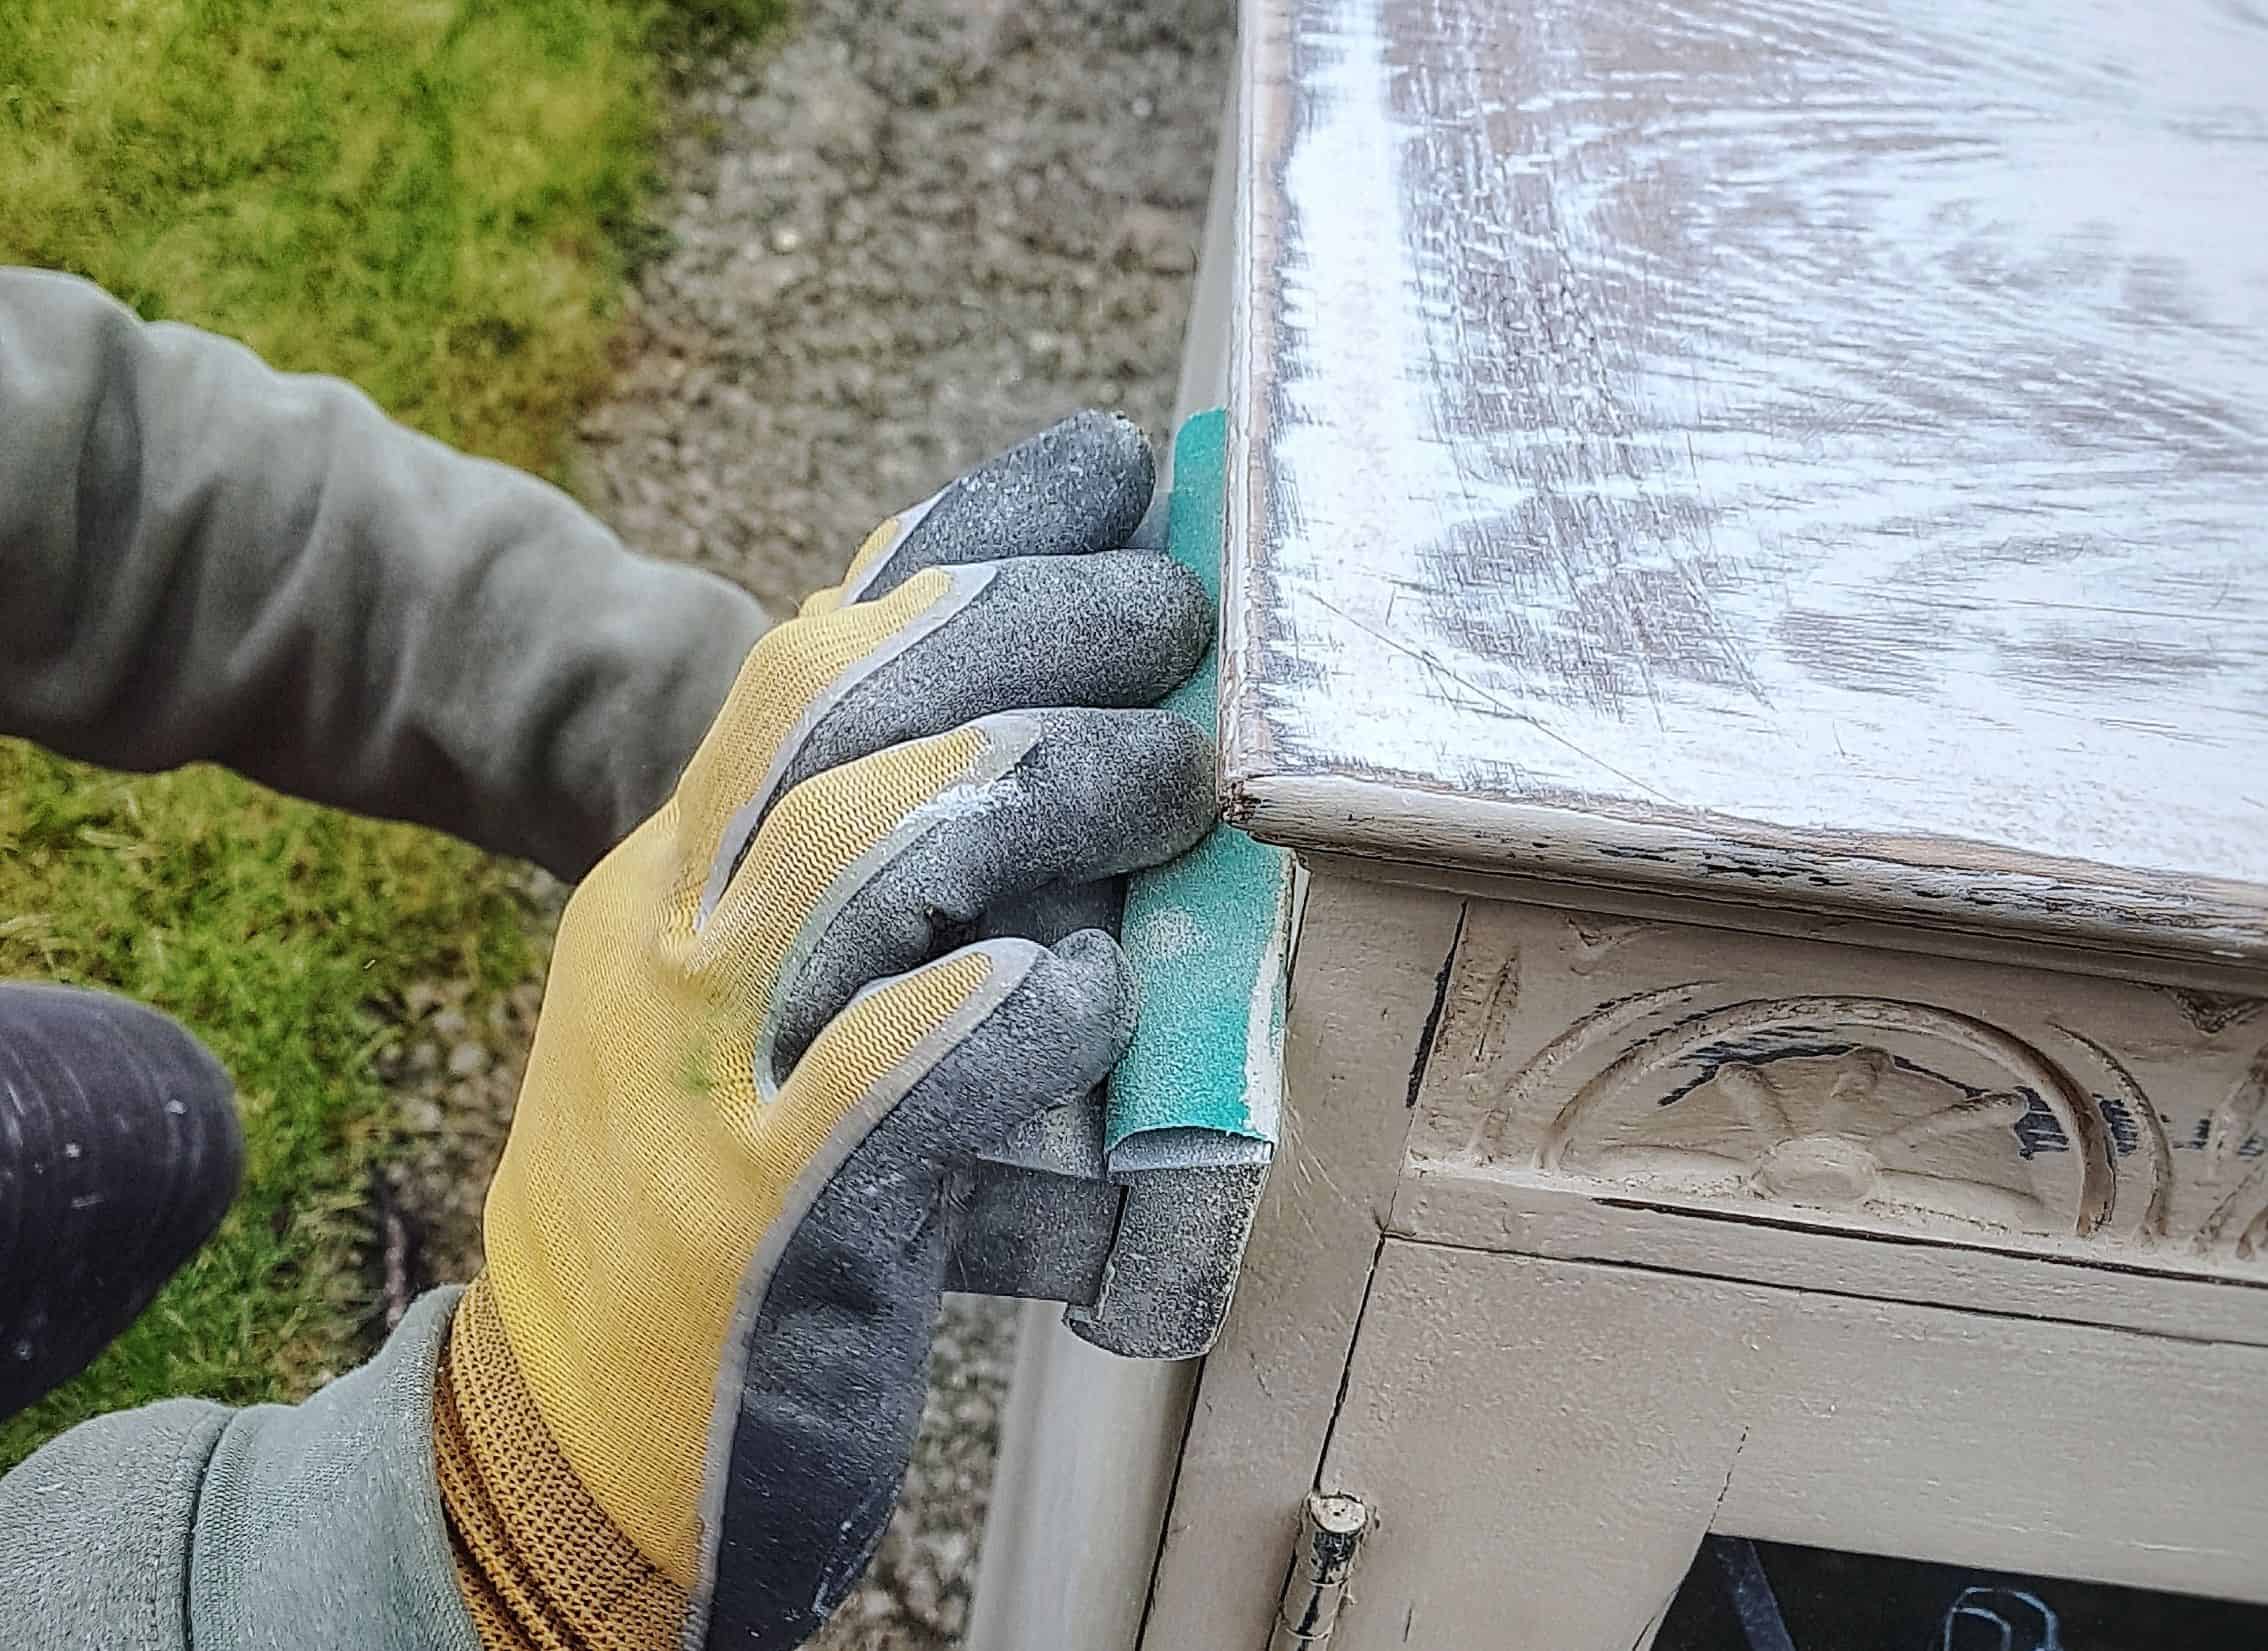
The most effective and easiest method to texture wood is to use sandpaper, although it also creates the least dramatic finish. The technique of using sandpaper to texture your wood works best on pieces that have been painted.
Remember that when using a power sander, it may have a regular arc in its mechanism which will create a very uniform pattern on the wood’s surface. Try not to use orbital sanders, or at least use a non-random sander if you have chosen to add texture with the use of a sanding device. If you want to sand a piece of wood down before you paint it, then apply different degrees of pressure in different areas on your piece. In doing this, you allow the paint to soak in more in some places and less in others.


While sandpaper is great for distressing high-use areas and edges, you can also use a scraper to remove any paint that has dried to create the aged wood look. Scrapers are ideal for creating a look that is more rustic and you will be able to remove large chunks of paint from the wood’s surface, which results in an effect that looks randomly chipped.
If you are going to distress the wood with a scraper, go wild! You want whole chunks of paint to come off at a time, so stab and slash at the wood’s surface. While holding the scraper at a steep angle, drag it over the edge of your piece while applying pressure to remove bits of paint of various sizes. To achieve a distressed, chipped look using a scraper, ensure thatthe painted wood has at least three layers of paint in different colors.
Steel Brush or Abrasive Bit Texturing
The texturing of wood can be done with the use of a steel brush or a drill bit that is abrasive. It can be a costly option but is a great choice if you have a lot of texturing to do. Begin by working slowly, as an abrasive bit rotating fast or a steel brush can remove a lot of wood from the surface of your item very quickly.
You can also slash and scrap the piece using a steel brush in your hand, marking places randomly. You may require some muscle to achieve this. It can also be quite difficult to make any scratches and marks if you are using long and thin steel bristles.


Wood Distressing Techniques
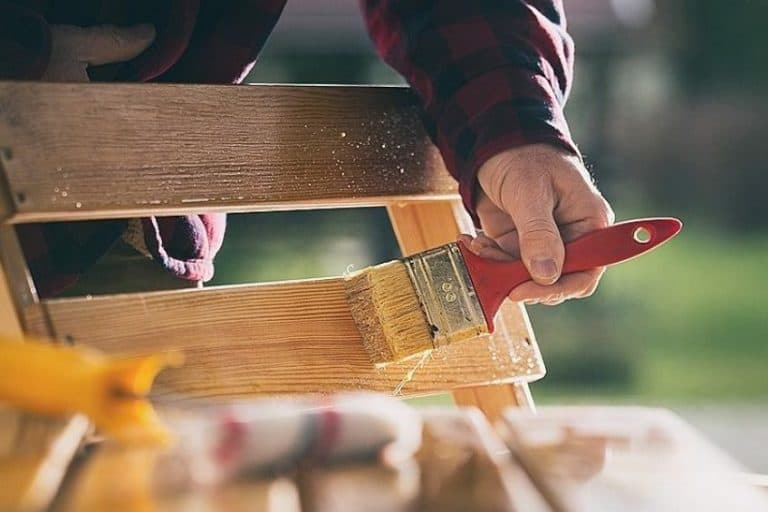
You can apply paints and stains to any type of raw, untreated wood to achieve a weather-beaten, dried-out, grey, or old rustic look. The simplest way to achieve this is by just washing your item with a light stain or diluted paint so that the natural imperfections and grain of the wood become visible.
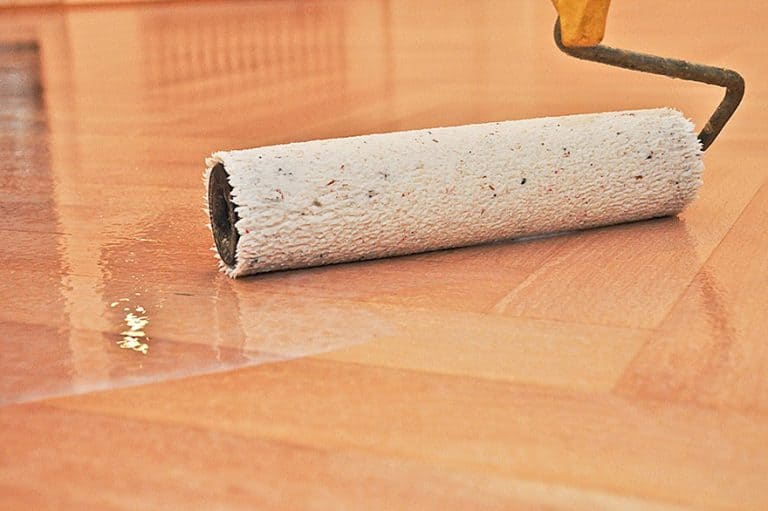
To use the washing method, use water to dilute the paint so that it becomes runny and quite thin. You are looking for a 50:50 ratio of water to paint. You can then use an old rag to apply the paint or simply pour the diluted paint onto the item, and then spread it around the piece using a straight blunt edge or a scraper.
By spreading the paint like this, the diluted paint will be directed into the grooves of the piece, whereas the higher areas and ridges will only receive a thin layer of paint or even none at all.


When you have finished applying the light stain or diluted paint wash to your item, you may want to remove any excess by wiping it off with a dry rag. This will mean that the coat is thin enough that the natural grain of the wood can still be seen through it. You might not have to do this step if your stain is very light or if the paint is very diluted.
If you would rather use standard, undiluted paint, you can create a similar effect by using a dry paintbrush that has hard bristles. To use this method, load a small portion of paint onto your brush and paint in all directions very quickly. Ensure that some parts of the wooden piece are left unpainted.
Blending Stain and Paint
By using a combination of paint and stain, you will create a unique result that can look stunning, depending on your preferred style. This technique will not give you the classic aged-wood finish but rather a modern-distressed messy look.
Apply stain to your piece and allow it time to dry completely before you begin applying a layer of paint. You can begin scraping away paint while the paint is still wet to show the dry stain below. Alternatively, you can paint randomly and in a patchy manner so that the entire piece is not covered.
You can use the dry brush technique previously mentioned for this step. Add a small portion of paint onto a dry hard-bristled brush and quickly paint in all directions so that only some of the wood stain is covered. Another option to blend paint and stain is to begin applying the paint layer before the stain has had a chance to dry. The results will be very streaky, as different paints and stains will mix to different degrees.
If you are going to attempt this method, you shoul first do a trial run on a separate, spare piece of wood to see how it turns out. This way, you will not potentially ruin your whole project.
You can also apply a layer of paint followed by a coat of stain. Immediately after you have applied the stain, use a rag to wipe it so that you have a thin layer of stain remaining over the paint. You can also choose to apply the stain to just the high-use areas and the edges only. Depending on how the stain is applied, you can end with a messy result. With any version of a stain-and-paint combination, scraping and sanding when your item has dried can make a large difference to the result.


Steel Wool and Vinegar
A different option to achieve a more dried-out, lighter grey or ashen look is to use a vinegar wash and steel wool technique. Cut up anywhere from one to five fine steel wool pads into a container, then fill the container with white vinegar covering the steel wool. Allow the container to sit for a while – anywhere from an hour to several days.
The longer the steel wool soaks, the darker the effect will be. You can then spray or paint the solution onto your wooden piece and allow it to dry.
We suggest that you test your mixture out on a spare piece of wood before applying it to your actual item. The appearance of the solution will vary depending on the wood’s surface condition, species, age, moisture, and content. If you are looking to achieve a darker grey before you apply your steel wool and vinegar solution, you can also apply a black tea wash.
Wood Stain and Sandpaper
After applying a regular wood stain to your piece, you can sand the piece once dry in order to achieve a more standardized distressed look. Using fine-grit sandpaper, sand mainly the high-use areas and the edges of the piece. A more advanced way of doing this is to blend some furniture wood wax and oil-based wood stain on a stovetop, and then apply it to your piece with a paintbrush once it has cooled.


Once the piece has dried you can buff it, and this will leave a wax mixture and darker stain in the grooves, dents, holes, and imperfections of the wood for an antique, authentic, distressed look. You want to ensure that your piece has a few imperfections to begin with, as this process will not give good results if it is done on wood with an even and smooth surface.
Modern Distressed Look
A popular wood aging technique is to use regular paint and sandpaper, although this method does give you a result that is more modern than an antique distressed look. Your results when using this technique are dependent on how you choose to expose the parts of your piece of wood that you wish to look weathered. You can choose to apply just one coat of paint and allow it to dry completely and then use the sandpaper to sand the high-use areas and the edges.

A similar method is to just apply a single coat of paint, allow a few minutes for it to dry, and then use a scraper or a straight blunt edge in random places to scrape off the paint. For this method to work, you need to ensure the paint is only partially dried so that it is still wet in some places.
Another form of this method is to rinse the wood with water and then wipe off a bit of the paint from the surface. Use a cloth or an old rag to wipe off some of the paint in random places, high-use areas, and edges of the item. This method will give you amazing results and is simple to do.
Two Coats of Paint
You can use two coats of paint to achieve the modern rustic look, with each coat being a different shade of paint – one darker and one lighter. Apply a coat of the lighter paint to your piece and allow at least 20 hours for it to dry completely. You can then apply the darker paint as the second coat and allow two hours for it to dry. Then, use a dry material such as a sanding sponge, scouring pad, or fine-grit sandpaper to expose the distressed areas.
Alternatively, you can use a wet material like a scouring pad or an old rag that has been dipped in water to expose distressed areas. If you go with the latter option, you will want to ensure that the pad or rag is wet, but not soaking wet.
Resist Distressing
Another version of the two-coat method is to apply beeswax or candle wax to the areas of your item that you wish to distress. You can apply the wax in-between the initial coat of paint and the second coat of paint. The wax will stop the second coat of paint from being absorbed, making these particular areas easy to expose when you begin distressing the item.
This method is known as resisting distressing and you can use any masking agent or material to achieve it.


From bits of wet paper and masking tape to Vaseline and hemp oil, anything you select to layer in a patchy and random manner in-between the initial coat and the second coat of paint will stop or hinder the second coat from being absorbed, giving an uneven finish. This process can be repeated several times. This will ensure that your final piece will be both unique and varied. We recommend that you experiment on a spare piece of wood before you begin on your final project item.
Preserving Your Distressed Wood
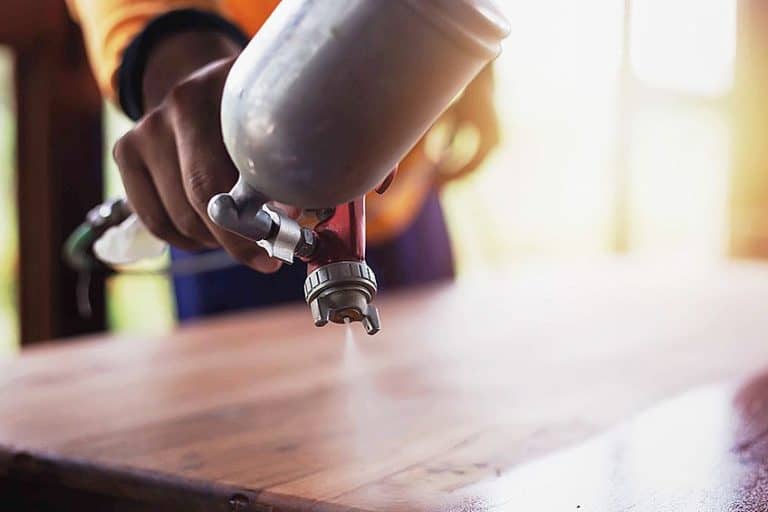
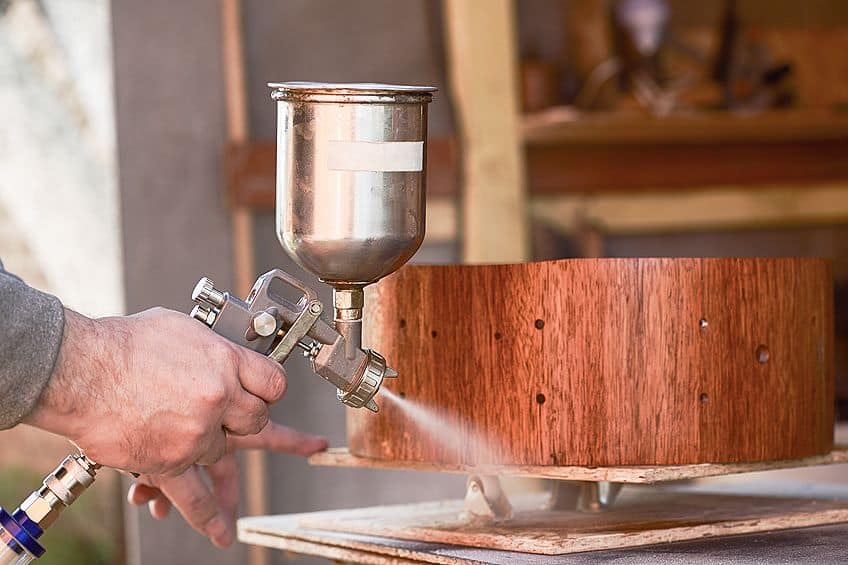
You can use a clear lacquer finish or a sealant on your piece to finish it off and protect your weather-beaten, aged look. Ensure that your item is free from dust and is completely clean before you apply the final protective finish. Applying several layers of clear finish or sealant is better than just one coat, but just remember to ensure that you have allowed each coat to dry sufficiently before applying the next coat.
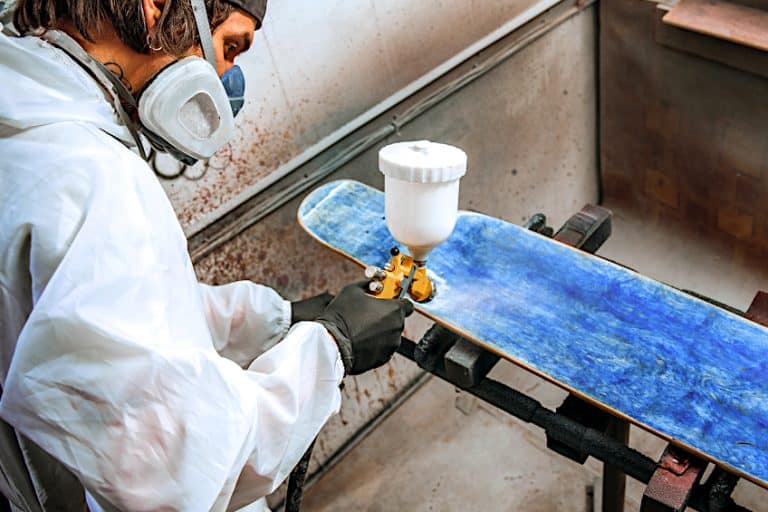
There is an assortment of aerosol spray sealants available – we suggest you use the paint-on kind. The paint-on kind will ensure that the sealant is only applied to your project through painting it on. If you choose to use an aerosol spray, you may end up with sealant landing all over as well as being in the air you are breathing.
If you choose to work with the aerosol spray option, you will need to wear the correct protection (a respirator mask) and ensure that the room is well ventilated. You can work outside if there is no wind on the day. Normally, it will take at least a week for protective finishes to completely dry and harden.

Wood Distressing Techniques Comparison Table
We have put together a table for easy reference that sums up the different wood distressing techniques which we have discussed in this article.
| TECHNIQUE | DIFFICULTY | COST | TIME |
| Light Stain or Wash | Very easy | Average | Several hours |
| Stain-and-Paint Blend | You will need a little skill | Quite expensive | Roughly one day |
| Steel Wool and Vinegar | Quite simple | Low | Quite a long time |
| Stain-and-Wax Blend | Simple | More than average | Several hours (Drying time and sanding) |
| Paint and Sandpaper | You will need a little skill | More than average | Normally several days |
| Resist Distressing | You will need a little skill | Quite expensive | Normally several days |
Get Stuck In
Distressing wood is a really fun process, particularly if you are not set on a specific finish that you hope to achieve. Keep in mind that you might not achieve exactly what you were aiming for, so be open to different results from those that you pictured. The process is an opportunity for you to be creative, even when selecting the implement you will use to texture your wooden piece. You could even discover a new way to distress your wood that gives even better results than anything we have attempted.
Be open to experimenting and trying different implements and techniques – try to be inaccurate and random and do not worry about messing up, as you can always begin again! We hope the above article will aid you in selecting the best method for distressing wood for your project piece. Just remember to have fun when texturing and distressing wood and let your creative energy flow!
Frequently Asked Questions
How Do I Distress Wood That Is Already Painted?
If you have wood that is already painted, you can distress it by removing some paint in the high-use areas and on the edges of the piece using sandpaper or any other abrasive material. You can also apply a stain to the high-use areas or the edges of your piece to create a more patchy-distressed or modern-messy look. Alternatively, you apply a stain to the painted surface and then use a rag to wipe off any excess. You can also wait for it to dry and then sand the piece on a high-use area, the edges of the piece, or in random areas. We recommend applying an array of colored layers of paint on top of the paint that is already there, and then sanding the high-use areas, edges, and random areas once the coat has dried to reveal the colors underneath.
How Much Time Do I Need to Distress Wood?
This is dependent on the size of the surface area of your wooden piece, whether your wood is already stained or painted, and which distressing technique you are utilizing. When using a technique where you need to allow a coat of paint to dry, you will require at least 20 hours over and above the time required to scrape or sand your project piece, which could take anywhere from 30 minutes to several hours. When you have finished with your project, you can then apply a sealant, which can then take up to a week to completely dry and harden.
What Is the Best Technique to Distress Wood?
The technique that offers the most authentic aged look is when you blend furniture wax and oil-based wood stain. When used on well-textured wood, the stain-and-wax mixture will fill any indentations and grooves and will be thinner on the flatter areas, providing a convincing contrast between the two. Remember to buff or polish the stain-and-wax piece, as it will enhance the shine and further add to its authenticity. To achieve a more modern distressed look, simply add some paint to your distressing technique.
Is It Possible To Mess This Up?
Yes, it is completely possible that you can mess this up, ruin your project, and completely hate the result. That is why we recommend you do a trial run on a spare piece of wood before you begin on your main project. If you do not have a spare piece of wood that is similar to your project piece, you can attempt your chosen technique on an area that is small and inconspicuous on the main piece and see the results. You can revive a project piece that has been damaged, but it is time-consuming as you will have to sand everything off until you get back down to the bare wood. Remember that certain forms of stains can penetrate deep below the wood’s surface, so you will not be able to remove it, even through sanding.
Do I Have to Use Sandpaper to Distress Wood?
You can distress wood without using sandpaper but the results will be a patchy or messy distressed look as opposed to a worn or aged distressed finish. You can always use something else as a replacement for sandpaper such as an abrasive item. In certain instances, a material that has a coarser abrasive structure than sandpaper might work better for your project. if you are looking to achieve a distressed, chipped effect, you will have to remove large chunks of paint from the surface, and then use a steel pot scrubber or scraper instead of using sandpaper.