
How to Glue a Mirror to a Wall – Learn About Wall Mirror Adhesives
This post may contain affiliate links. We may earn a small commission from purchases made through them, at no additional cost to you.
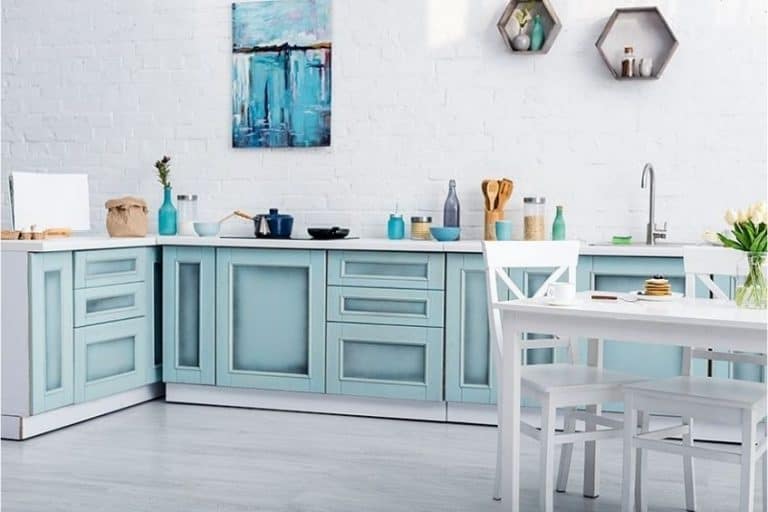
When it comes to matters of decorating a home, mirrors can be an excellent addition to a household for a multitude of reasons, ranging from purely functional to decorative motives. They serve the purpose of allowing us to view ourselves, but also serve as a means to brighten up rooms and increase their perceived sizes. Hanging mirrors onto walls, however, can prove to be a challenging task for the uninitiated. This is especially true if, instead of hanging it, you wish to glue a mirror to a wall of your house. If you want to know the best way in which to do so, you have come to the right place. In this article, we are going to teach you how to glue mirrors to walls. Read on for more useful DIY mirror installation tips.
Table of Contents
What Are the Benefits of Mirrors?
As we have mentioned, mirrors can serve as both functional and decorative pieces in any room of a house or flat. The benefits of mirrors are both utilitarian and aesthetic in nature. If you are on the fence about whether or not any space in your household needs a mirror, there are several compelling reasons that may persuade you that it does.
Before we get into explaining how to glue a mirror to a wall, let us first go over some of the benefits of placing a mirror in any interior space.
Creating the Illusion of More Space
Among the most significant benefits of installing a mirror in a room has to do with the optical illusion it produces whereby the space appears to be much larger. By reflecting light, mirrors produce the illusion of there being more depth, which can assist in making cramped rooms feel more open and spacious.


Improving Lighting
If you want to brighten up a space, the addition of a mirror is an easy way to invite more light into a room. In rooms such as hallways and bathrooms, which would otherwise see very little natural light. By strategically placing a mirror, it can reflect light and distribute it evenly throughout a room.
Enhancing Décor
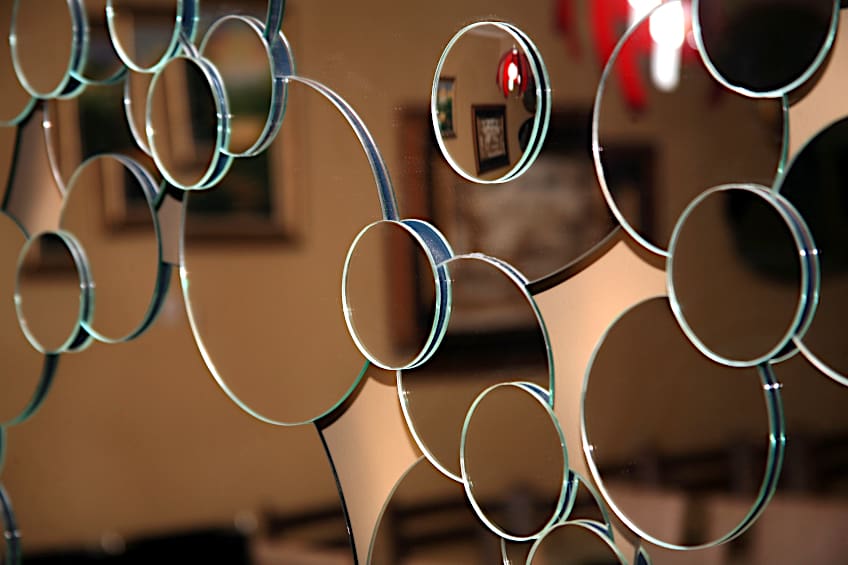
Mirrors are available in a wide selection of sizes, shapes, and styles. This makes them incredibly versatile as decorative pieces within the household. You could even commission a unique mirror design from a bespoke tradesman if you are looking for something specific that is not typically commercially available. A well-placed mirror can help you tie together all the elements of décor within any living space as it does well to create a cohesive and polished overall aesthetic.
If you want to create a focal point in any room or draw the viewer’s attention to a particular area within an interior space, the use of a mirror can also be of strategic benefit to you.


Improving Safety
A practical benefit of having a mirror in your room is that it improves safety. By having a full-length mirror installed in your bedroom or dressing room, you can make completely sure that there are no wardrobe malfunctions on your outfit before stepping into the spotlight.
Additionally, mirrors assist in improving the visibility of areas of any room that may otherwise be difficult to keep an eye on. For example, mirrors make it easier to see around narrow hallways and corners.
Boosting Mood
Mirrors can also be a big boost to your mood and overall morale. They say that we perceive ourselves as more attractive when looking at ourselves through mirrors, which can be a firm boost to our levels of confidence and self-esteem. Furthermore, mirrors can assist in reflecting positive aspects of a space, including natural light and any beautiful décor in its line of sight. This can do wonders in terms of creating a more uplifting and positive atmosphere.


Glue for Mirror-to-Wall Mounting
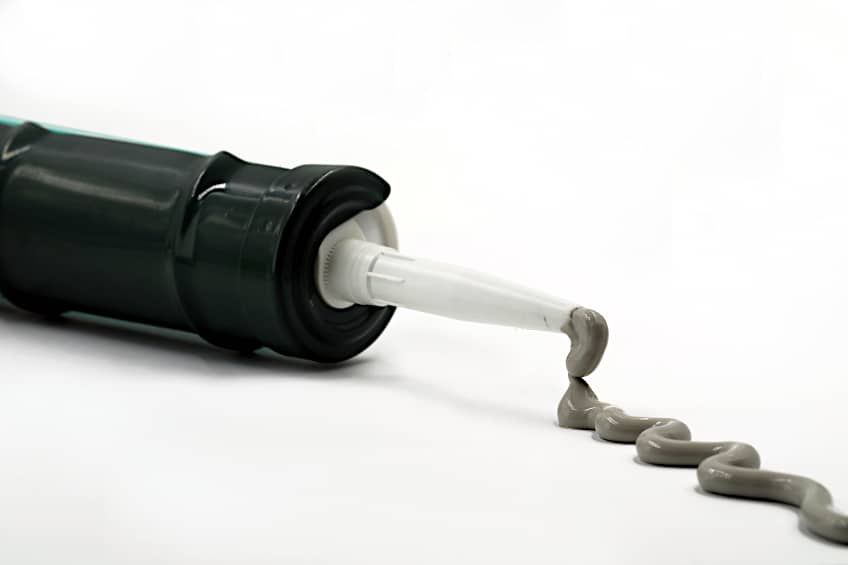
Before we get into our tutorial on how to glue a mirror to a wall, let us talk for a bit about what wall mirror adhesive would be most suited for the job. Although there are many brands of glue on the market that are specifically designed for the purpose of mounting mirrors to walls, it is still worth knowing what sorts of glues in general make for good choices in such a task. There are two varieties of glue that are known to produce the most ideal results, these being silicones and urethanes.
An important aspect of these glues is that neither employs a solvent-based adhesive system.
Silicone Glue
The formulas used to produce silicone glue adhesives are either single-part or two-part in nature. One thing to note about the single-part variations of this glue will produce acetic acids, which occur as a by-product of the chemical reaction that causes the bonding between the glue and whatever surface areas it is applied to. This chemical reaction is characterized by a vinegary odor. While it may not smell so pleasant during the application, the acetic acid is not strong enough of a solvent to cause any sort of delamination to the mirror.
If, however, you find the smell of one-part silicones too unappealing, you could opt instead for the two-part varieties, which do not contain acetic acids and thus do not produce the same odor. You would have to mix the two constituents of this glue together to initiate the polymerization required to form a strong bond between the surfaces it is applied to.

After you have left your silicone glue to cure, the bond it creates is considered permanent. Realistically, you can expect the bond between the wall and mirror to remain firm for longer than 30 years, irrespective of any environmental factors. This applies to both types of silicone adhesives. Silicone glues are resistant to temperature fluctuations, water, extreme heat, and moisture. Better yet, they are super pliable while also being able to carry a large amount of weight.
Urethane Glue
Urethane glues are typically only retailed as two-part adhesive products. In order to activate the polymerization of the constituents required to produce a firm bond, parts A and B need to be mixed to trigger the chemical reaction. There are zero solvents involved in urethane glues, which gives you the benefit of not having to deal with any strong smells and odors. Being absolutely solvent-free also means that urethane adhesives pose no risk of delaminating your mirror. You are also able to adjust the application method of your urethane glue so that the formula cures fast or slowly depending on how much time you need to work. Once the glue has cured completely, the bond that it creates is most permanent and irreversible.
Unlike silicone adhesives, urethane glue will cure quite rigidly, which could be a good thing or a bad thing depending on the demands of the project.

One thing to note about urethane adhesives is that they may pose health risks to a small percentage of people. Before you make use of urethane adhesives, you need to first ensure that you are not sensitive to any of their ingredients. Make sure to closely examine the material safety data sheets of urethane products before purchasing and to ensure that you are not hypersensitive to any of the constituents.
How to Glue Mirror to Wall
If the prior information seems a bit too over-complicated for you, you can cut through the hassle of having to do additional research by simply purchasing mirror glue, which can be purchased at an affordable price from most hardware stores. Just be sure to not use glues designed for bonding to wood as they simply will not cut it. With a firm idea of what your ideal mirror-to-wall adhesive options are, you can now move on to learning how to glue mirrors to wall surfaces. Follow these eight steps on how to stick mirrors to wall surfaces to ensure that your job goes smoothly.

Step 1: Choose the Right Glue
First things first, use the information from the prior section to find a suitable glue for mirror-to-wall adhesion. Choosing the right glue is an essential component of the task. You will find a myriad of gluing options available to you on the market but not all will prove sufficient for the job. As aforementioned, the best glues are of the urethane and silicone variety but you can also find yourself a reliable brand of mirror adhesive so as to not overcomplicate the task for yourself. Mirror adhesive is designed specifically for the task of gluing mirrors to walls and the bonds that they produce will be more than enough to hold most mirrors in place without them dislodging for decades to come.
Most of these glues also come with a lengthy drying, which might sound like a problem unless you consider the fact that it actually grants you enough time to adjust the position of your mirror perfectly before it completely dries.
Step 2: Clean the Wall
Before you start gluing your mirror to your wall, you will want to ensure that the surface you are attaching your mirror to is completely clean and dry first. If there is any dirt, dust, or other debris on the surface, this will impair the glue’s ability to adhere properly to the surface. To make sure that the adhesive’s effectiveness is not impaired in the slightest, start by wiping the wall using a dry cloth to remove the dust. You can then apply a damp cloth to the wall to remove any marks or stains as well. Then, you should wait until the wall has completely dried before moving on to the next step.


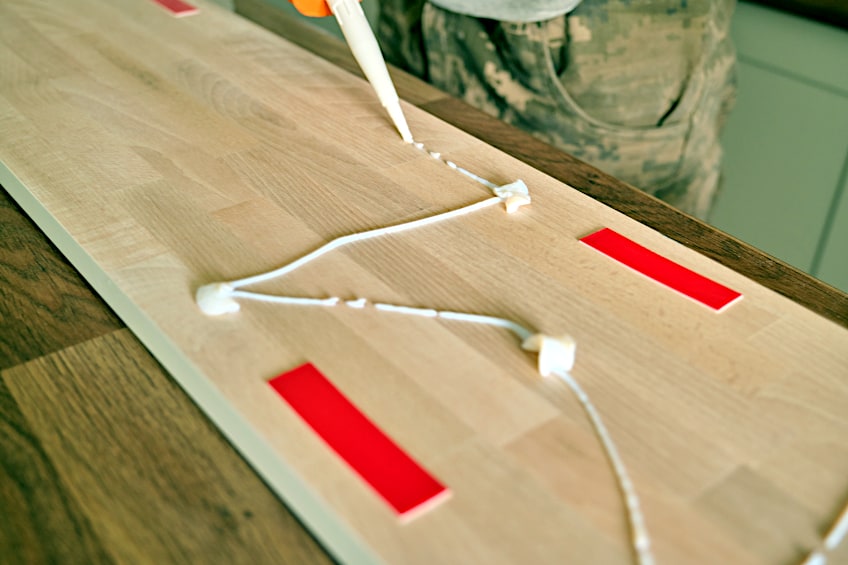
Step 3: Apply the Adhesive
Now that you have a clean and dry surface, it comes time for you to apply your adhesive. You may begin by applying a small amount of glue to the back of your mirror. Ideally, you will want to use a caulking gun for this part, with which you can apply your adhesive in a zig-zag pattern until the entire back of the mirror is evenly covered.
Be sure to not apply too high a volume of glue, however, to avoid the mirror sliding down the wall instead of adhering to it.
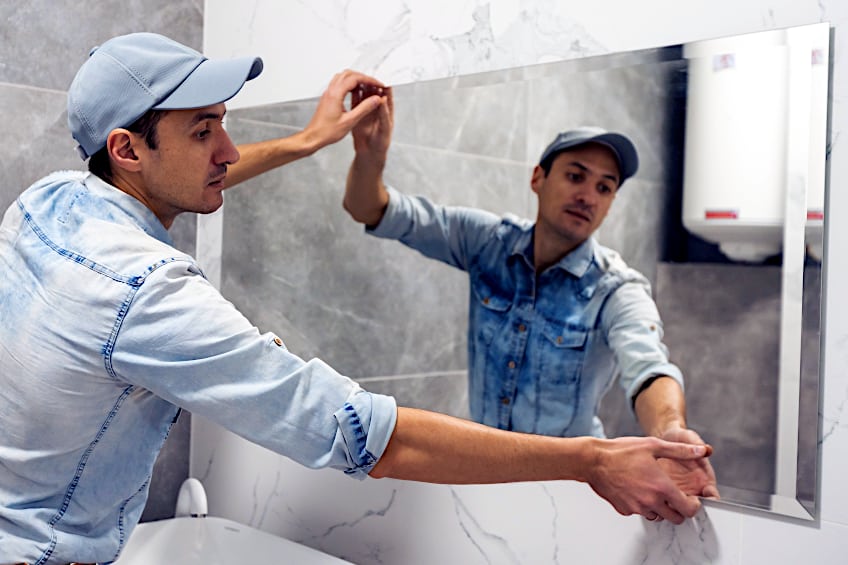
Step 4: Position the Mirror
With the adhesive now applied to the back of your mirror, you may now place it onto the wall and position it. You can do so by holding it against the wall where its position can be adjusted until you have found the right space for it. You can then firmly press the mirror into place so that all the adhesive on the back makes direct contact with the wall. You will now have to hold the mirror in place for a few minutes to allow the bond enough time to take place.

Step 5: Secure the Mirror
Once you have your mirror in place, you will have to find a way to secure it against the wall until the adhesive has cured completely. The best way to do this is to use painter’s tape, which can prop the mirror up against the surface until the glue has dried and a firm bond has been achieved. You can start by taping across the top of the mirror to attach it to the wall before repeating the process at the bottom. This should be enough to prevent the mirror from sliding down before the adhesive has properly cured.
If you are dealing with a heavy mirror, however, you might need to add more tape along the sides or even across the mirror.
Step 6: Let the Adhesive Dry
Before you are able to remove the tape, you must give your adhesive enough time to dry and cure completely. The best thing to do is to let the glue dry overnight before removing the table. While the adhesive is busy drying, you should try to avoid applying any sort of pressure to the mirror. Following these guidelines will allow the adhesive to firmly bond the mirror to the wall.


Step 7: Remove the Tape
The adhesive should have properly dried by the next day, at which point you can start removing the tape. Be sure to gently remove the tape off the mirror so as to not disrupt the bond or damage the wall. If you encounter any difficulties in removing the tape, you can use a utility knife to pry it away from the surface.
Make sure that you do not scratch the surface of your mirror as you remove the tape.
Step 8: Check the Mirror
After the tape has been removed, you should inspect the bond between the mirror and wall to ensure that it is firm and secure. To check if the mirror is not loose, you can gently shake it. If you find that the mirror is loose in some areas, you can use a shim to adjust its position and apply pressure until it is secure.


And voila! You have successfully learned how to stick a mirror to wall surfaces. Gluing a mirror to a wall is a relatively simple task, even for beginners. It is an effective way to add some beauty to your home décor. By following the steps and guidelines we have laid out for you, you can ensure your mirror is secure and unlikely to fall off. Remember that it is important to choose the right adhesive, clean the wall before fastening the mirror, position the mirror correctly, secure it with painter’s tape, and let the adhesive dry before removing the tape. We hope that this tutorial proves useful for your future DIY projects and that you enjoyed reading it. Best of luck!
Frequently Asked Questions
How to Stick a Mirror to a Wall?
Start by choosing the right adhesive. Silicone and urethane adhesives are your best bet but you can also find mirror glue from a hardware store to simplify the task. Be sure to clean the wall before fastening the mirror. Spread the adhesive evenly in a zig-zag pattern to the back of the mirror and then position the mirror correctly before securing it to the wall with painter’s tape. Lastly, let the adhesive dry before removing the tape.
What Is the Best Wall Mirror Adhesive?
Picking the right adhesive for the wall mounting of a mirror is crucial. The most effective adhesives will be those made of urethane or silicone. You can also find ready-made mirror glues in most hardware stores.


Rebecca is an art maniac since childhood. She started writing for craft-art.com 2 years ago and is also craft-art.com’s blog post editor. After graduating from Cornell University and working for a local art gallery, she discovered her enthusiasm for writing and combined this with her affinity for the creative world.