
Can You Stain Over Stain? – How to Refinish Stained Wood
This post may contain affiliate links. We may earn a small commission from purchases made through them, at no additional cost to you.
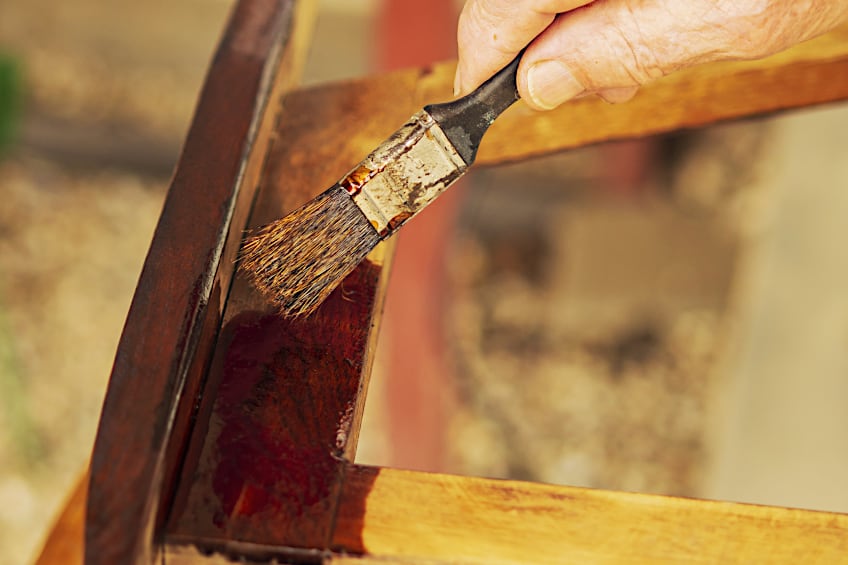
One of the best ways to go about protecting your wood while simultaneously giving it an incredible look is to simply use wood stain. Wood stain is really easy to use, happens to be readily available, and won’t drain your wallet either. What happens if the surface you’re trying to stain has an existing stain though? This can be a problem, so let’s have a look at whether you can stain over an existing wood stain, or if you’ll need to get rid of the existing stain first. When working with wood stain it’s always recommended that you work in an area with adequate ventilation, regardless of whether you are applying it or taking it off.
Table of Contents
Can You Stain Over Stain?
Can your stain over stain? The answer is yes! Although planning to stain over an existing stain will require some forethought, it is entirely possible and there are loads of products you can use to improve your chances of getting your desired finish. If you’re wondering how to re-stain wood that has an existing finish, you can rest assured knowing it’s not as challenging as you might think.


The key to staining an existing stain is in fact color matching, much the same way you would do when using oil paints to touch up existing works of art, or when you use darker hair dye to color over an existing lighter color.
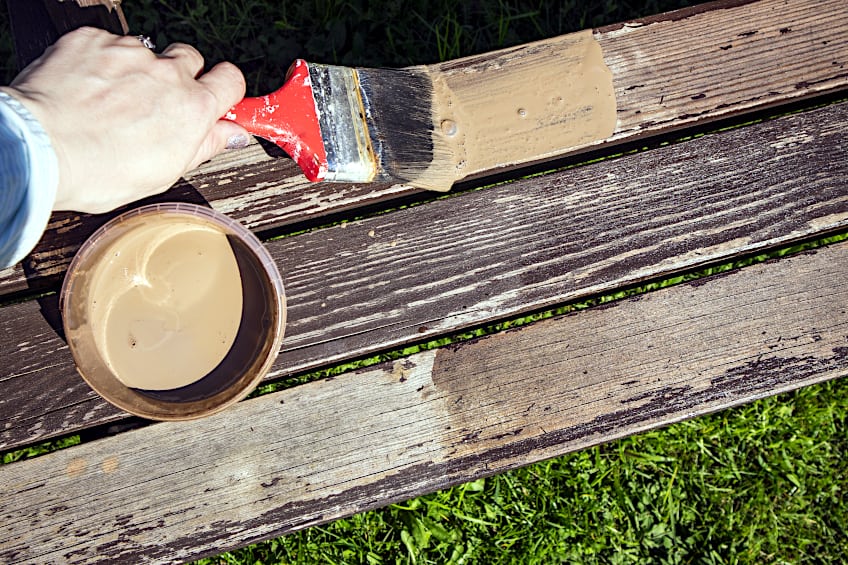
This is how to re-stain wood without having to strip and sand your entire workpiece before you get started. If this process seems a bit sketchy it’s largely due to it not being an “exact science”, at least in the same way that applying wood stain to fresh wood can be considered an exact science. The rules for staining over an existing stain are essentially that you can only go darker, which works particularly well if your existing finish is either an opaque or light exterior stain.

As you can tell, a lot of your success depends on the type of stain you already have on your workpiece. Another good example of this is how you can cover an existing semi-transparent stain with more semi-transparent stain, or an existing solid wood stain with some more solid wood stain. These two are great because they work regardless of whether the existing stain is light or dark.

If you’re re-staining wood that has a particularly dark existing finish, it might be a bit more challenging to work with. If the stain is solid (which it likely is if it is indeed that dark) then use a lighter solid stain to lighten the overall hue of the surface. This might not always work, so test your stain on a section of the workpiece that will go unnoticed for the most part.
All of this being said, re-staining wood is entirely possible, and if you’re lucky you won’t have to use a ton of elbow grease to get the finish you want either. However, there are some surface coatings that either won’t allow you to stain over them or will result in something truly unsightly if you try. Trying to apply stain over polyurethane is a prime example of this, but let’s have a look at some other surface coatings that you won’t be able to stain over.
| Type Of Finish | Can You Stain Over It? |
| Wood Stain | ✔ |
| Shellac | ✔ |
| French Polish | ✘ |
| Varnishes | ✔ |
| Polyurethane | ✔ (Only with gel stain) |
| Epoxy Resin | ✘ |
| Paints | ✔ (Although not recommended) |
| Lacquer | ✘ |
What are the Pros and Cons of Staining Over Stain?
Everyone enjoys a good life hack, something that allows you to bypass all of the nitty-gritty prep work that usually comes with a mundane or otherwise labor-intensive task. Staining over polyurethane or staining over stain definitely falls into that category, so let’s have a look at some of the pros and cons of taking this “shortcut” and whether it’s worth it or not.


Right off the bat, one of the most alluring things about staining over wood stain is that it saves you a heck of a lot of preparation time. Gone are the hours you’d normally spend stripping and sanding a surface, and then having to prepare the surface with a primer or similar catalyst. The time saved can be invaluable, especially if you’re working on a time-sensitive project.

Is this worth staining over stain? A major drawbacks of applying stain over an existing finish is that there is significantly less of a guaranteed result compared to staining fresh wood. If you don’t know the exact type of wood stain already on your surface, the stain you choose to apply over it could be incompatible, which could end up costing you even more time.

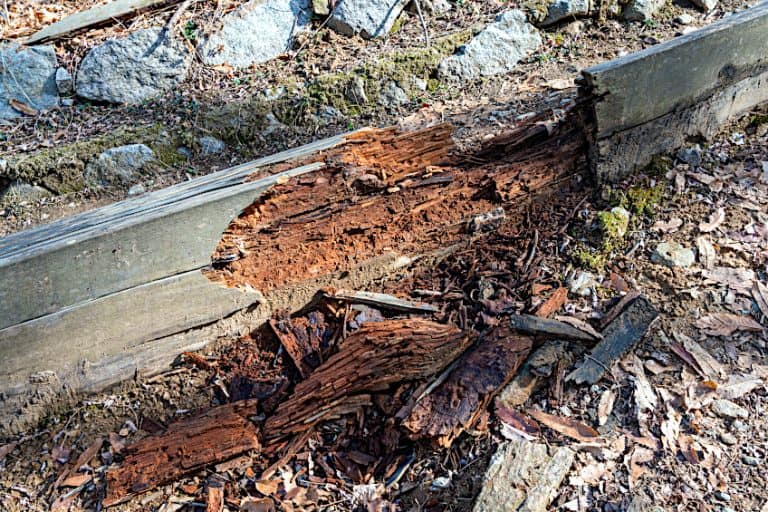
On the other hand, staining over stain can give you a unique finish that would otherwise require you to mix stains together. Another advantage of refinishing wood with an extra layer of stain is increased protection from rot, abrasion, impact, and heat damage. Refinishing wood in this manner also means that you save some surface material, after all, you won’t be sanding and stripping, which is great when you don’t have a very thick surface to work with.

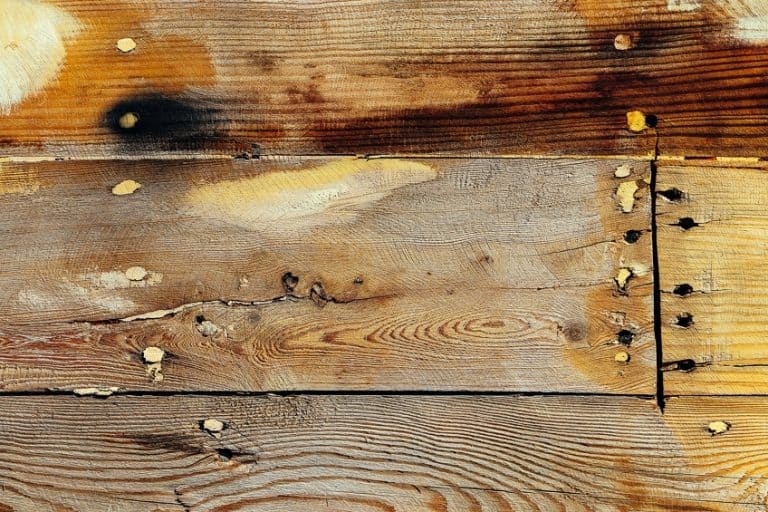
Wood surfaces are pretty unique though, and if the board you’re using has a grain that’s packed tightly together, it might not accept the additional wood stain without the initial coating before being removed completely, or at the very least sanded down a bit. If your workpiece is second-hand and/or aged noticeably, it can be challenging to identify the type of wood you’re working with.

Finally, one of the glaring drawbacks of staining over stain is that you can typically only go darker. This does depend on the type of stain you’re working with, but generally, most professionals advise only going darker to avoid making a mess of your finish. This is especially true when working with wax or polyurethane stains, as messing these stains up will result in a strange, sticky texture that’s really hard to get rid of.
- Saves time
- Creates a unique finish
- Provides protection from heat, rot, moisture, abrasion, and impact
- Incredibly easy to do
- Warms up cooler stains and improves overall aesthetic
- Ideal for time-sensitive projects and beginners
- No preparation of the workpiece
- No guaranteed outcomes
- Can be difficult to identify the existing stain
- Can ruin your surface if done incorrectly
- Stain quality can vary considerably from brand to brand
- Can be difficult to identify the type of wood you’re working with
- You can only stain darker, not lighter
Which Wood Stain Should You Use?
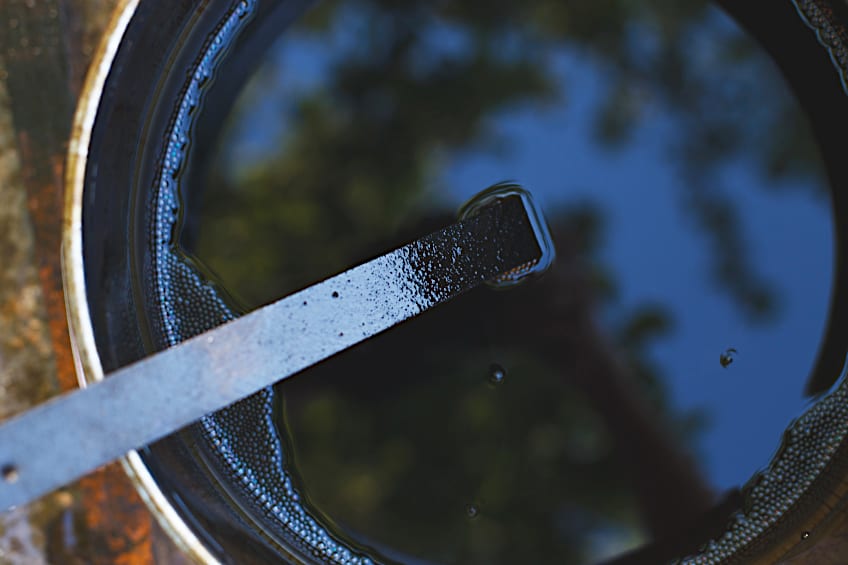
While there are loads of wood stain products on the market, one of the most commonly used wood stain types out there is arguably oil-based wood stain. For a long time, it was pretty much the only option in the wood stain industry as it was cheap, readily available, and had an effective and aesthetically appealing finish.

Because it’s been used for such a long time, the chances are that whichever furnishing you intend on staining over, will likely be treated with this type of wood stain. Oil-based wood stains typically use linseed oil as a base, and while this might be a natural oil, most oil-based wood stains contain volatile organic chemicals (VOCs) and are the best for the environment.
How to Stain Over Stain
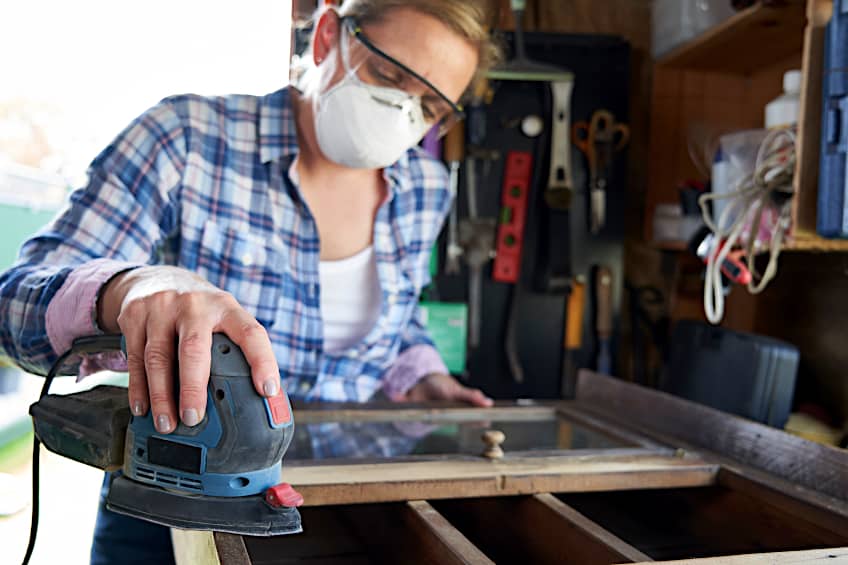
Once you’ve decided if it’s worth it for you to stain over your existing stain, you’re probably wondering how to stain over the stain. There are a few ways you could go about applying your wood stain, so we’ve taken it upon ourselves to provide you with some of the easiest ways you can go about staining over your existing stain. Remember to always wear the appropriate personal protective gear and work in a well-ventilated area when working with wood stain or any other potentially harmful chemicals.


Prepare Your Workspace
It should go without saying that if you are working with wood stain, you should protect your surfaces, flooring, and more importantly, yourself from unwanted contact with the stain in question.
Lay down some tarp or old newspaper over your immediate workstation and surrounding workspace to avoid any wood stain getting onto these surfaces. Next, get your workpiece ready and ensure that you have all the tools you’ll need for the staining process before moving on to the next step in the process.


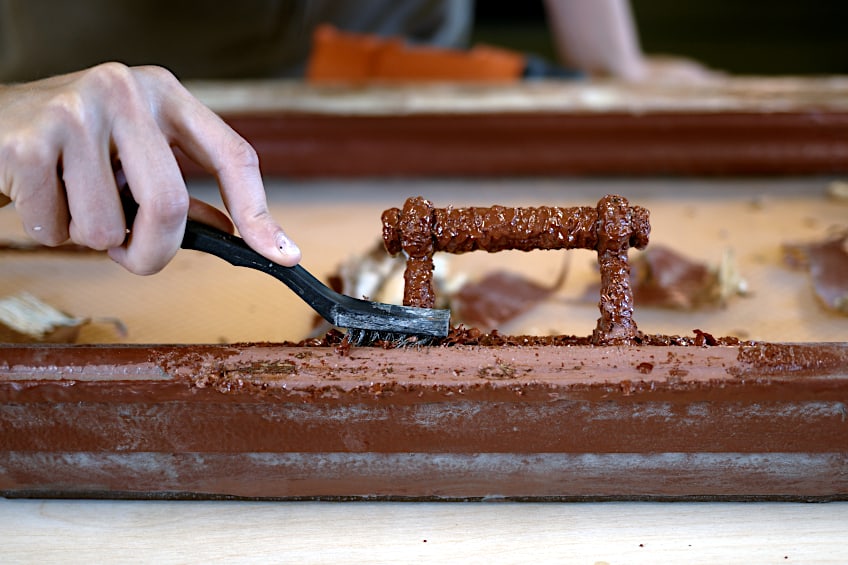
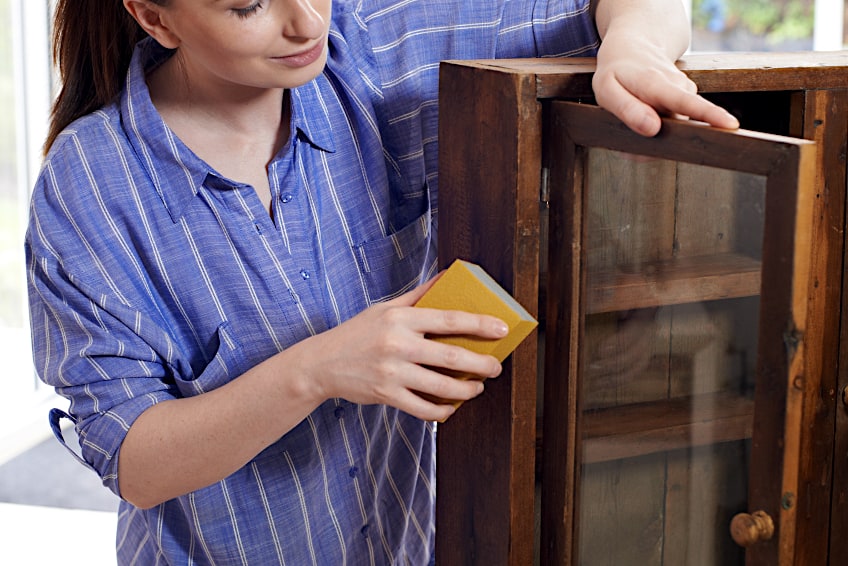
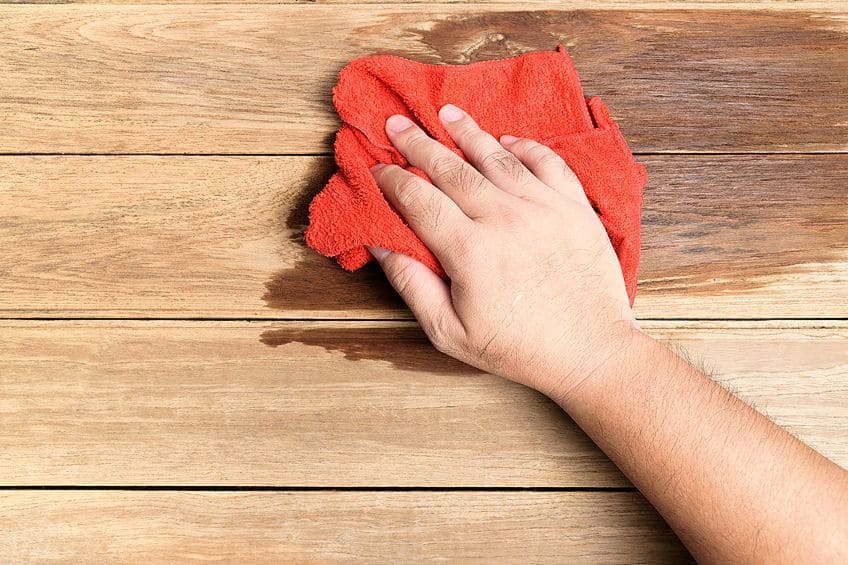
Prepare Your Workpiece
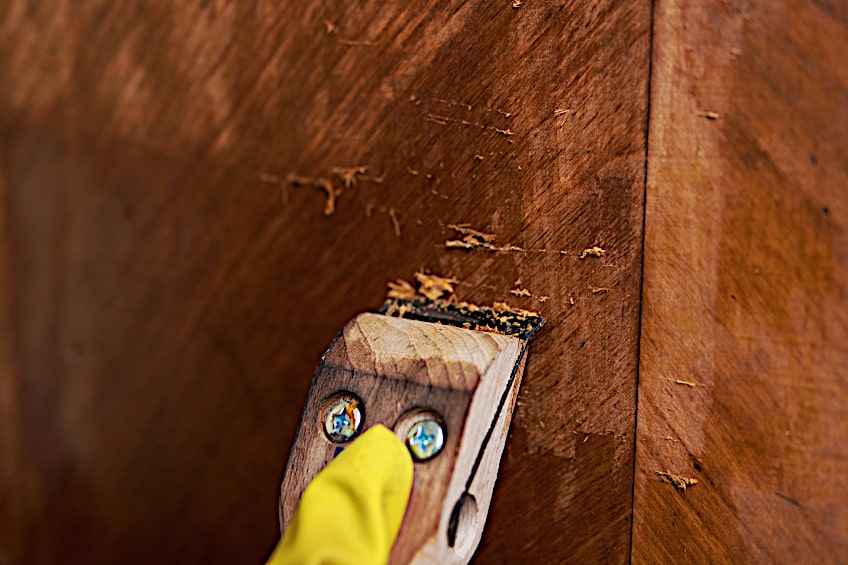
While it might seem a bit ironic to prepare your workpiece when exercising a method of staining that requires no preparation, there is something that should be mentioned. The only time that you would need to prepare your wooden surfaces is if you do want to go a shade lighter with your wood stain. In this case, you wouldn’t necessarily remove the stain from your wood but you would need to sand the surface lightly before applying the lighter stain over the now sanded existing stain.

As we mentioned previously, when you’re trying to darken your wood stain there is little to no preparation needed. This being said, even though you don’t need to sand your workpiece if you intend on staining it a lighter hue, it does help in the adhesion and reaction process if the layer of the existing stain is slightly thinner.
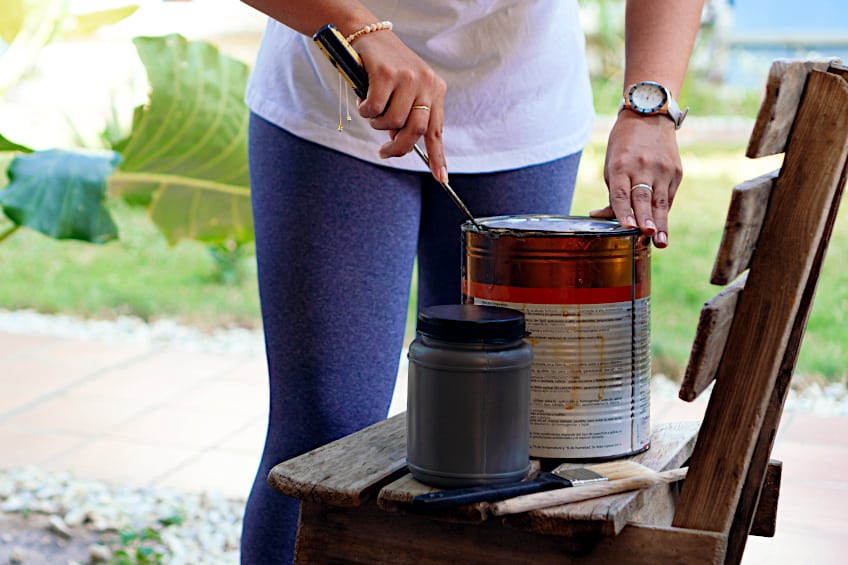
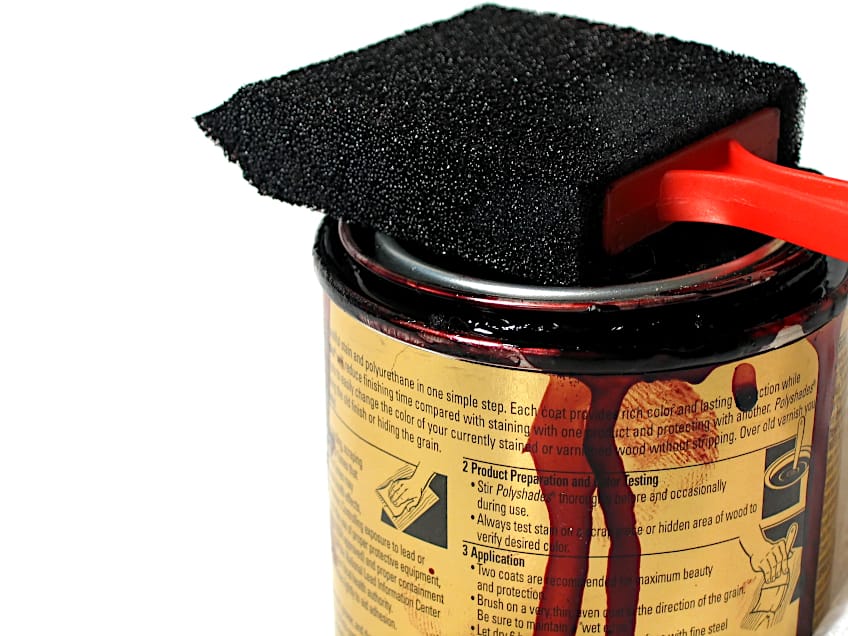
Prepare Your Wood Stain
One of the most important steps when applying wood stain over existing wood stain is to prepare the new stain properly. Remember that there are no guarantees when applying stain over the existing stain, so ensure that you do as much as you can to hedge your bets before you get staining. Different brands have different preparation steps, but generally, they involve giving the stain a good stir to blend any residue that settled to the bottom of the container.

When working with special stains like polyurethane stain or gel-based stains ensure that the type of wood you’re using is conducive to these stain types, but also ensure the type and finish of the stain you’ll be applying will interact well with the existing stain. Once you have your stain prepared, ensure that the surface of your workpiece is clean of any debris before moving on to the next step in the process.

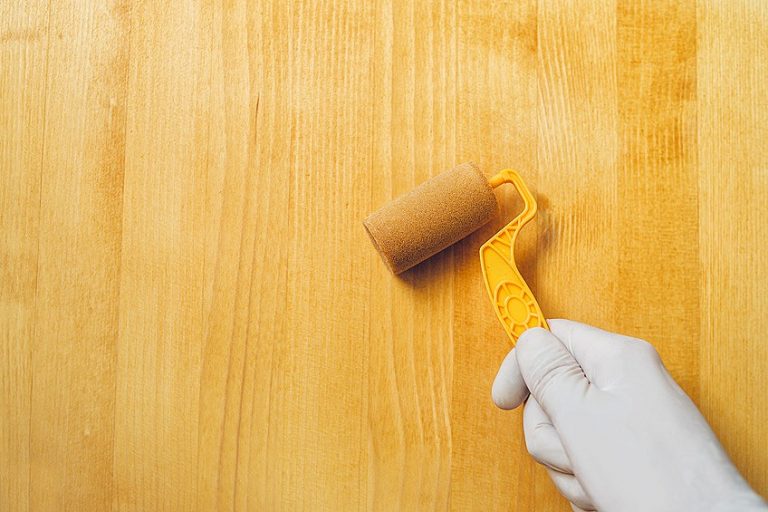
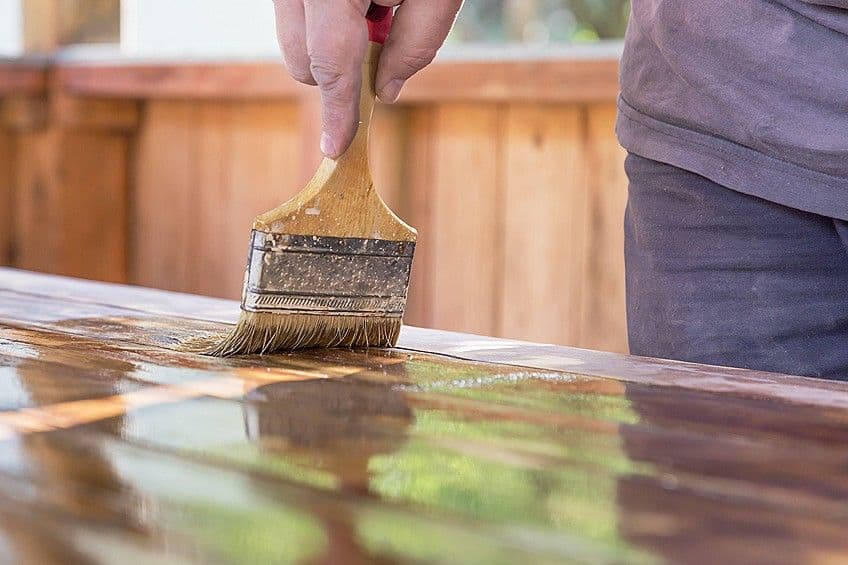
Apply Your Wood Stain
This should be a relatively simple process, after all, that’s pretty much the only reason you’d choose to go this route aside from being unable (or not being by the means) to remove the existing coating. You have two options, you could either apply the new stain directly to the surface of your workpiece and rub it in using a cloth or sponge, or you could apply some to your cloth or sponge and then rub it in.
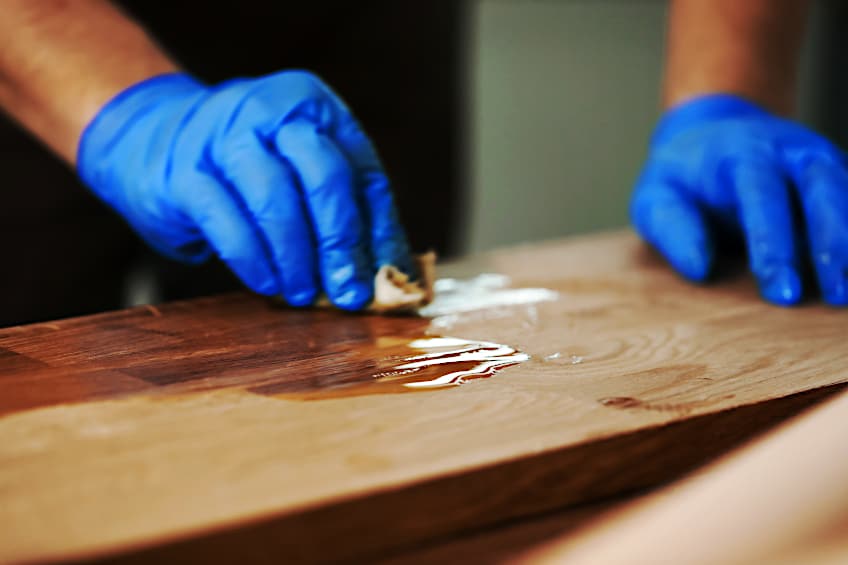

One typically has better control over the concentration of a stain in a given area when applying stain to your cloth first, but this might not be ideal for larger surfaces. Regardless, the idea is to rub your new wood stain into the existing surface in a circular motion using moderate pressure. Ensure that you apply your stain equally and don’t forget about the edges of your workpiece, or risk having an uneven, spotty finish.

Even Out Your Stain and Allow It to Cure
Happy with the way you’ve applied your stain? Good! If you happen to see some stain pooling in certain sections of your workpiece, don’t panic, this is completely normal, especially when you’re applying stain over the stain. This is just because the wood has been saturated with a combination of the existing stain and the new stain, so you’re going to have to even out those little pools.

Get a clean cloth and in the same circular motion, do your best to blend the excess stain into the wood’s surface while allowing the cloth to absorb the rest. The goal is to create a uniform tone across the surface of your workpiece with little to no blotch being visible. Remember that even though this process saves you time in preparation, rushing could result in errors you might spend hours correcting.
Once you’re satisfied with the blending of your wood stain, it’s time to let it cure. Although most wood stains take roughly 24 hours to cure completely, you should always follow the manufacturer’s recommended time period regarding curing times. Allow the stain to cure completely before making use of your workpiece or applying any pressure to the surface you have stained.
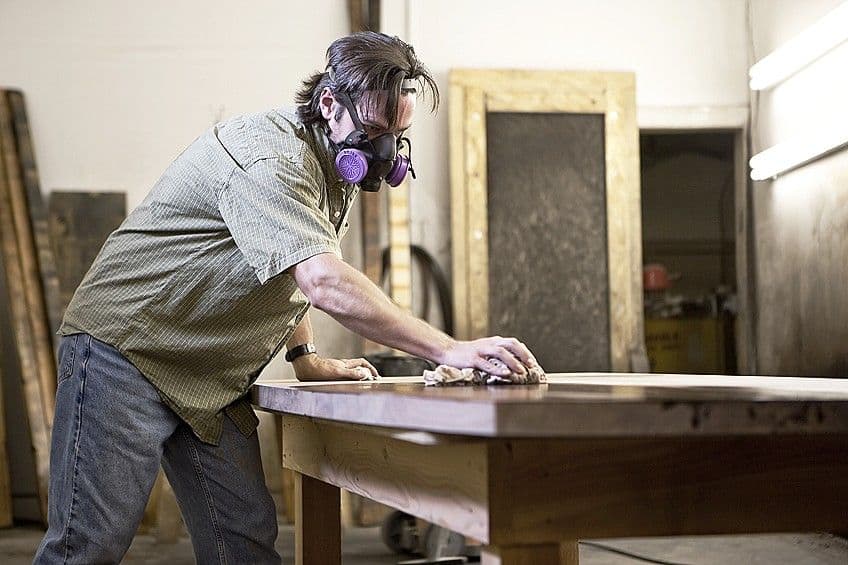
Now that you know how to stain wood darker, why it’s a good idea to stain over the existing stain, what to look out for when staining over the existing stain, and what a good oil-based wood stain looks like, it’s time for you to go out there and put your newfound knowledge to the test. Remember to always wear a face mask, eye protection, gloves, and work in a well-ventilated area when working with wood stain, and always ensure that you know the type of wood and wood stain you’re working with.
Frequently Asked Questions
How to Stain Wood Darker?
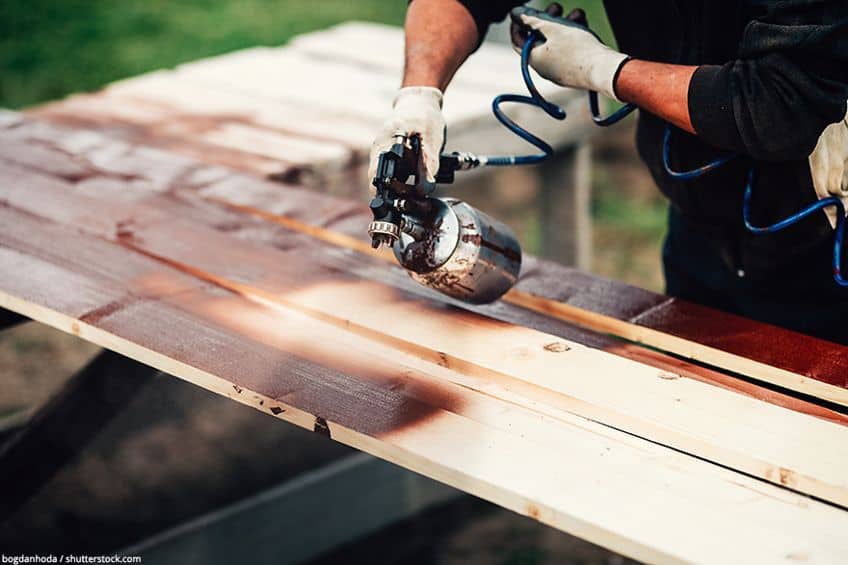
If you’re wondering how to stain wood darker, you have two options. You could simply add additional stain to your workpiece’s existing stain treatment, or you could use an aerosol-based toner for the wood stain to darken (or even out) the overall hue of your wood.
Does Stain Fade as It Dries?
Wood stain is applied pretty wet depending on what type of wood stain you choose to use. Using oil or water-based wood stain will cause the stain to lighten slightly as it dries and cures. This is also due to much of the stain being absorbed into the wood’s fibers.
Is It Better to Stain or Paint Wood?
This really does depend on the application. Paint is a surface coating that protects the surface of your workpiece, whereas wood stains and other wood treatments like linseed and tung oil penetrate deep into the wood’s fibers. Paint will not protect your wood from insects, rot, moisture, splitting, or heat damage.